how much infill do I need 3d printing?
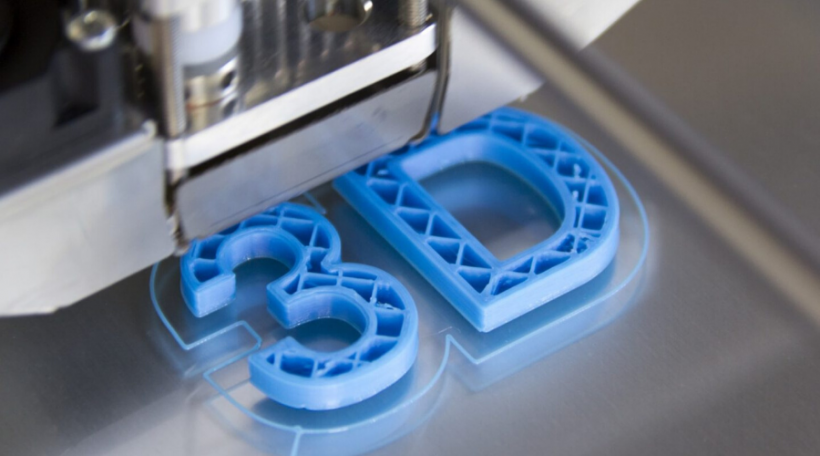
What is infill? Infill is the structure of the material inside a 3D printed part. Just as the underside of a bridge has interconnecting steelwork, 3D printed parts have an infill that manipulates the part’s physical properties, including strength, structure, and weight.
Infill is one of the key settings when 3D printing, but I wondered how much infill you actually need when making a print. I’ve done some research to find out some good infill percentages which I’ll explain in this article.
Infill Percentage for 3D Printed Parts
Use these recommendations to choose the best infill percentage based on the requirements of your project:
- 0-20%: Non-functional parts: For pieces that are not functional or do not need to withstand force, such as a display model or presentation prototypes, 10-20% infill is sufficient. In some cases, no infill is a viable option if there are no large flat surfaces on the top of the print. If there are large flat surfaces on the top of the print, some infill is needed to support those surfaces.
- 20-40%: Light-use parts: For functional parts which will undergo some force, a moderate level of infill provides nearly the same strength as a solid part at a reduced cost.
- 40-100% Heavy-use parts: If your parts must withstand significant forces, or strength is the most important factor above cost, a higher infill percentage is the best choice. However, increasing infill percentage beyond 60% has diminishing returns on strength.
Advantages of Infill 3D Printing
Increases Printing Speed
As the infill is a repeating three-dimensional pattern it easy to print. The 3D printer prints in layers and each layer consists of 2 main parts; the infill and the outline. The outline is the perimeter of the layer that becomes the outer shell or the walls of the print model.
While printing a layer the outline needs a lot of precision to print as it defines the shape of the object. Meanwhile, the infill being a repeating pattern can be print without the level of precision used before. This means it can be printed quickly in a to and fro motion.
Low Material Consumption
The material used for printing a model will the highest when it is printed as pure solid inside. This is called an infill with 100% infill density. We can reduce the use of material for printing a 3D model by using a suitable infill. We can choose the infill density according to our needs.
Infill Density and Infill Pattern
The two most important aspects of infill are infill density and infill pattern.
- Infill density
The infill density is the amount of material used for the infill. The denser the infill, the fuller, heavier, and (in theory) the stronger the part. Besides weight and strength, buoyancy and material consumption are also affected by density.
Infill density is measured as a percentage: 0% is hollow, and 100% is solid. Most designers stick to 5% leaps. Standard prints range from 15-50% infill, while functional prints (such as engineering parts) have a 50-100% infill.
Figurines have a lower infill of up to 15%. For flexible parts, the infill provides rigidity, with flexibility determined by the material. The amount of infill you need depends on what object you are creating.
- Infill pattern
The infill pattern is the structure of the infill. These range from basic lines to intricate honeycombs and lattices. Different infill patterns have different characteristics, like higher strength, rigidity, flexibility, buoyancy, and weight load.
Here’s a list of the most common infill patterns:
- Lines – printed in one direction for strength in two dimensions
- Honeycombs – provides moderate strength defined by honeycomb density
- Grids – doubles up the strength and stiffness of lines with weight gain
- Triangles – strength in two dimensions in the XY plane
- Cubic – stacked cubes tilted at 45 degrees for strength in three dimensions
