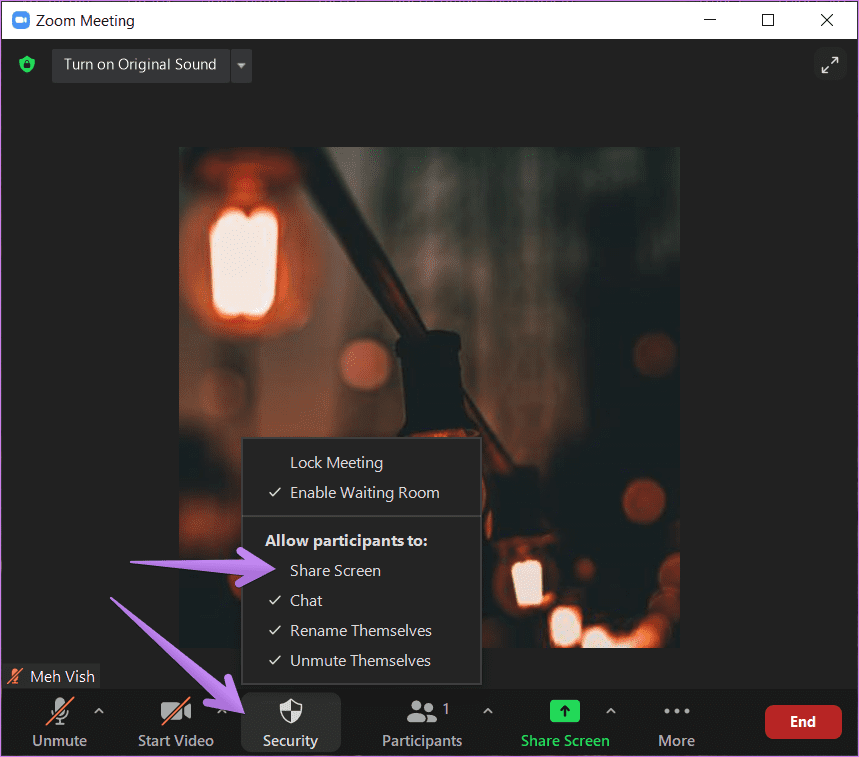
Screen sharing is a feature introduced by Zoom that allows hosts and their participants to share their screens with the rest of the meeting participants. Screen sharing management can be done in the Zoom Dashboard settings, the Zoom client application, or during the Zoom meeting. In this article, we will discuss the different ways to set up Zoom Screen Sharing.
How to Allow Screen Sharing On Zoom?
You would never have predicted it in 2019, but knowing how to share your screen on Zoom is now an essential skill for modern life.
The video chatting app has become massively popular over the past year, as many people have started working from home and families have had to stay in touch remotely.
And group videoconferencing in Zoom has proven to be a surprisingly effective alternative to in-person meetings. As well as providing crisp video and audio to take the guesswork out of meeting rooms, Zoom lets you show your coworkers exactly what you’re working on, by allowing you to share your screen with everyone on the call.
Nor do you get only one view of your desktop: Zoom lets you highlight which window you want to share, so there’s no risk of accidentally revealing something embarrassing.
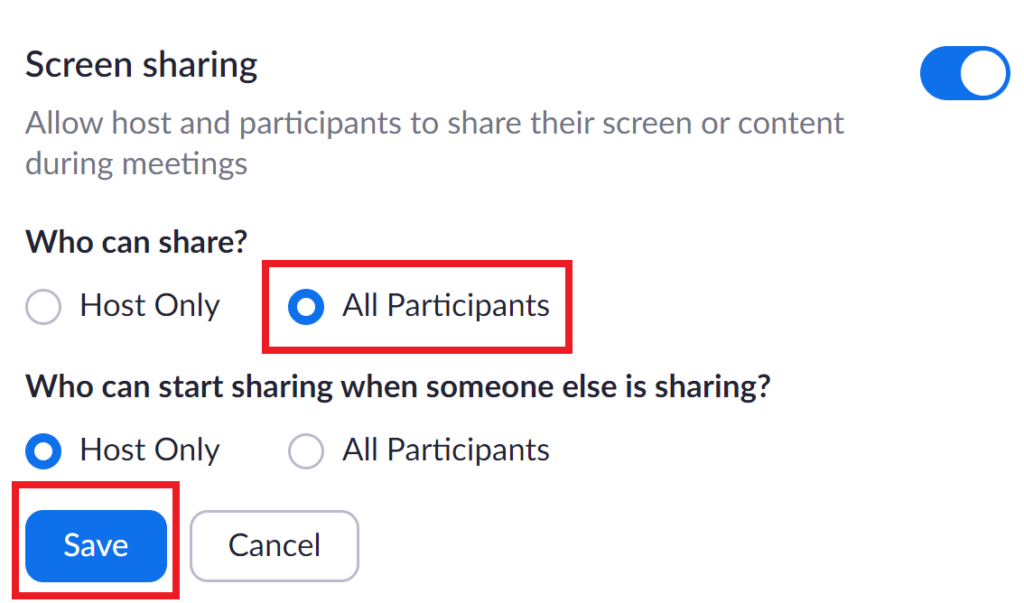
Zoom – Share Your Allow Screen on Android:
- To connect to a meeting, tap on your screen to bring up the menu at the bottom of your profile. and press the share button.
- Then swipe down until you reach “Screen”. Tap it once.
- Zoom will give you the same warning we gave above that basically, everything will be shown including password, photo and bank. All if they are on screen. Press “Start Now” if you’re happy with it.
- If this is your first time doing screen sharing on mobile, you may need to change the security settings to make it work.
Top” menu appears, and you must allow Zoom to do this by checking the box below. Once done, press the back arrow in the top.
- How it looks to others in a meeting – This is basically a portrait view of your handset in real time.
- When you’re finished sharing, press the light gray arrow in the bottom left of your screen to bring up the menu.
- Tap the big red box with “Stop Share” in it, and your screen’s live feed will end.
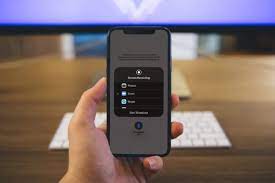
Zoom – Share Your Allow Screen on iPhone:
- In the meeting controls, tap Share content. The meeting controls will be at the bottom of your screen on the iPhone and at the top right of your screen on the iPad.
- Now tap on Screen.
- If you’re sharing your entire screen for the first time and haven’t set up screen recording in Control Center, follow the first page on-screen
- Instructions for completing setup
- Click on the red bar at the top to return to Zoom after you’ve completed setup for the first time.
- Swipe left on the instructions to see Broadcast to Zoom instructions.
- Log in to Control Center.
- On an iPhone 8 or older, or an iPad running iOS 11, swipe up from the bottom.
- On an iPhone X or iPad running iOS 12, swipe down from the top right.
- Press and hold the Record button until the Screen Recording option appears.
- Tap Zoom.
- Tap Start Broadcast
- After the count of 3, your entire device screen will be shared in the meeting.
- When you’re ready to end the share, tap the red bar at the top of your screen.
- Tap Stop.
- Tap the red bar again to open Zoom.
Zoom – Share Your Allow Screen on windows:
- First launch the Zoom client and sign in with your account to access the Zoom homepage.
- Then if you want to host a meeting, click on the New Meeting button. If you have a meeting ID or personal link name, click the Join button.
- Then in the pop-up window, click Join Computer Audio to start the meeting. You can also check that the computer automatically joins audio while you join a meeting so that you don’t need to spend time on this step the next time you join a meeting on Zoom.
- Now that you participate in the meeting, click the Share Screen button at the bottom of the window.
- Now choose a Zoom screen sharing option from the following options:
- Basic: Desktop Screen, Whiteboard, iPhone/iPad;
- Advanced: powerpoint as virtual background, part of the screen, computer audio, video;
- Files: Dropbox, Microsoft OneDrive, Google Drive, Box, Microsoft SharePoint.
- Finally click on the share button and Zoom Screen Sharing will start. During the process, you will receive a message showing that you are sharing the screen.
To stop Zoom Screen Sharing, you need to click on the Stop Share button next to the notification banner.
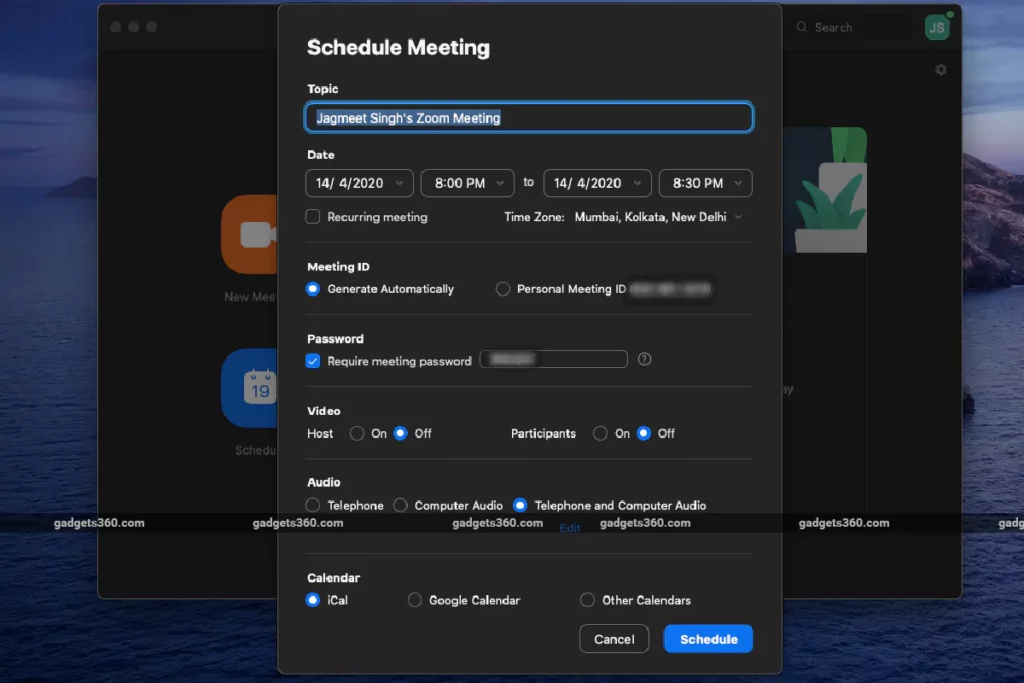
Zoom – Sharing your screen on a Mac laptop:
- First click on the “Share Screen” button in the Zoom toolbar.
- Then select Desktop 1 and click Share.
- Now if you are asked to allow Zoom to share your screen, click System Preferences. With Screen recording highlighted in the left sidebar, check the box next to .
- Now that Screen Recording is highlighted in the left sidebar, check the box next to Zoom.us in the resulting pop-up window, then OK to click “Later.” Then come back to your Zoom meeting and you’ll be able to share your screen.

Zoom – Share Your Allow Screen Meeting Directly from Your Web Browser:
You can use Zoom on a computer through a web browser. This lets you use some of Zoom’s features without having to download plug-ins or software. However, the web client has limited features.
Recommendation: Whenever possible, download the Zoom Client for Meetings desktop application for the best experience.
It is possible to use the Zoom web client with the following web browsers:
- Internet Explorer 10 or higher
- Microsoft Edge 38.14393.0.0 or higher
- Google Chrome 53.0.2785 or higher
- Safari 10.0.602.1.50 or higher
- Firefox 49.0 or higher
- Google Chrome is the only browser that will allow you to join computer audio for Zoom meetings. You may still be able to use your phone to dial into the meeting, depending on the setting chosen by the host
