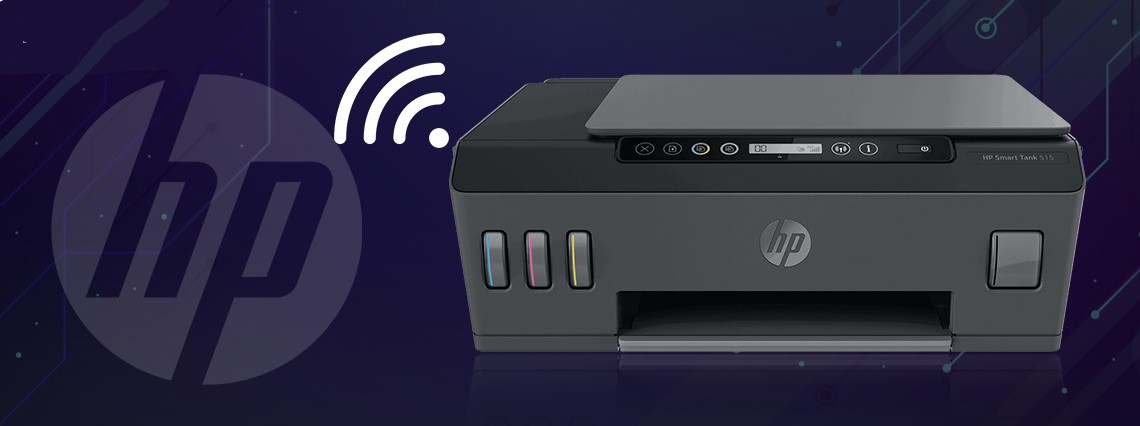
New technologies have made your HP printer smarter than ever, making it simple and convenient to print. From now on, you can print anything anytime at any place. Are you looking for how to connect your HP printer to WiFi? Start from here and begin a joyful journey of easy printing.
Start with the Installation
First, you start with the installation and wifi connection procedure you need to check and ensure the installation requirements for the given printer.
- Make sure that you have safely unpacked the printer.
- Have removed all the tapes from inside as well as from the outside.
- Make sure you have a compatible computer or mobile device and internet access.
- Make sure the router and computer or mobile device are turned on.
- Check your printer is turned on, and that your mobile device or computer is connected to the same wireless network to which you want to connect the printer.
- Set up the printer, load paper into the input tray, and install the ink cartridges.
- Turn on the printer and place it close to the computer and within range of the router during the setup procedure.
How to Connect Your HP Printer to a WiFi Network?
- Check all the cables associated with your printer and PC. If there is any loose connection, make it correct.
- Turn on your wireless printing device. You can use the touch-screen from your printer to connect to the wireless network.
- Press the right arrow and then get with the “setup” option.
- From the setup menu, select the Network. Doing so will allow you to get through several options.
- Choose the option – Wireless Setup Wizard from the Network menu.
- In doing it, it will search for the wireless routers in the range.
- Searching could take time. So you must not be worried about it.
- Select your Network (SSID) from the list.
- Enter the WPA/ WEP Passphrase for the network and press “Done.”
- Press the “OK” option to print the wireless report or Skip.
- Now, both wireless and wired PCs on the network should be able to browse to the printer and print to it.
How to Connect the HP Printer with WPS Button?
If your router supports WPS, use these steps to connect your printer to your wireless network with the WPS button on the router.
- Turn on the printer.

- Locate the WPS button on your router, but do not press it yet.
- On the printer control panel, press and hold the Wireless button for three seconds, and then release the button.

- The wireless button starts to blink.
- Press and hold the WPS button on the router for three to five seconds or until it shows that the WPS connection process has started.
How to Connect the HP Printer with Wi-Fi Direct?
Wi-Fi Direct is a connection option when a local wireless network is not available or for guest printing.
Print a Wi-Fi Direct Help page that includes connection setup instructions. Touch the Information and Resume buttons at the same time to print the page.
- Touch the Information, Wireless, and Resume buttons together to turn on Wi-Fi Direct on your printer.
- Go to Wi-Fi settings on your computer, and then select your HP printer.
NOTE: If your printer is not visible in the wireless network, turn off the Wi-Fi settings on your computer and try again.
- Go to Printing with Wi-Fi Direct to set up the printer connected to your Windows computer.
