If you want to connect to your wireless printer without the hassle of finding and plugging in an Ethernet cable, you’ll need to connect to it over Wi-Fi, which will allow you to print from any device that has access to your home network. To connect to your printer wirelessly, first, turn on the printer and connect it to the internet using an Ethernet cable. Then follow the instructions below. You’ll be able to print wirelessly in no time!
WPS Connection – To Connect Printer with Wireless Network
Before following this method, first, make sure that your WiFi router has a WPS button. Also, the router must use WPA or WPA2 security protocols.
- Hit the power button on the printer to make it ‘ON’. Also, switch on your WiFi router through WPS Button. Thereafter, go to the printer ‘Home’ from the touch screen and then press and hold the ‘WiFi’ button.
- Next, select the ‘LAN Wireless set up’ option > press ‘OK’. At this moment your printer will search for the access point of your wireless network.
- Choose your WiFi Network (named Canon in your router setting).
- After that, hit on the WiFi access point which will ask for a passphrase or WPA Key. Now, enter your WiFi password and then press the ‘OK’ button.
- This process will take a few moments to establish the connection of the printer with your WiFi router access point.
- Now, the printer and the router will automatically make a connection at this point.
- When the wireless connection is done, the power and the WiFi light will stop flashing. Instead, they will continuously remain lit after the connection.
Add Wireless or Network Printer to Computer
Once the Printer is connected to WiFi Network, you should be able to connect to it from your computer by following these steps.
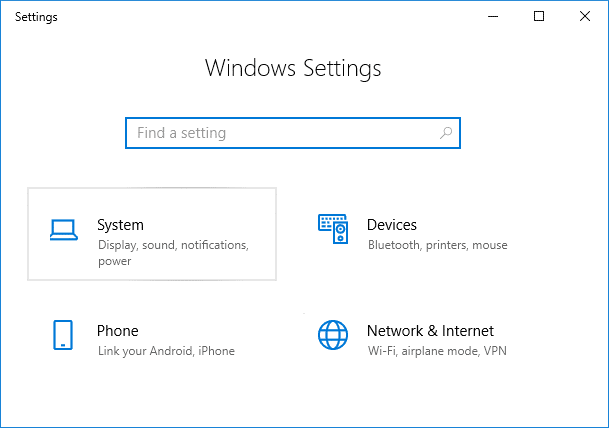
- Open Settings on your computer and click on Devices.
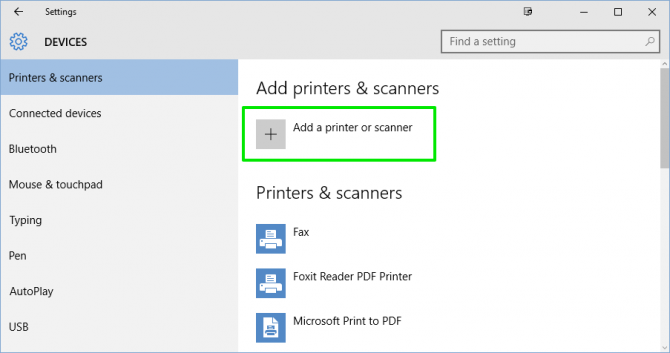
- On the next screen, click on Printers & Scanners. In the right panel, click on Add a Printer or Scanner option.
- Wait while Windows sets up the necessary drivers and adds the printer to the computer.
- Windows might prompt you to install additional software. If so, select the Get app to download and install the software.
- When the setup is complete, the computer prints to the wireless printer without being connected to the printer with a USB or printer cable.
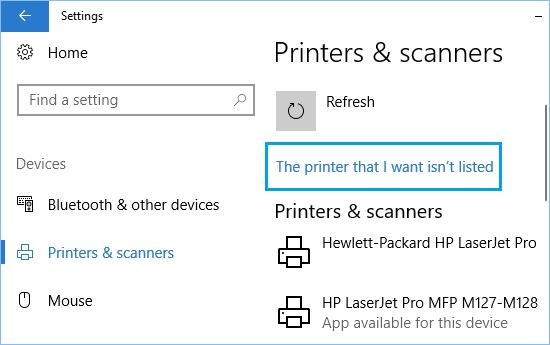
- If Windows didn’t recognize the printer, go back to Printers & Scanners.
- Select Add a printer or scanner, select The printer that I want isn’t listed.
- In the Add Printer box, select Add a Bluetooth, wireless, or network discoverable printer and choose Next.
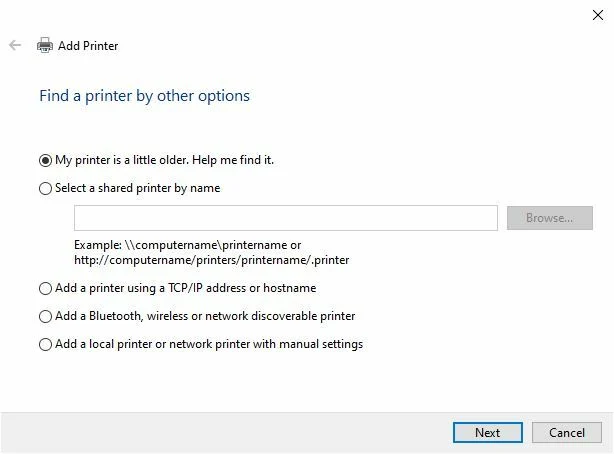
- Select the wireless printer and choose Next, close the Settings when you’re finished.
That’s all about the canon wireless printer setup. Hopefully, the guide helps you to connect to a printer wirelessly for the first time.