Let’s look at ways Photoshop can help us remove the background that leaves your subject intact, as well as a smart plugin that does a better job as a tool.
Let’s look at ways Photoshop can help us remove the background that leaves your subject intact, as well as a smart plugin that does a better job as a tool.
Photoshop Remove Background tool
This is the easiest way to remove the background image in Photoshop. This method is best if you are not too careful when cleaning the content of your topic.
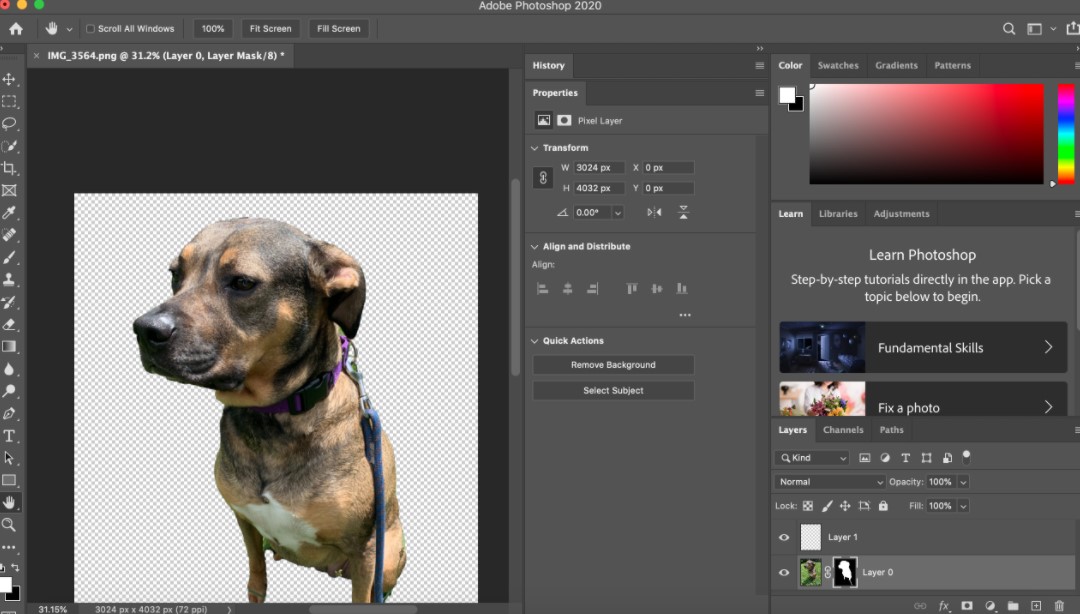
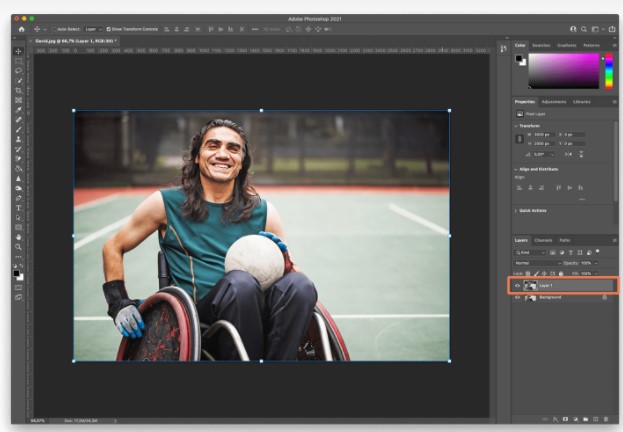
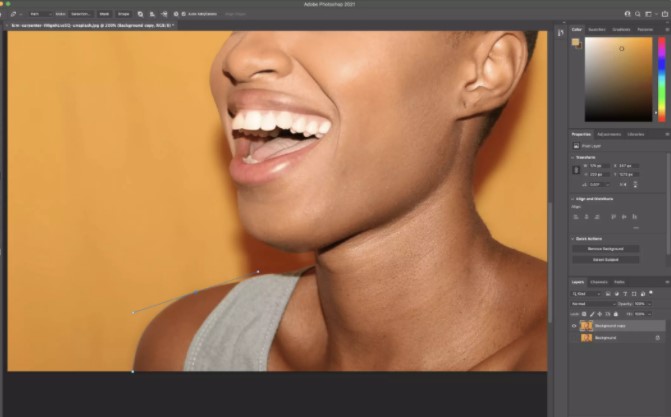
First, open your image in Photoshop and go to the right Layers panel. Duplicate an existing layer by pressing Command + J on macOS or CTRL + J on Windows.
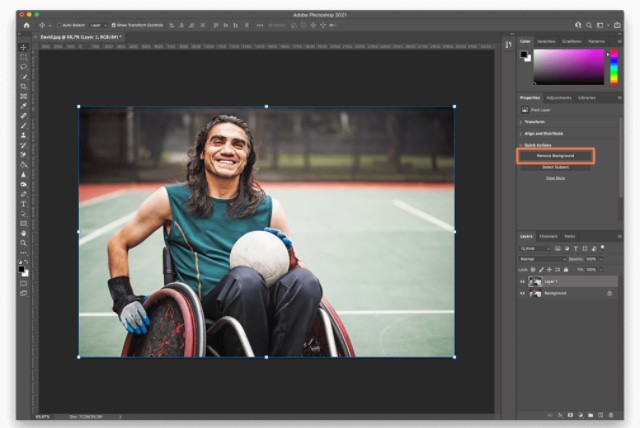
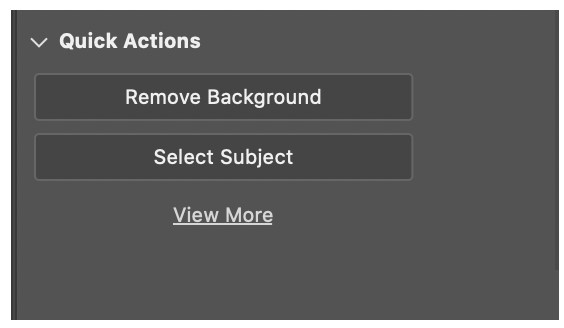
- In the final step, go to the Quick Actions panel and click the Remove Background button, which should complete the Photoshop background removal process.
- Click on the ‘Get Background’ button on the right
- Zoom in on the Remove Photoshop Background button in the Quick Actions section
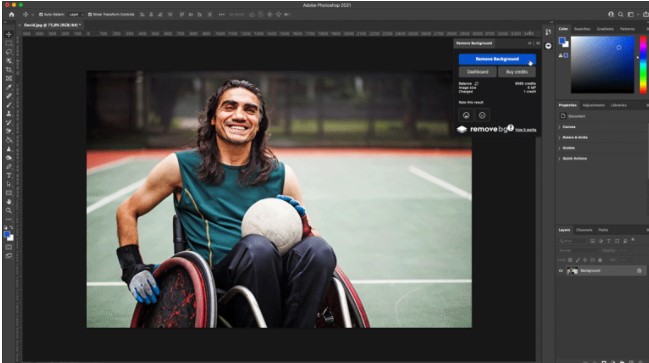
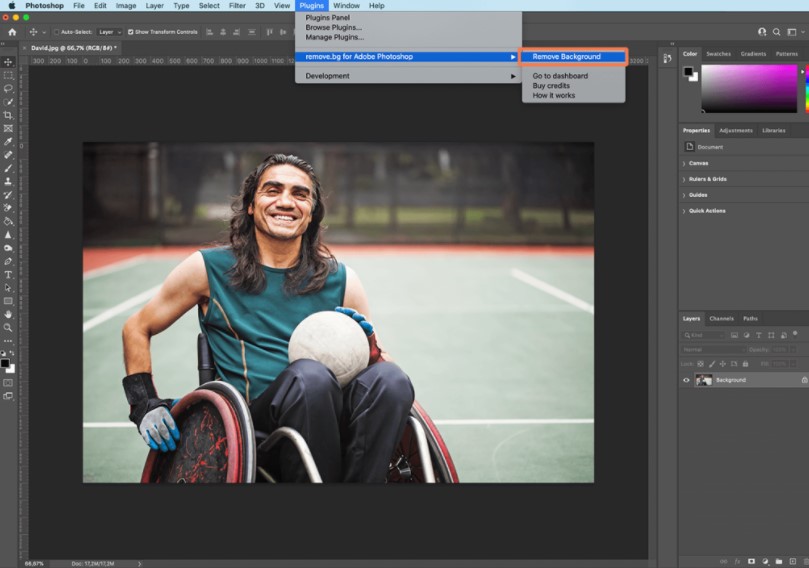
remove.bg’s Photoshop plugin
The remove.bg plugin for Photoshop is the best way to separate the background of a subject.
A plugin is better than software for separating complex elements and edges, such as hair. You can also use a layer mask to capture or restore areas of an image, but you must click the button.
Follow these steps to get started:
Download the plugin. Downloading the remove.bg plugin for Photoshop is free. You can also purchase image processing credits – which you can apply to all products and integrations in remove.bg. If you already have remove.bg installed, you will find it in the Plugins drop-down menu.
Log in to your remove.bg account and click the Remove Background button to remove the background from the open image (as a selection) in Photoshop. Remember that the image is processed via the remove.bg API, so you need an active internet connection and an API key (which can be found on your account’s taskbar).
Remove a Background in Photoshop with the Pen Tool
It is best used if: the subject and background are not very different, or if other tools, such as the Quick Action tool or the Background Erase tool mentioned above, do not produce the desired results. It gives you the most control over all the methods listed here.
The Pen tool is one of the most tried and true ways to extract backgrounds from Photoshop images. It gives you the most control over the result. However, because it gives you the most control, it can also be the most time-consuming. The Pen tool requires patience.
Pen Tool Steps
- With the image open in Photoshop, right-click the background layer and click Duplicate Layer. In the dialog that appears, name the layer (however you want) and click OK. Click the eye icon to the left of the original layer to delete the layer.
- Select the Pen tool from the toolbar on the left (above the Text tool). To get started, zoom in on the image area. Start at the edge of the object (as a suitable starting point) and click to launch the first anchor. Then start working on your theme, add more anchors, and start your theme.
If you need to create a curved line, click, hold, and drag to create a curved line, move the mouse to adjust the curve as needed.
To adjust the anchor point or fine-tuning guides, use the Direct Selection tool (hidden under the Path Selection tool) on the toolbar.
To undo the dock, go to File> Undo or use the keyboard shortcut (Command + Z for macOS, Control + Z for Windows).
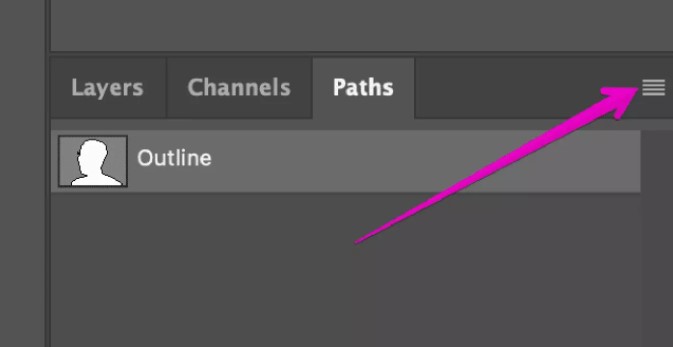
- Make sure you complete the journey when you are ready by completing your first point. If you have already completed the route and are satisfied with the results, you want to save the route. Go to the Window> Paths and open the Paths panel (it should appear on the right by default). Click the three menu bars on the right and click New Path to name your path. Your path is now saved in the Paths panel.
Then right-click on your new path in the Paths panel and select Make Selection, then click OK in the dialog box (it will display all default settings for now). You will get an up-to-date ant overview of where you are going.
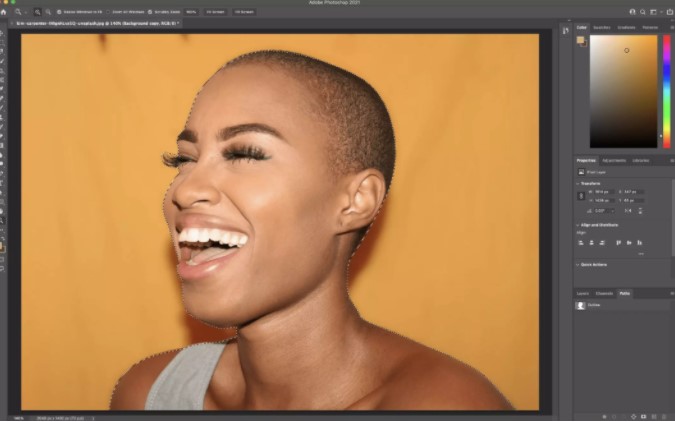
Because we don’t want to delete what’s in the selection, we want to change the selection to be anything other than the subject. Go to Select> Invert. Now you can march the ants all over the photo and see the subject, choose the background.
To delete the background, press Delete. You should now see a white / gray checkered background instead of the previous background.

As with the other methods listed, you may find that this doesn’t get you to 100%. Using a combination of the Pen tool and other methods here will help you get closer to your desired result. (For instance, I would use a different method to help refine the woman’s eyelash area in this particular photo.)
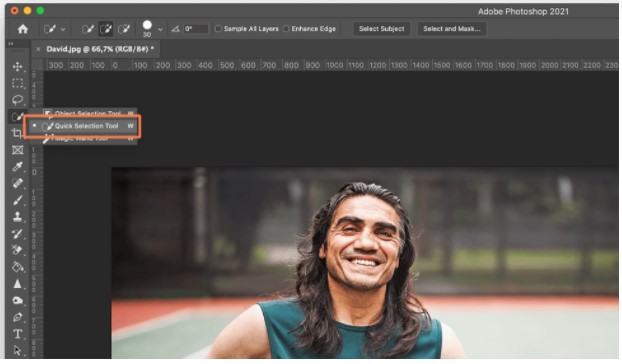
The Quick Selection tool
The Photoshop Quick Select tool uses artificial intelligence to make real-time decisions about where object lines are falling and where the background is.
This tool is best if there is a clear difference between your foreground and background selection. If there is a lot of similarity in pixels, it will be confusing and you will spend hours adding and subtracting elements.
Once you have completed your first selection, you can toggle between increasing the selection and decreasing the selection in the menu.
How to use the Quick Selection Tool
- Open your image in Photoshop.
- In the left menu, find the Quick Selection Tool (Photoshop Toolbox). This can be installed using the Magic Wand Tool.
- Check the improvement of the possibilities you need to provide the most greater quality you choose the edges.
- Click the button and move the pointer to where you want to select. Quick choice finds melodies that match the choice that they think it finds the edge.
- Maybe you’ll see you want to add to your choice. If so, just click on another location. If the tool is too excited, you can deselect it. To do this, press Option (macOS) or Alt (Windows) and go to the section you want to deselect.
- Or you can change the tool by deselecting the menu bar (minus) to clear everything you hover over.
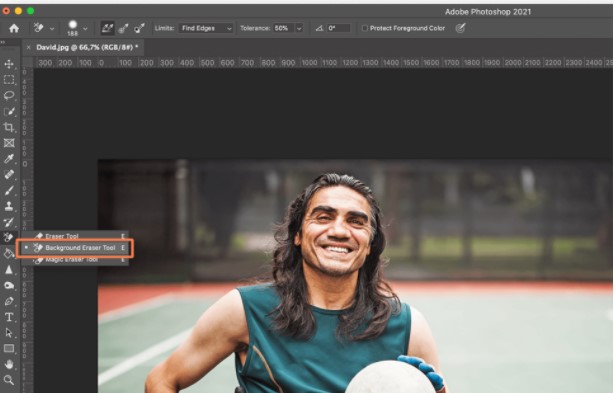
The Background Eraser tool
This tool is used to remove backgrounds from images that have more than a certain amount of fine detail between the subject and the background.
This works by taking a hue pattern in the center of the brush and selecting pixels of the same or similar color as you move the mouse.
How to use the Background Eraser tool?
- Open your image in Photoshop.
- Find the Background Eraser Tool in the Photoshop Toolbox. It might be hidden within the Eraser submenu, so click and hold that or press E to highlight it.
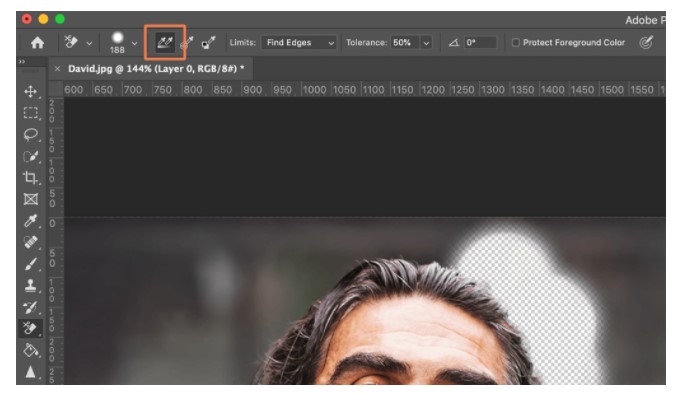
- Make sure the brush is the right size. You can use the [and] parentheses or edit them on the menu bar. The larger brush is faster, but you need precision when working in tight spaces. You can and should also zoom in.
- You want the brush to be nice and stiff even on the slider. If you have blurred edges, you will leave artifacts. Movement [a] can reduce or increase stiffness.
- To find the borders, set the borders in the menu.
- Place the center of the brush on the color you want to remove and click. You can take any of the same colors within your tolerance (see below) and leave the other colors as well.
- Tolerance is how wide the colored brackets in a circle are. If you remove this grass from the back of your feet, you will want a high tolerance because it has yellow stems and brownish leaves.
- Of course, if someone has green leggings, you may have a problem. Start at 25 and see how you do.
- Keep in mind that the Background Eraser tool erases any matching color that the crosshair has already done, so you must hide the background color. By default, Background Eraser is set to Continuous Sampling.
That means it will delete any matching color those crosshairs hit upon. If you have many different hues in your background you will need to keep sampling and deleting them. However, if you only have one hue (or a narrow bracket of hues) such as a blue sky, you can change to Once.
In this case, even if you hover over another color, it samples and deletes the color you started with. The subject part of the error cannot be completely removed.
If there is a very close similarity between the background color and the object and you constantly find that your object has been deleted, here is another trick. Click Protect Foreground Color (on the far right of the tool menu). Hold down Alt (Win) / Option (Mac) and use the pepper tool that appears to select the color you want to protect from damage.