How to set up a Canon Pixma tr4522
Here you will find the steps to connect your Canon printer to the wireless network in easy steps. Whether you are trying to connect your Windows or Mac device to the Canon TR4522, we’ve got you covered. Just read the blog till the end to complete setting up your printer and connect it to the WiFi.
How to setup canon pixma tr4522 Printer Using WPS Method
The following steps will guide the users to effectively set up their canon Pixma tr4522 printer via the WPS method.
- Click the WPS button and then hit on “OK” button.
- At this step, go for the push button method as detailed in the above section.
- Thereafter, hit the OK button and keep holding the WPS button that is placed on the access point.
- Hit the “OK” button on your printer within two minutes.
- Lastly, press the “Copy” button as and when the screen on the right appears.
- Now you have successfully connected your printer
Canon Pixma tr4522 Wireless Printer Setup on Windows
- Firstly, turn on your printer, Windows PC and WiFi Router
- Connect the printer with a wireless network by following the steps mentioned in the above section.
- Then, download the driver from Canon’s official website.
- Once downloading finishes, follow the onscreen instruction to setup printer.
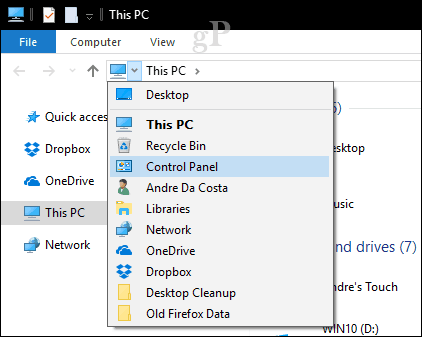
- After that go to the start menu
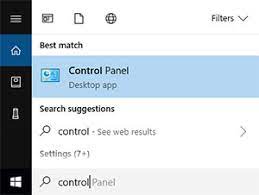
- Open control panel, click on ‘Devices and Printers’ option.
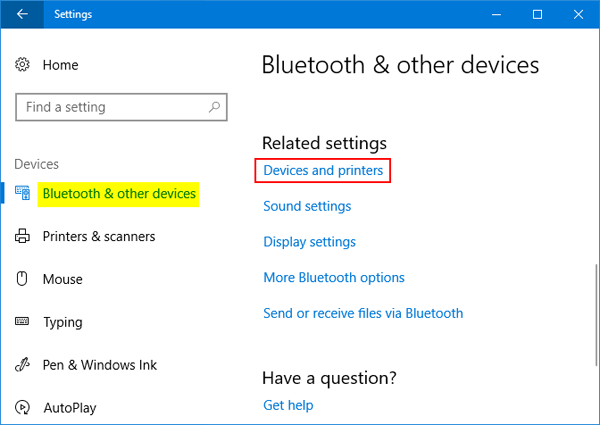
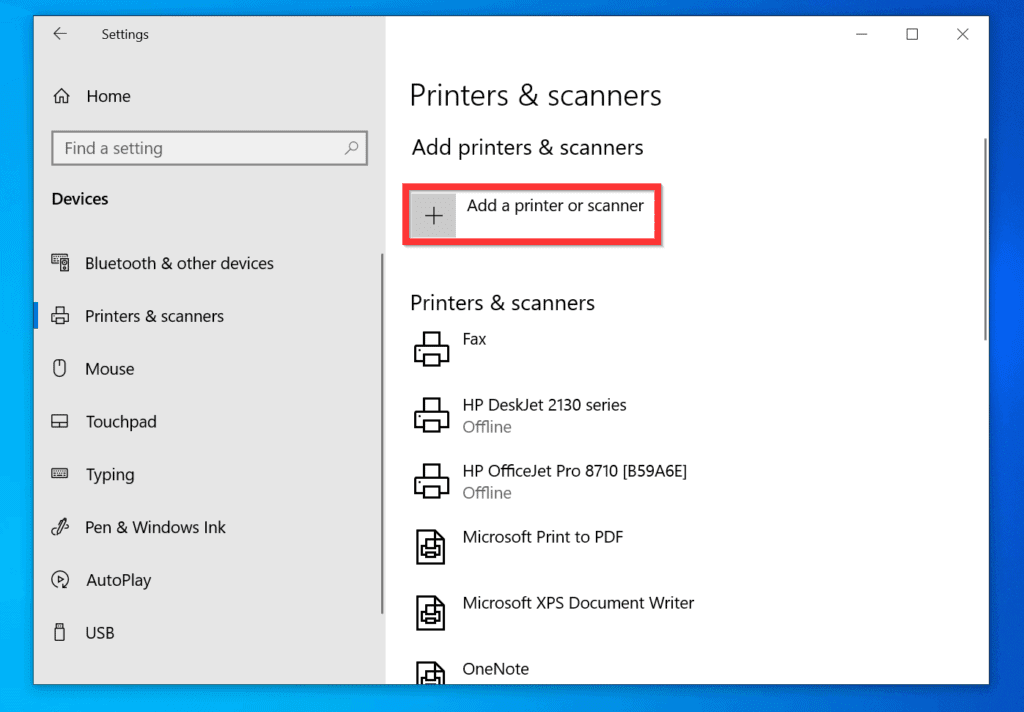
- Select “Add a printer option.”
- On the next prompt screen, choose your network printer from the provided list
- It takes a few seconds to connect Canon wireless Pixma tr4522 printer to windows PC
- Now take a print test to make sure you have successfully connected your printer.
How To Connect Canon Pixma tr4522 via USB
To Connect Canon Pixma tr4522 via USB follow these steps as below:
- Make sure printer and Windows PC Switched on.
- Connect Printer and Windows PC Via USB Cable.
- Then go to the Canon official website to download and set up the printer driver.
- Thereafter, open the control panel from windows search.
- Click on printer and driver > Tap on the Add printer option.
:max_bytes(150000):strip_icc()/003-how-to-install-a-printer-driver-4781671-a3188137f87c46ecadaa5ca86bce6f4c.jpg)
- Choose your printer from the appearing windows screen.
- After a few seconds, your printer will be added to the Windows PC.
How To Connect Canon Pixma tr4522 via Wireless Setup
- Ensure that your printer, WiFi router, and your Mac device is on.
- Then, connect the printer with the WiFi router by taking the reference from the above-mentioned steps.
- After that download and set up Canon printer driver by visiting canon’s official website.
- Now, click on the ‘Apple’ menu. Select System and preference > Choose printer and scanner.
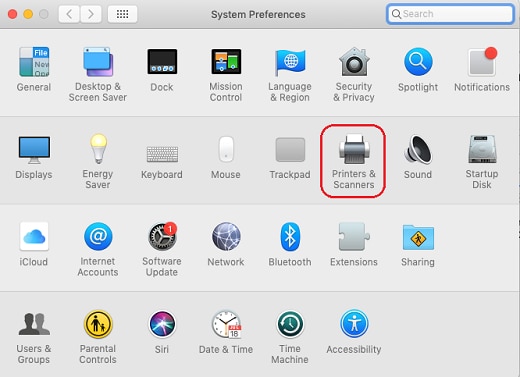
- Click on the + Add sign from the bottom left side.
- Now select your printer from the list of shown printers.
- Keep following the onscreen instructions and your printer will be successfully setup.
Hope the write-up proves beneficial to our readers while setting up their Canon Pixma tr4522.