In this article, we will describe about software center and the steps to download and install it as well. It is part of Microsoft’s System Center Configuration Manager (SCCM), which allows you to distribute, manage, support and update computing and technology services (CTS). It also provides a scalable, efficient way to manage large groups of Windows computers. This feature set gives the Office of Information Technology (OIT) the ability to preform software distribution in line with industry standards and best practices to meet the needs of the University of Alaska Fairbanks (UAF) and Statewide Administration (SW).
Where is the software center on the computer?
Here we find the this application on the computer, for that follow these steps:
- First go to start menu.
- Then click on Microsoft System Center.
That’s where we get the software center.
Alternatively way:
- You can double-click the Software Center system tray icon.
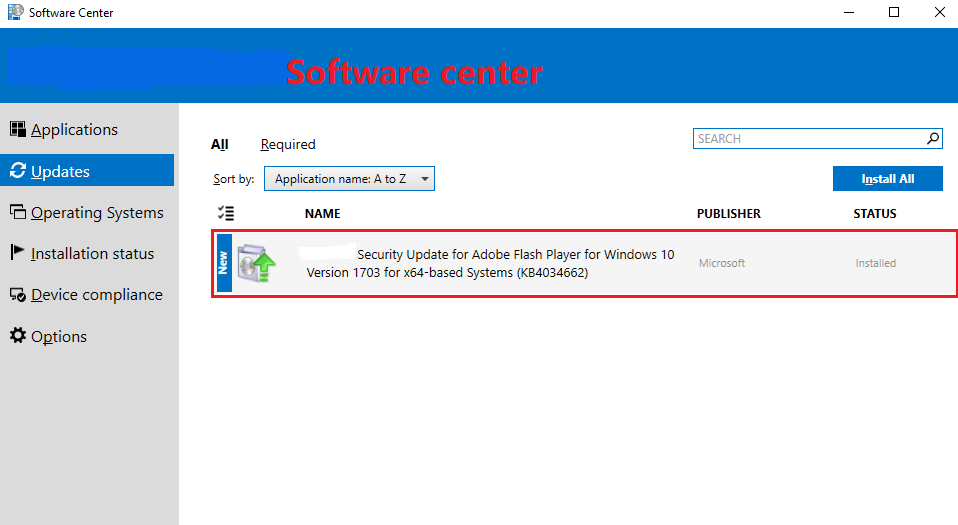
- From the Software Center console, you can view the software provided for installation from your IT department under “Applications”
- If you want to update it then click under “Updates”.
Steps to download and install:
Here follow these steps to download and install:
- Visit the downloading site.
- Instructions for installation are given below:
- Click on the Start button.
- Click All Apps > Microsoft System Center > Configuration Manager > Software Center.
- When the it opens, you will have a list of available software under the Available Software tab. Click on it
- After selecting the desired software click the Install button.
- The Installation Status tab will show the progress of the application being installed.
- Once the install is complete the software will appear in the Installed Software tab.
- Now it will be installed