In this article we will describe about dism host servicing process. Abberiviation of DISM is Deployment Image Servicing and Management. DISM is a tool used to service Windows images and fix various errors related to Windows’ image files and also to prepare Windows Pre-Installation environment. It is a safe process which you can see in the Task Manager. It is typically located in C:\Windows\System32\dism or C:\Windows\SysWoW64\dism. DISM can also add/remove drivers, enumerate packages, and enable/disable certain Windows features. The most concerning aspect of DISMHost.exe is that it duplicates itself in temporary directories. It is how it results in high disk usage.
DISM hosting services problems:
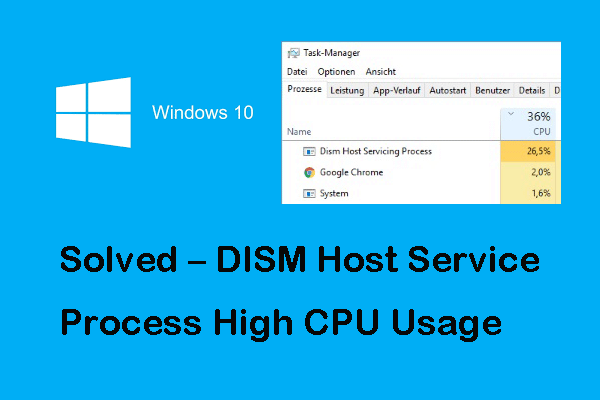
The problems related to the DISM host servicing process will be explained in the following points. You may also encounter additional vexing performance difficulties. For example, even when performing a simple task on a PC, the performance is relatively poor. It is because DISMHost.exe consumes a lot of CPU and utilizes a lot of internet traffic.
- DISMhost.exe high disk usage
- DISMhost.exe has confronted an error and needs to close. We are sorry for the trouble.
- DISMhost.exe Application Error.
- DISMhost.exe failed.
- Service Host Local Service Network Restricted
- DISMhost.exe is not running.
- Faulting Application Path: DISMhost.exe.
- Error starting program: DISMhost.exe.
- DISMhost.exe is not a true Win32 application.
- DISMhost.exe not found.
DISM host servicing process solution to fix high CPU:
Many Dynamic Link Library (DLL) files run through the Dism Host Servicing Process (DismHost.exe). If the DISM host servicing process on your PC is using high CPU, disk, and memory, then you can perform the following fixes to resolve it:
- Run SFC Scan with DISM
- Run Antivirus or Malware Scan with DISM
- Uninstall/Delete DISMhost.Exe On Windows 10
- Disable Background Intelligent Transfer (BIT)
- Disable Superfetch Service on windows 10
1. Run SFC Scan with DISM:
System File Checker is a utility built into the operating system that checks for system file corruption. The sfc /scannow command (System File Check) scans the integrity of all protected operating system files and replaces incorrect, corrupted, changed, or damaged versions .
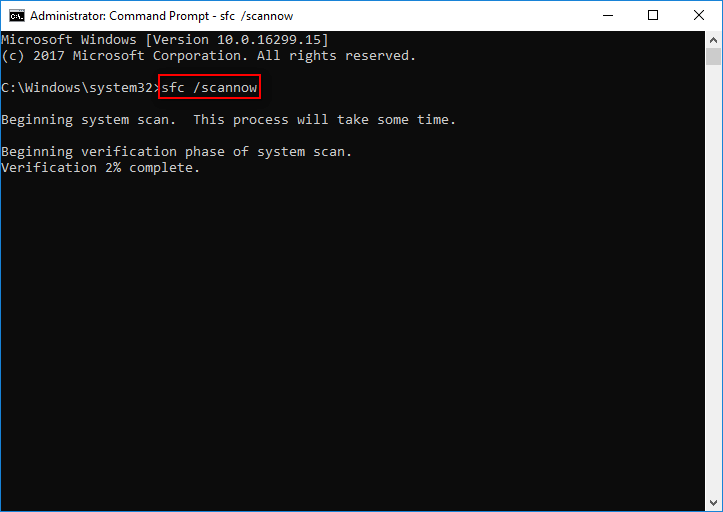
SFC command tool to repair the Windows 10 installation, use these steps:
- Go to start>Type CMD
- Right click and run as Administrator(called an elevated command prompt)
- If you want to verify and repair the OS type sfc /scannow (note the space between sfc and “/”)
- If you just want to check (verify only) the OS type sfc /verifyonly (no changes will be made using verify only)
2. Run Antivirus or Malware Scan with DISM:
Malware, short for “malicious software,” is the catch-all term for dangerous apps. It’s a more appropriate term for bad software than “virus” is. You can use “malware” to refer to the other types. Is your Windows 10 computer performing slower than usual? Are you seeing different pop-ups that weren’t there before? If so, you may have a malware-infected PC on your hands. There are ways you can check. This article will teach you how to scan your PC for malware in Windows 10.
Windows Protector is not only free, but it also comes with every purchase of Windows 10. it is also easy to use It works by scanning for threats such as adware, spyware and viruses. Turning on Defender will prevent malicious software from doing any significant damage.

Steps to turn on Windows Defender:
- Open Windows Settings. Go to Update and Security > Windows Security. Under Protection Areas, select Virus & Threat Protection.
- A new window will pop up with a list of security options. Click Virus & Threat Protection. Now click Manage Settings under Virus & Threat Protection Settings. Go to Real-Time Protection and switch it to the on position if it’s currently off.
- Once activated, Windows Defender will automatically scan your computer for malware. The most recent iteration of Windows Defender is not available on Windows 7 or Windows 8.
3. Uninstall/Delete DISMhost.Exe On Windows 10:
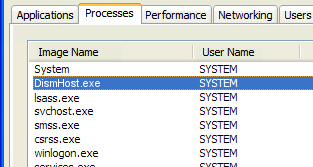
You cannot get rid of DISMhost.exe problem on your Windows computer. You need to remove it from your system. This is the only option you have. Which is causing this problem then you see DISMHost.exe using a lot of CPU in Task Manager then you can kill it. For how to do this, see the points given below:
- To uninstall an application, go to the Control Panel (search in the Windows search bar)
- Now locate the software, right-click it, and select Uninstall.
- The program will be uninstalled, and high disk usage should return to normal.
- Open C:/Program Files and look for a folder called DISM host servicing process. If you are unable to locate DISMHost.exe, you have effectively uninstalled it.
- Check the registry for DISM Host Servicing Process under HKEY LOCAL MACHINE then Software. If it is, you must delete it once more.
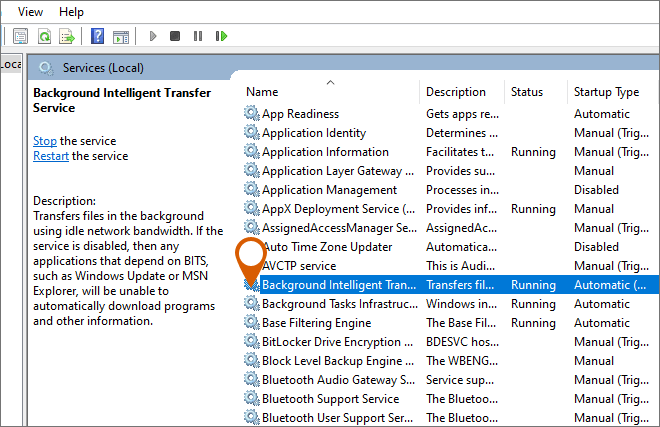
4. Disable Background Intelligence Transfer(BIT) Service:
BIT (Background Intelligence Transfer service) is another service similar to Superfetch. It’s responsible for managing all of your computer’s background apps and processes. DISMhost.exe uses this service to distribute files over the Internet for several purposes. It has the potential to drain your internet resources. This service may als be responsible for the error you are experiencing. So some points have been divided for its solution:
- To enter the Run dialog, hold down the Windows key and the R key simultaneously.
- Then, type services.msc in the window and click OK to continue.
- Find and open Background Intelligent Transfer Service in the pop-up box.
- Then make the Startup type Disabled, and the Service status Stopped.
- Save the changes, click Apply, and OK.
- Restart your computer after it’s finished.
- Check whether the error DISM host servicing high disk usage has been resolved.
5. Disable Superfetch Service:
Superfetch is just one of many tools you can use to make your computer more efficient. For more detailed about superfetch enable and disable serives look at disable superfetch felated question and follow this link https://computersolve.com/disable-superfetch-service-and-some-superfetch-related-question/ . Here’s a detailed look at how Service Host Superfetch works:
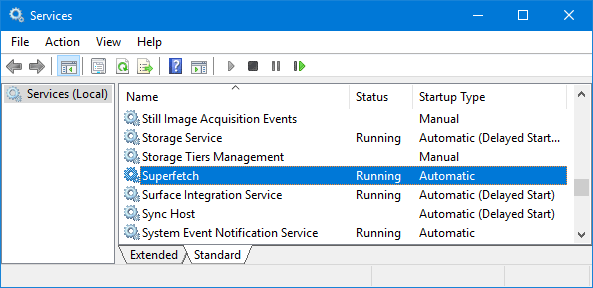
Service Host Superfetch predicts which programs you’ll use at which times, then preloads those apps into your RAM.
- Superfetch preloads apps (and boot files) into your RAM when it thinks you’re going to use them. It’s designed to prevent Windows from needing to dip into the slow hard disk as often.
- Superfetch learns as you continue to use your computer. As your habits change and you use different programs more or less frequently, Superfetch adapts to your needs.
- Superfetch’s algorithm will predict which apps you’ll be using when. Superfetch is able to predict up to three apps at any one time.
- Superfetch knows how to prioritize active programs over background tasks, such as defragmenting your hard drive. Windows Service Host Superfetch will run these tasks while your computer is idle.