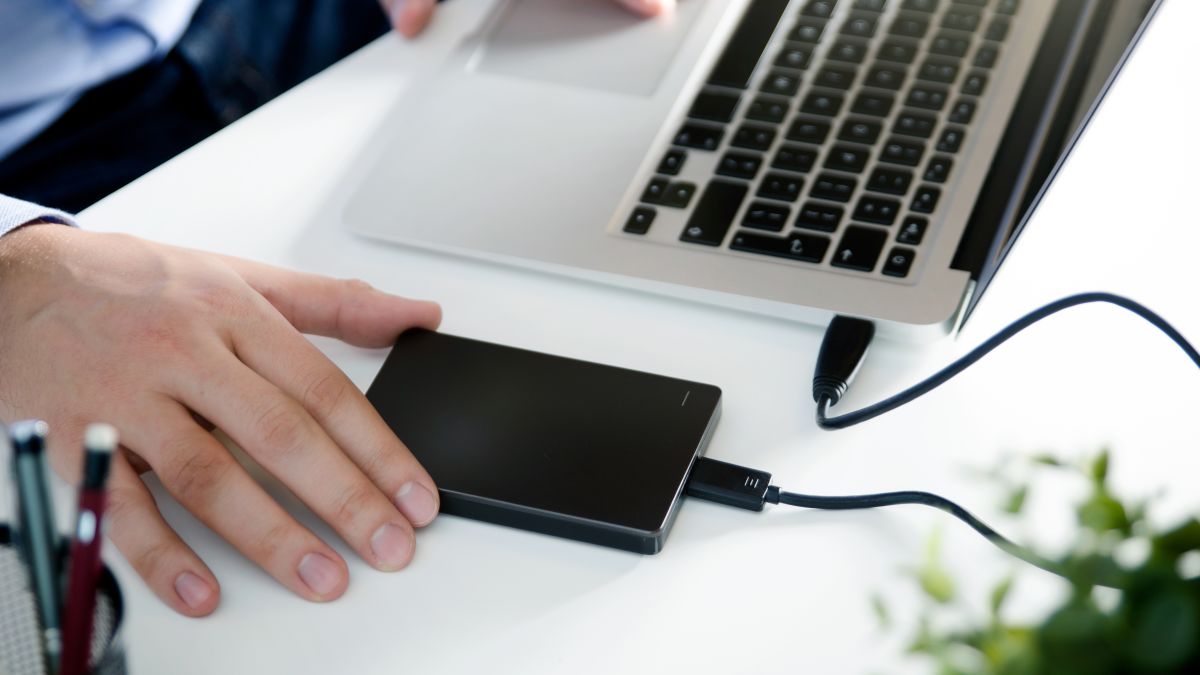
When you plug your external hard drive in, it is not visible on the computer, data loss can also occur if the hard drive not showing up in Disk Management.
Some possible reasons why hard drive not showing up in Disk Management:
- The SATA cable is used to make the connection between the hard drive and the motherboard. If HDD is showing up in BIOS settings but it is not showing up inside Device Manager, then it could be caused by a faulty SATA cable or port.
- This problem can occur due to ATA drivers.
- Hard drive not showing up in Disk Management caused by motherboard SATA drivers.
How to fix Hard Drive not showing up in Disk Management issue?
1. Try to check the SATA cable
To resolve this issue check that SATA cable is inserted properly on both ends. If any mistake in SATA cable then change the cable with an extra SATA cable. You also need to ensure that the power cable is connected to the hard disk.
2. Try to check the BIOS
The BIOS is software installed on a computer motherboard that identifies and configures computer hardware and tells it how to perform tasks such as booting. You can access your computer’s BIOS by first restarting it, then pressing the Setup key repeatedly during the start of the startup process. Most motherboards will show the setup key during the initial boot which can be any of the F2, F4, F8, F10, F12 or Del keys.
Check inside the BIOS if your computer can detect the HDD. If it can’t then use a different SATA cable or a different hard disk. Plug the SATA Cable into a Different SATA Port.
3. Delete ATA Drivers
- Press ‘Windows + R’ on your keyboard, type ‘devmgmt.msc’ into the Run dialog box and click on ‘OK’.
- On the Device Manager window, expand the IDE ATA/ATAPI controllers.
- Right-click on the ATA Channel and choose ‘Uninstall’ option from the context menu.
- Once the first ATA Channel has been uninstalled, repeat the procedure with every ATA Channel that you have under IDE ATA/ATAPI controllers.
- After uninstalling all ATA channels, reboot the computer.
4. Delete Hard Drive from Storage Spaces
Storage space is a virtual drive that can be created from different storage drives. These drives are grouped together into a single storage drive. If you have used storage space to include a hard drive that is not showing up inside Disk Management, you will be able to resolve the problem simply by removing the HDD from the storage pool.
Steps to delete hard drive from Storage Spaces:
- Press ‘Windows + R’ on your keyboard, type ‘control’ into the Run dialog box and click on ‘OK’.
- On the Control Panel window, tap on ‘System and Security’, then tap on Storage Spaces.
- Expand your Storage pool options and tap on the Delete button associated with the storage space that includes your HDD.
- Choose ‘Yes’ at the confirmation prompt, then Reboot your computer.
5. Import the Foreign Disk
- Press ‘Windows + R’ on your keyboard, type ‘diskmgmt.msc’ into the Run dialog box and click on ‘OK’.
- On the Disk Management window, see if you have another disk under your OS disk. If you have one and it has an exclamation-type icon, right-click on it and tap on Import Foreign Disks.
- Your new HDD drive should become visible as a volume in both Disk Management and File Explorer.
6. Install the Motherboard SATA driver
To resolve this issue download the SATA driver from the Motherboard Manufacturer Website and install it. After installation, reboot your computer.
After doing all the fixes, make sure that the hard disk is now visible in Disk Management.
We have described all the different fixes for Hard Drive not showing up in Disk Management. Hope you are like it! Thanks for reading this article. If you want to know about There is not Enough Space on the Disk. Click Here.
