How to: Change ink cartridge Canon Pixma mg2522
The Canon PIXMA range is a popular range of photo printers that give people an affordable and convenient way to print out professional-looking photographs at home.
Canon Pixma printers are all different in their method of allowing you to change the ink cartridges within them. Depending on the model you own, the way in which the cartridges are replaced will differ.
To print anything, the biggest requirement is to have a paper tray full of sheets and ink. And if you use the Canon Pixma mg2522 then it’s pretty much the same requirement.
Things to Keep in Mind Before Changing Ink Cartridge Canon Pixma MG2522:
- If you remove the cartridge then replace it immediately so that it does not get any error code.
- Whenever you change a cartridge make sure that you use a new one and not already used cartridge.
- While unpacking the cartridge, do not leave it open because the ink will dry up and would not be used again.
- Use the cartridge within six months of buying it or else it will expire.
- Don’t stain your hands or cloth while putting the ink. Use a duster to clean the spilled ink.
Steps to change the ink cartridges in a Canon PIXMA mg2522
- The first step is to carefully open the printer cover and make sure it is properly propped open using the support brace located on the right side of the cover.

- Next, you are going to need to remove the new ink cartridge from its container (making sure not to throw the container away yet as it is a useful place to store the used cartridges!)
- Remove the strip of protective tape from the new cartridge so that the print nozzle and electrical contacts are revealed.

- Your printer should have a printer cartridge slot, this is where you will place a new black ink cartridge.
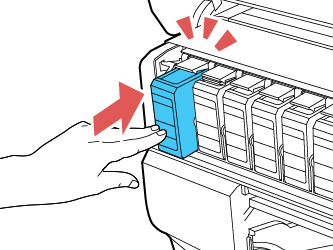
- Push the cartridge up and back into this slot until you feel it click into place.

- Next, you repeat the above process with the color cartridge, except that you are placing this cartridge into the slot labeled ‘C’.
- Remove the support brace from the cover and place the printer lid into its closed position.
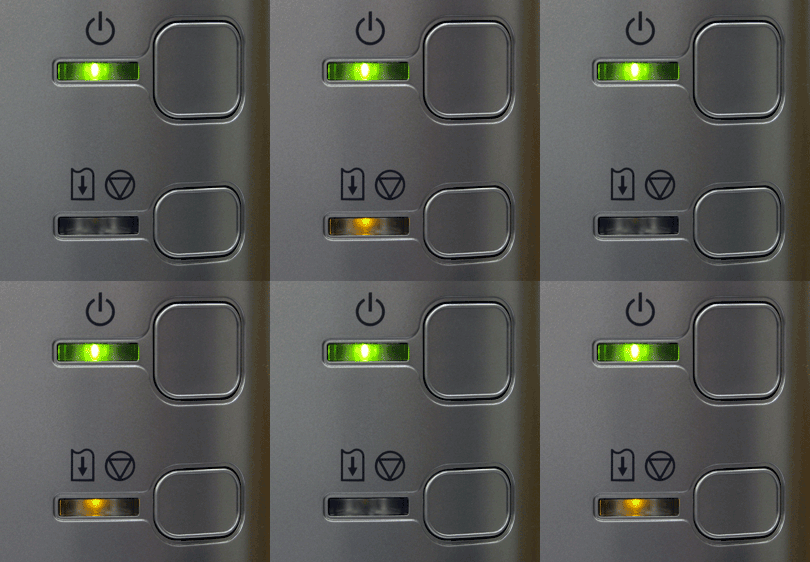
- At this point, there should be a green flashing light in the top of the printer, if this is not visible you have not installed the cartridges in the right way.
- After this green flashing light has become a constant, then you will be ready to print.

