Canon Pixma Wireless Printing system, you can establish a wireless connection between your printer and your computer by using wireless networking. A wireless network allows you to print anywhere with any smart device. Select the document that you want to print and press print. Read the following step-by-step process and follow the instructions to connect the Canon Pixma printer to Wi-Fi.
Step 1: Connect Canon Pixma to Wifi via WPS Method
WPS (Wi-Fi Protected Setup) is a method that allows you to easily connect network devices to a secure wireless network. You do not need to know your SSID or password (network key) when using this method. If you have a wireless access point or router that supports WPS, you can easily connect your Canon wireless printer to your home network.
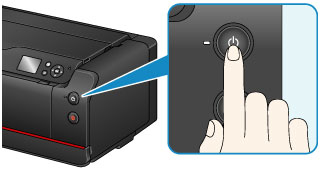
- Click on the power button to switch on the Canon printer.

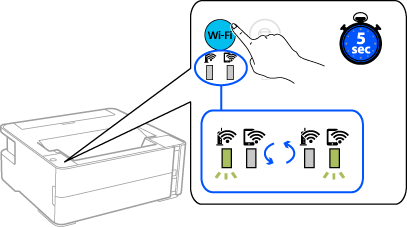
- Press the “Wifi” button on your printer and hold it until the light gets on.

- Now, you have to wait for at least 2 minutes.
- Find the WPS button and press and hold the button for a couple of seconds.

- Once the wifi and the power lights become still, the wireless network will get connected.
Step 2: Confirmation of Network Settings
If you want confirmation that you have successfully connected your printer to your wireless network without using a USB cable, you can print out the network settings of your printer.
Do this by:
- Turn on your printer.
- Load an A4 sheet of paper or any letter-sized plain paper in the printer.
- Press and hold the Resume/Cancel button until you see the alarm lamp flash 15 times. Then release it, and you will see the network information page being printed.
Make sure that the connection indicates “Active” and the Service Set Identifier, SSID (the name of your wireless network), shows the correct name of your network.
That’s it! This completely covers the WPS setup method. Make good use of the installation CD to install the required software to get the most out of your printer.
