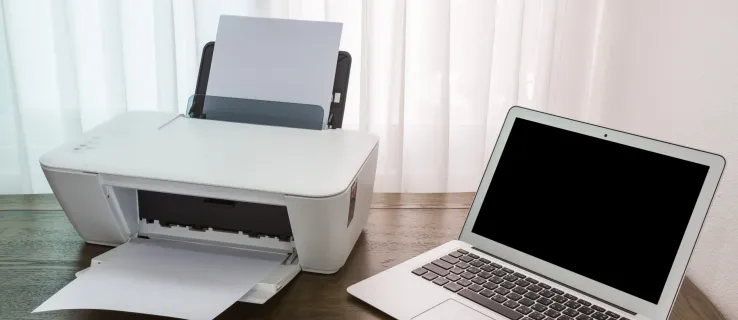
Connecting your laptop to a printer has become easier than ever as we progress into the age of innovative technology, but it seems as though the number, colors, sizes, and complexity of all the wiring can get lost in translation. Even when you think you’ve got the hang of connecting point A to point B, it takes a lot more than merely plugging in and out to deliver the right results.
In our digital age, printing comes in two forms – wired and wireless. We’ll walk you through how to connect a wireless printer to your laptop.
Step 1: Connect Wireless Printer to Laptop via Wifi
It is necessary to connect it to the same Wi-Fi network the device (PC, Tablet, etc.) is linked to. All the users are recommended to follow the steps given below to connect their printer with Wi-Fi:-
- Now, press the “On” button on the printer and press the Wi-Fi button and wait until the network lamp flashes.
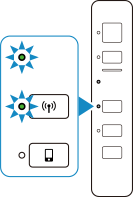
- Then your printer will detect the Wi-Fi network. Once the Wi-Fi connection is established, the Wi-Fi lamp will begin to blink in blue color.
- Therefore, after following all the above steps, the users have established the connection successfully.
Step 2: Add a Printer to your Laptop on Windows
In this section, we will provide the instructions to add a wireless printer on Windows. So, follow the below steps:-
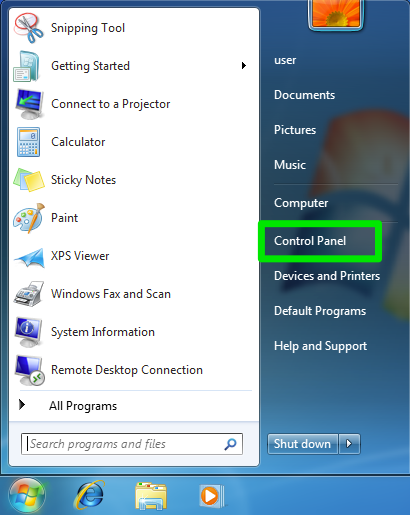
- After that, go to the Start menu which is available in the bottom left corner of the screen, and then open the Control Panel.
- Click on Hardware and Sound menu and then click on the Devices and Printers option.
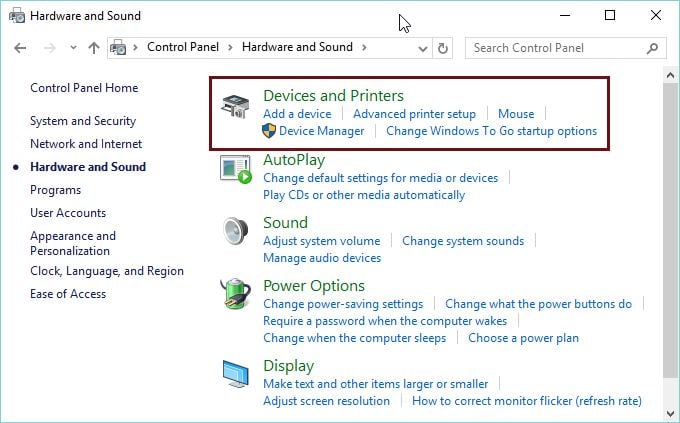
- Now click on Add a printer.
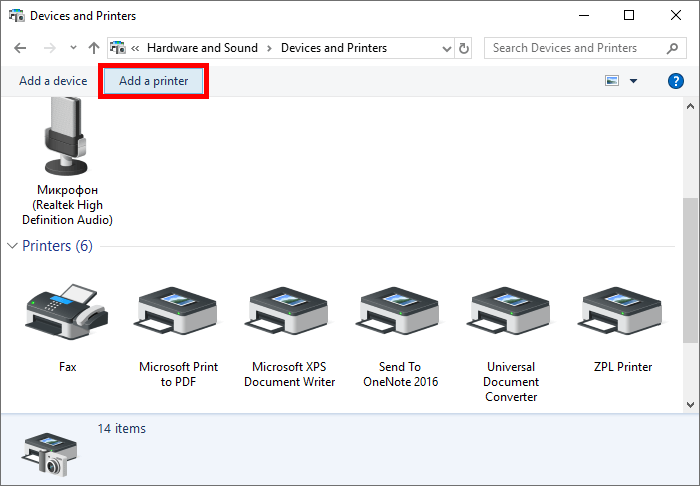
- Select Add a network, wireless or Bluetooth printer.
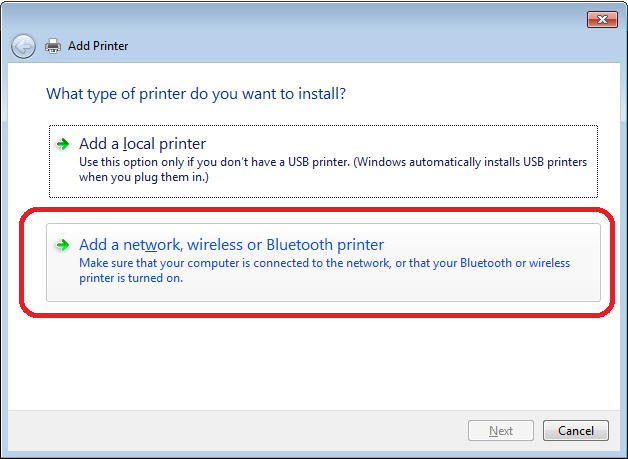
- Select the printer you want, then click Next.

- Select your printer from the list, then click Next to install the driver for it.

- Type a printer name and click Next.

- After you finish this step, your printer will be added to your laptop successfully.
