Draw over a picture in google docs
Google Docs is an online tool that has several included features, including the ability to draw on your files and the images in them. Some teachers need to draw in Google Docs too, however, to edit and mark students’ work. There are several methods you can use to learn how to draw on an image in Google Docs. Continue reading below to learn more about each of the options. Before you learn how to draw on an image in Google Docs, you must understand how to upload one. below these steps to upload image into google docs:
- On a browser, go to docs.google.com and log in.
- Open a new document.
- Press “Insert.”
- Click “Image” and choose the location where you can find the graphic.
- Press “Open.”
You can also use the Google Drawings app, which offers more features. Both methods serve to clarify your Google Docs.
Drawing On An Image In Google Docs:
You can use to learn how to draw on an image in Google Docs. Each is in detail below:
- Go to www.drive.google.com and locate the file where you want to draw.
- If you want to create a new document, go to www.docs.google.com and press “New.”
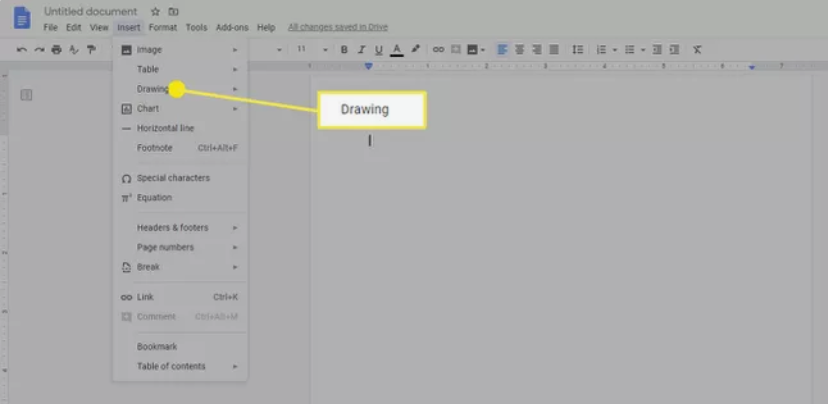
- Look for the toolbar at the top of the page, and press “Insert.”
- Hover over the “Drawing” option with your mouse.
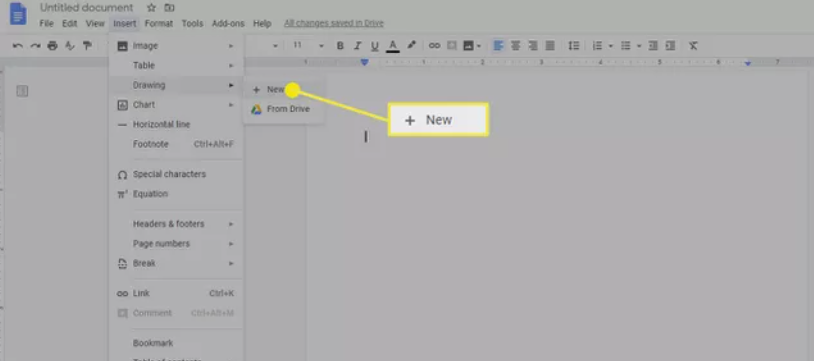
- Click on “New.” and pick your Image
- Click on “Line” and wait for the pop-up window to show up. This space will be where you draw.
- Select the appropriate tool for your drawing in the toolbar. Click and drag your mouse until you create your image.
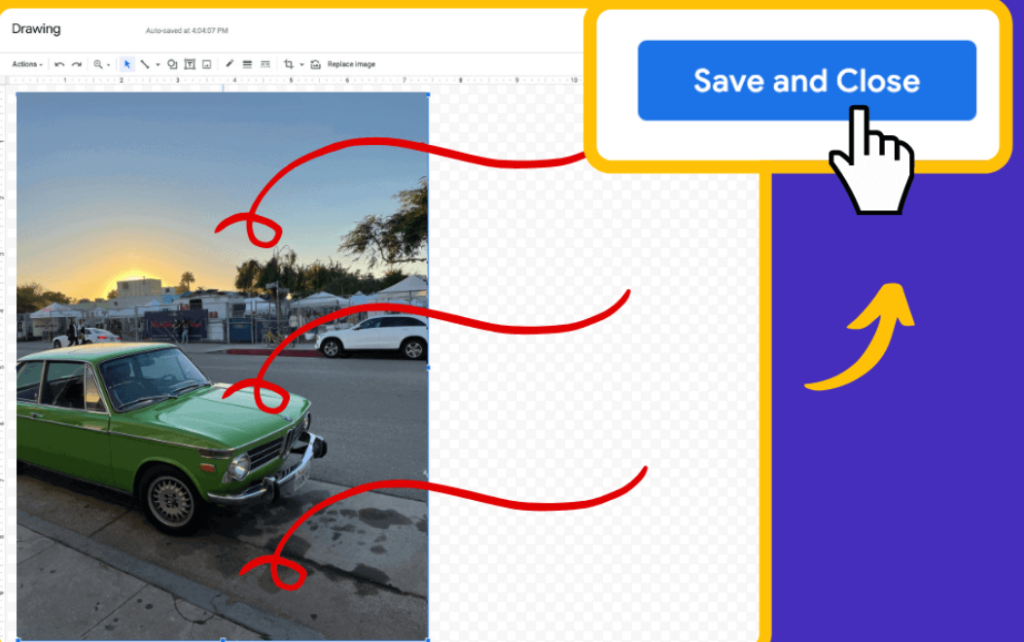
- After you are done, press “Save and Close.”
Create a drawing in Google Drive:
You can also create a drawing in Google Drive and add it to your Google Docs file. The Google Blog announced this week that images can be edited in Google Slides and Drawings. Using the edit features in Drawing means you can also edit images in Documents too! Just follow these steps:
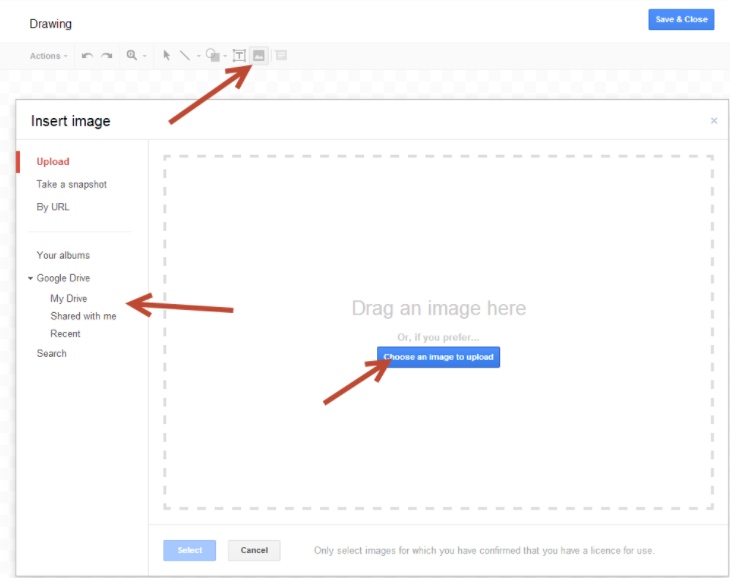
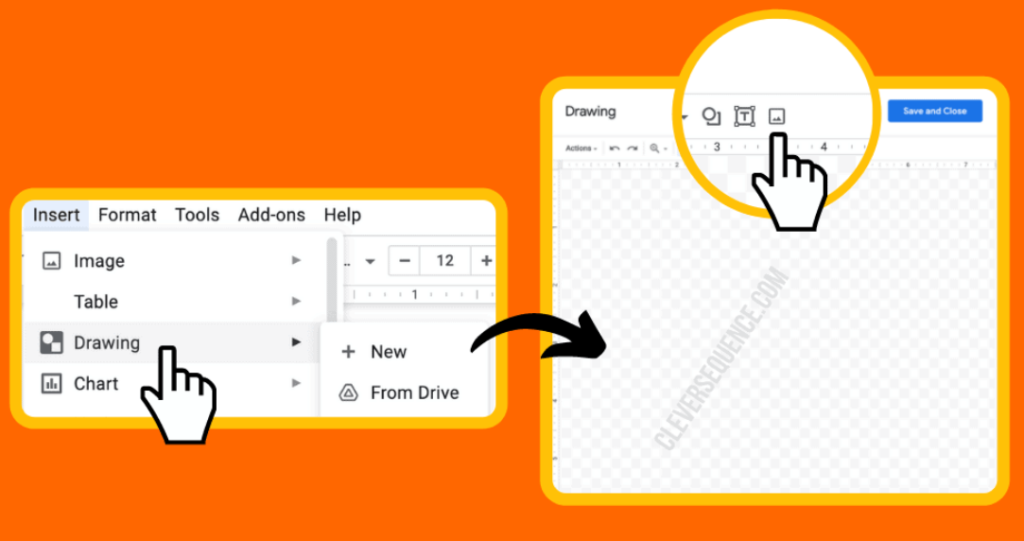
- Open your Google Doc, select the Insert menu and choose Drawing.
- In the drawing click on the Insert Image icon and upload your image or choose one from other options.
- Once the image uploads, click on it to select it and you can now crop and edit the image.
- When you Save and Close to return to your doc, you have the cropped image.
- If you later edit the drawing, the image’s cropping can be adjusted.
Steps to Draw on Google Docs:
Follow these steps:
- Start by creating or opening a document in Google Docs. Then place your cursor in the document where you want the drawing to appear.
- Select Insert > Drawing.
- Select + New.
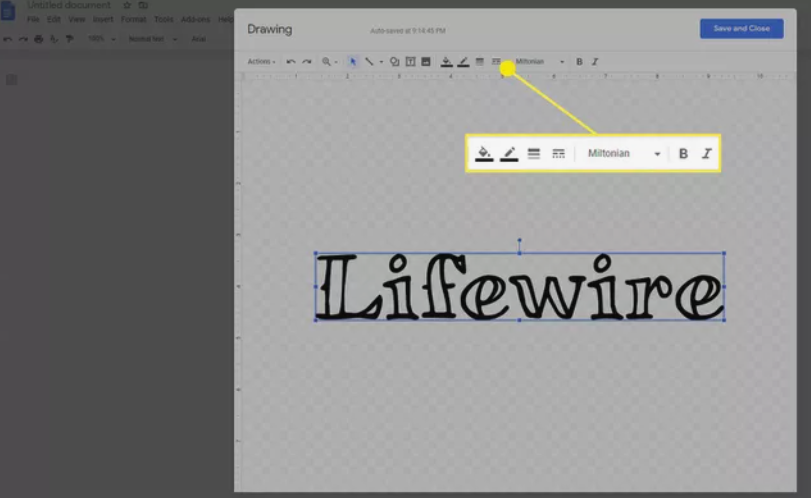
- The Drawing window opens. Here, you can select the type of drawing you would like to create from the Actions menu. For example, you could choose Word art from this menu.

- A text box appears in your drawing. Type the text you want to use for word art. When you have the text you want, press Enter to save it.

- The text appears in the drawing. The contextual toolbar at the top of the page also changes to give you font and color options. Adjust these options until the word art looks the way you want it to.
- You also have the option to add lines, shapes, text boxes, or images from the toolbar at the top of the window.