If you want to change the style of a document is by adding a new text font. To add a font to Word, download and install the font in Windows, where it will become available to all Office applications. Windows 10 comes preloaded with a number of different font types (based on which language package you’re using), but you can also find a ton of different types of fonts (both free and paid) online. Installing these fonts on your Windows 10 PC is pretty simple.
How to install font to windows 10 from the microsoft store?
We can install fonts using microsoft store. Here’s how to search the Microsoft Store and add a font to Windows 10:
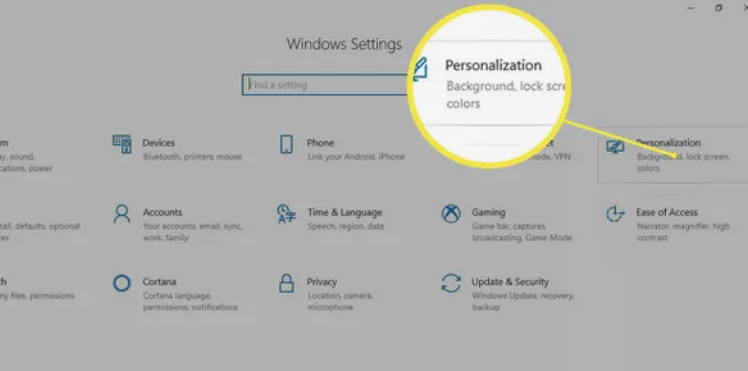
- First of all open start menu and select Settings.
- In the Settings window, select Personalization.
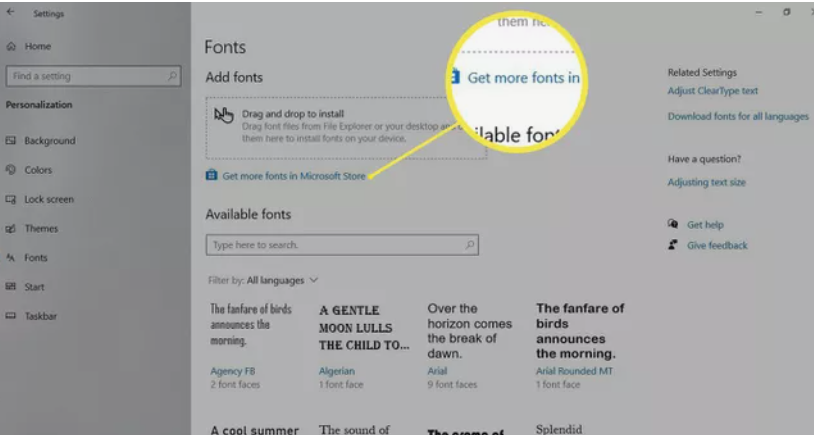
- Go to Fonts.
- Select Get more fonts in Microsoft Store.
- Select a “font“.
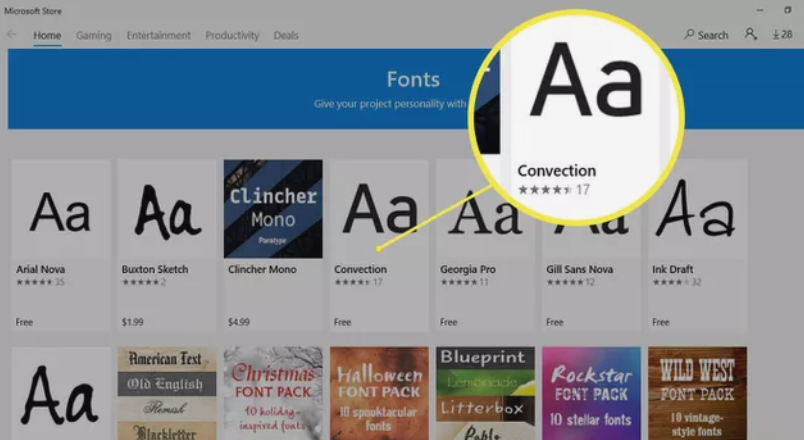
- Select Get.

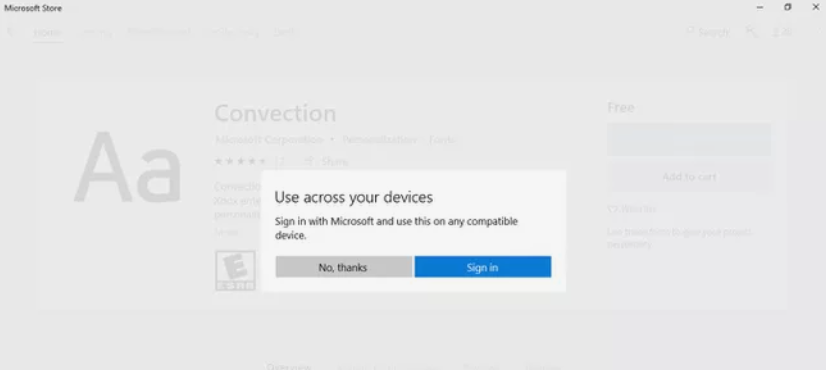
- In the Use across your devices window, select either No thanks or Sign in to choose whether to use this font on all your devices.
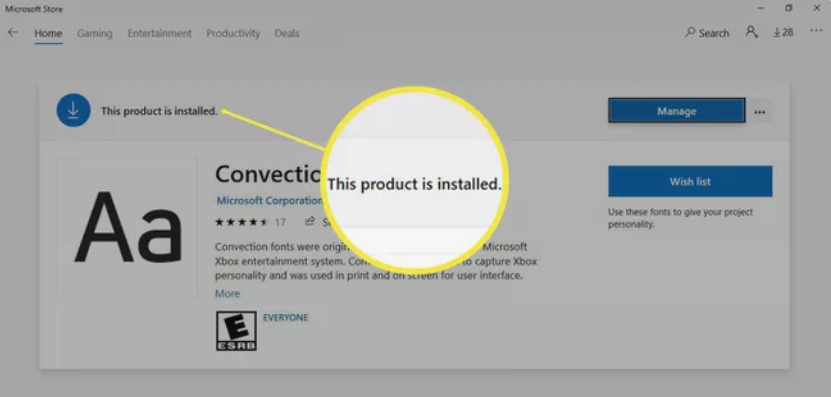
- Wait while the font downloads and installs on your computer.
- When the download and installation are complete, a notification appears in the Windows Store.
- Close Windows Store.
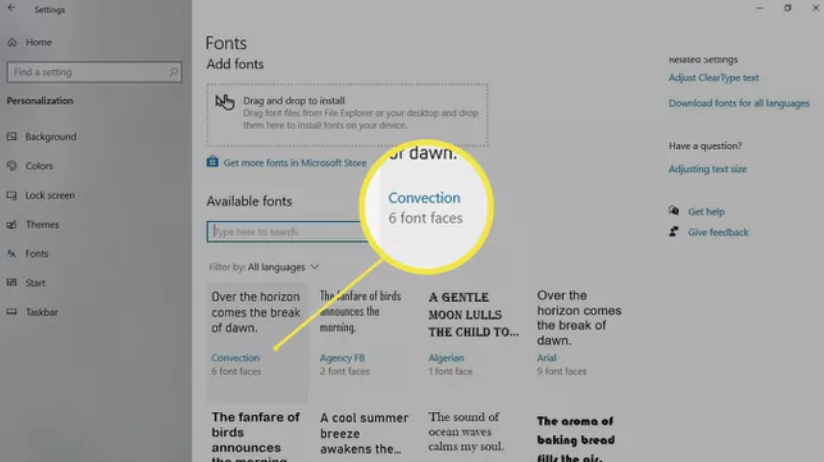
- The new font appears at the top of the Available fonts list.
How to install font from the Web online?
To install font online then download fonts from the web and install those font files in Windows 10.
- Find the font file you want to use.
- Download the font file to the Windows desktop.

- Select Start menu.
- Go to settings then personalization option.
- Click on Fonts.
- Resize the Settings window to show the Settings window and the downloaded font file on the desktop.
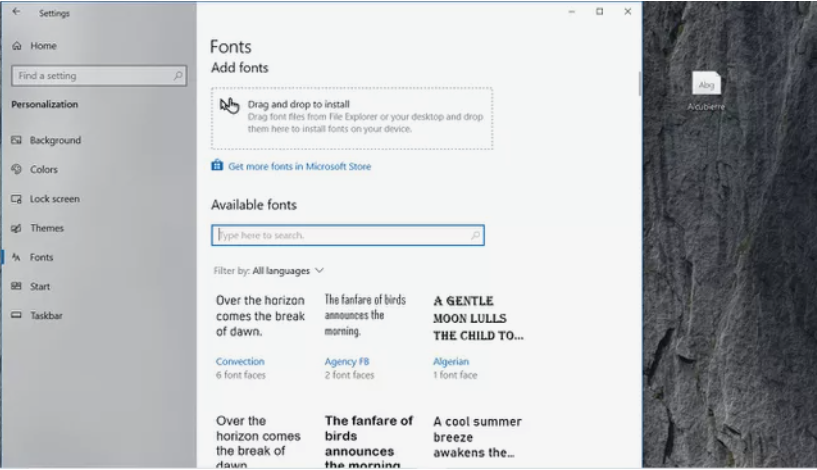
- Drag the font file from the desktop to the Drag and drop to install section of the Fonts Settings screen.

- The new font appears in the Available fonts list.

Here are three another ways to install and manage fonts:
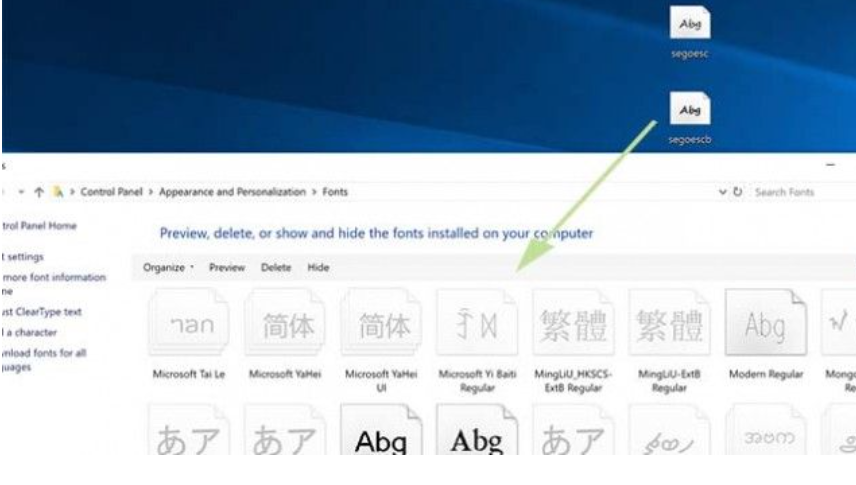
Way 1: Install and manage fonts from Control Panel
Another way to see your installed fonts is through control panel in windows 10:
Open the Windows Control Panel.

- Select Appearance and Personalization.

- At the bottom, select Fonts.

- To add a font, simply drag the font file into the font window.
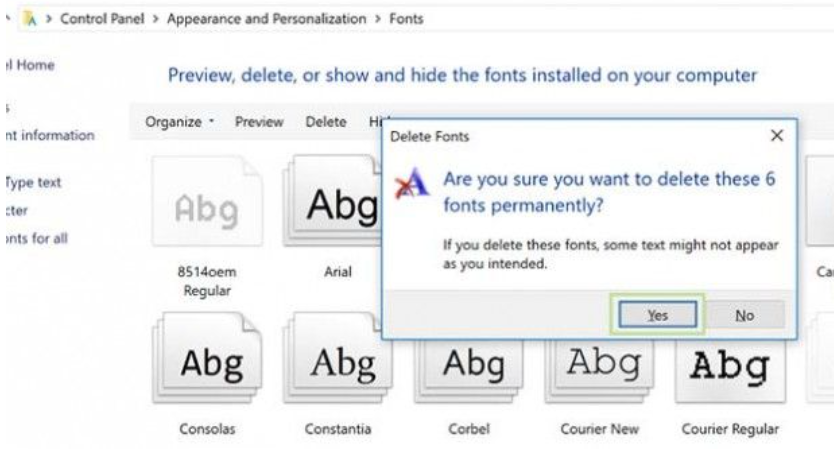
- To remove fonts, just right click the chosen font and select Delete.

- Click Yes when prompted.
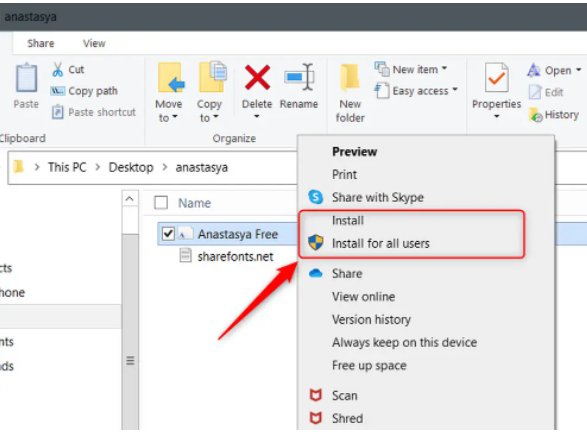
Way 2: Install and manage fonts using the source file
All fonts are stored in the C:\Windows\Fonts folder. You can also add fonts by simply dragging font files from the extracted files folder into this folder. Windows will automatically install them.
If you want to choose font and looks like then follow these steps:
- You open the Fonts folder.
- Then right-click the font file
- And click Preview.
Way 3: Install and manage fonts from Settings app
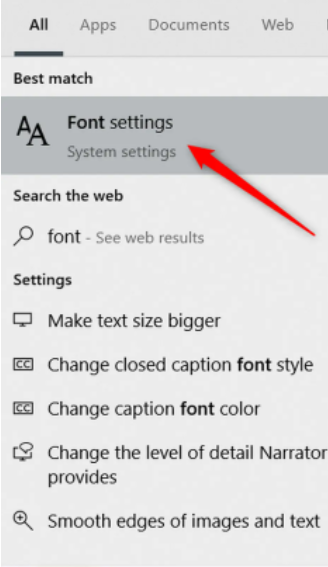
To install fonts from Settings app just type font in Windows search bar. then from the search result click on font settings.
- The Font option will open in the Settings app.
- Drag and drop the font file you want to install into the Add Font section.
- The font installation will begin.
- The installation process only takes a few seconds.