How to screenshot on dell laptop?
Nobody thought a tool that lets you capture exactly what’s shown on your screen can be so simple and yet so handy. This article shows you some ways to take a screenshot on your Dell laptops and computers.
Capturing a snapshot of your computer screen is called a screenshot or screen capture. Once captured, the screenshot automatically copies to your computer clipboard. You can then paste the screenshot into a document, email message, file or image editor (Paint, for example), or you can save the screenshot as a file, and then insert it as a picture into a document, email message, another file or image editor.
How to Take a Screenshot on a Dell Laptop?

Take a Screenshot on a Dell Laptop then you can find the Print Screen Key on Your Dell Keyboard.
On your Dell computer running Windows 10, you don’t need to use a special utility to take screenshots. You can use Windows 10’s built-in screenshot options to capture your screen. This means pressing the Print Screen key on your keyboard.
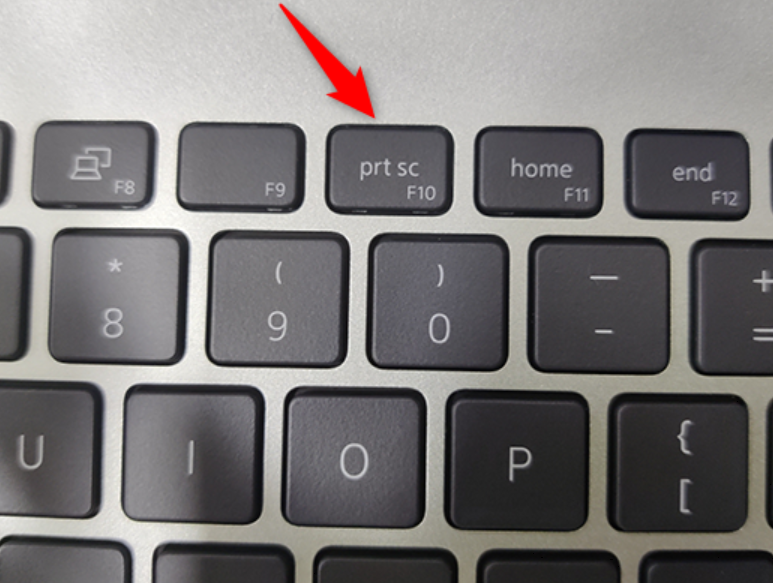
You will find this Print Screen key at the top-right corner of the keyboard next to the Function keys.
Take the Screenshot on Your Dell Laptop or Desktop. Now that you have found the Print Screen key on your Dell computer, you can use it to start taking screenshots.
Here’s how to capture screenshots in different ways:
There are several ways to take a screenshot on any Windows computer. But the fastest way is to use the Print Screen key.
Way 1: Print Screen key Combination
There are several ways to take a screenshot on any Windows computer. But the fastest way is to use the Print Screen key. By using certain keyword combinations with the Print Screen key, you can capture your screen in different ratios. This method will work perfectly on Windows 8, Windows 8.1 and Windows 10. Here’s how you do it:
If you want to capture the entire screen at once, press the Windows key and the Prt Sc key simultaneously. Your screen will flicker for a second, which means it has successfully taken a screenshot.
If you want to capture a single active window, all you have to do is click on the window you want to take a snapshot of and then press Alt + Prt Sc together.
Way 2: Take a screenshot and save it to clipboard
This is another way to take a screenshot To take a screenshot of your entire screen and save it to your clipboard, all you need to do is press a key on your keyboard.
- First, access the screen you want to screenshot. While you’re on that screen, press the Print Screen key on your keyboard once.
- It captures a screenshot of your entire screen
- And you saves it to your clipboard.
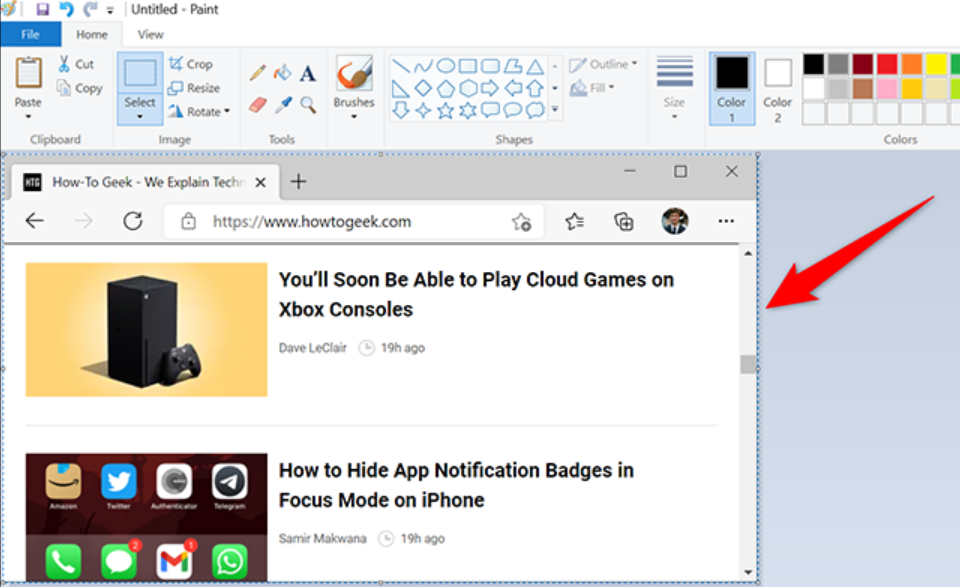
- To see this, open an image editor like Paint and press Ctrl+V to paste your screenshot.
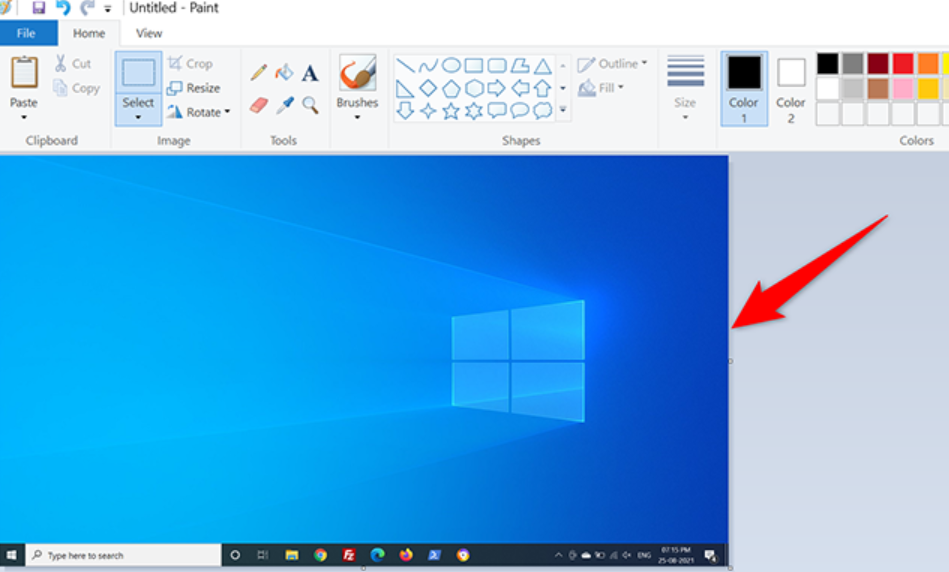
Be sure to save your screenshot before closing the Image Editor (Paint) app.
Way 3: Capture a screenshot and save it as a PNG file
This is another way to capture a screenshot. To take a screenshot and save it directly to your Dell computer as a PNG image file, use an additional key with the Print Screen button.
First, open the screen you want to screenshot. On your keyboard, press the Windows+Print Screen keys at the same time. It captures a screenshot of your screen and saves it as a PNG file.
This png file is located on your pc at the following path . In the path below, replace USERNAME with your own username. If you want, you can change the default screenshot save folder on your PC.

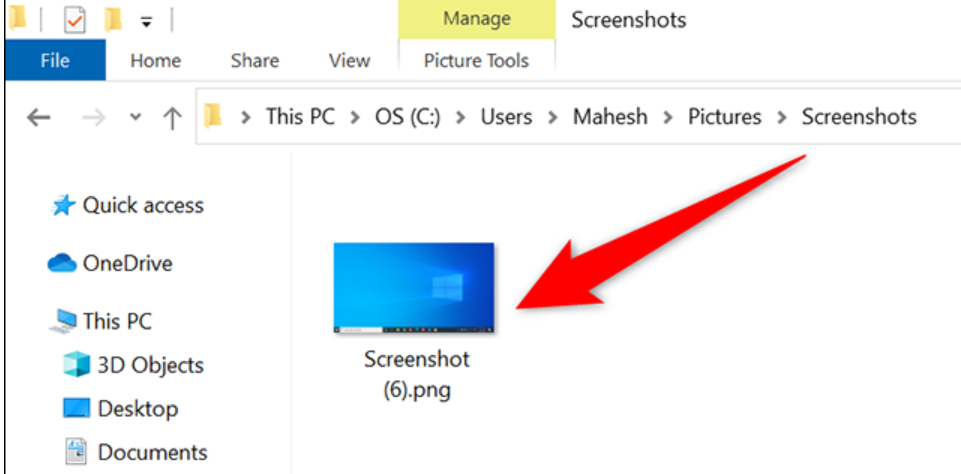
This way you neatly collect all your screenshots in a single folder.
Way 4: Capture a Screenshot of a Specific Window
This is another way to capture a screenshot. Windows 10 makes it possible to take a screenshot of a specific window on your PC, leaving the background out of the image.
- First, open the window that you want to capture.

- On your keyboard, press the Alt+Print Screen key combination. This takes your current window’s screenshot and saves it to your clipboard.
- To view your screenshot, launch an image editor like Paint and press Ctrl+V in it. You will see your screenshot.
- To view your screenshot, launch an image editor like Paint and press Ctrl+V in it. You will see your screenshot.
Way 5: Screenshot with Snipping Tool on Dell Laptop
If you want to opt for a different option, you can use the Snipping Tool instead. This is a built-in Windows feature that allows you to capture your screen in different shapes. To go to the Snipping Tool, click on the Start Menu and type ‘Snipping Tool’ in the search section. The application will appear with a variety of options at your disposal.

Select ‘New’ or press ‘Ctrl + N’ together. Choose the shape in which you want to capture your screenshot. The rectangular snip is the default option. Three other forms include:
The Free Form Snip: This feature facilitates capturing your screen in any shape you want to.
The Window Snip: The Window Snip lets you capture your active windows with one simple click.
The Full-Screen Snip: The Full-screen Snip captures the entire screen at once. This feature will be particularly handy if you’re using multiple monitors.
Once you’ve taken your snapshot, press ‘Ctrl + S’ to save the image in your desired location.
If you want to take screenshot on windows all laptop then click here…