By Screenshot, you can capture the entire screen, a window, or just a part of the screen. Screenshot Capturing helps Mac users to capture it and save it as image files. Mac screenshots Press and hold a combination of keys and the screenshots are automatically saved to your desktop as .png files. Read the entire article written to know about how to take screenshot on Mac. Stay connected to avoid computer related problems like – Keyboard shortcuts , what does ctrl shift w do etc.
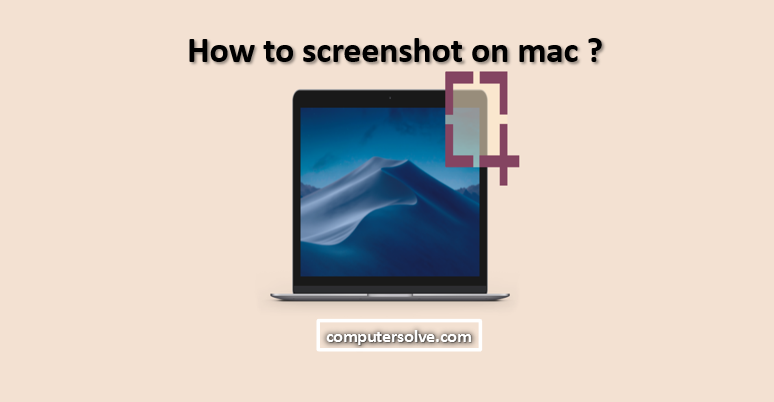
How to Use the Screenshot on Mac ?
- Take a screenshot by simultaneously holding down the Shift, Command, and 3 keys.
- If you see a thumbnail in the corner of your screen, click on it to edit the screenshot. or wait for the screenshot to be saved to your desktop.
How to screenshot on mac with Keyboard Shortcut ?
Apple’s macOS operating system includes several keyboard shortcuts for taking screenshots of the entire screen or parts of the screen. To use them, simultaneously press one of the following three-key combinations on your keyboard.
Here’s a quick list of shortcuts keys :
- Shift+Command+3 : Capture an image of your entire Mac’s screen.
- Shift+Command+4 : Capture the part of your Mac’s screen that you selected.
- Shift+Command+4 Space : Capture a window or menu.
- Shift+Command+5 : Open the Screenshot app interface.
- Shift+Command+6 : Take a screenshot of Touch Bar on MacBook Pro.
Note – To capture a screenshot directly to the clipboard instead of an image file, add Ctrl to any of the shortcuts listed above.
For example – to capture the entire screen to the clipboard, press Ctrl+Shift+Command+3.
After taking a screenshot, you’ll hear the camera shutter sound effect through your Mac’s speakers. The image will be saved on your desktop by default.
Screenshots can be opened in any standard image viewer or editor, such as Apple Preview or Adobe Photoshop.