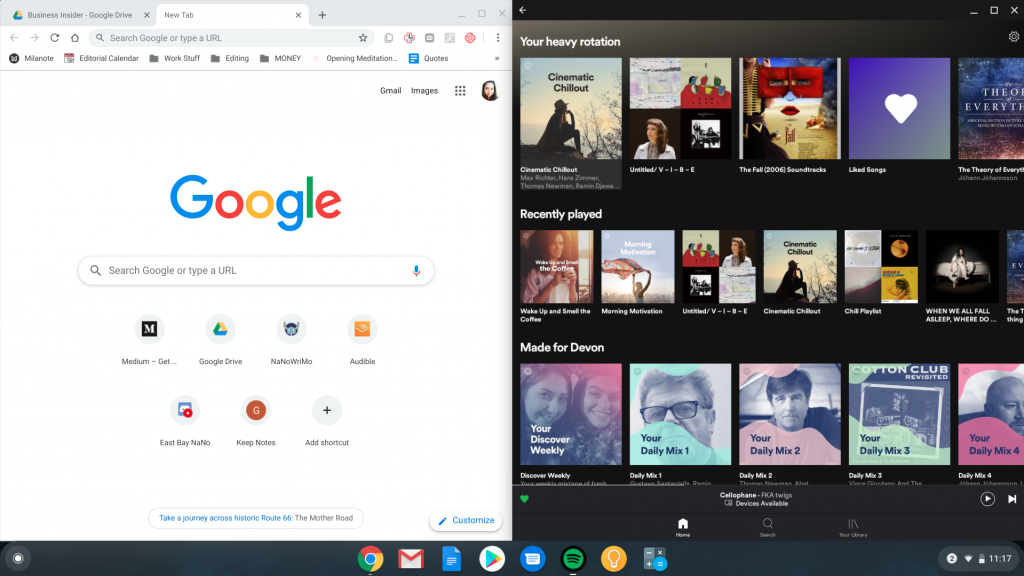
Split-screen is a software program, capability, or feature that enables a user to split their window or screen horizontally or vertically. Split-screen enables the user to view multiple sections of the same document or multiple files at once. In this article we will show you about how to split screen on chromebook with keyboard.
Split screen on chromebook:
If you split your computer screen or chromebook, you can run multiple applications, at a time. You can view one application in one half of the screen and your word document in another, or display various status displays across your entire monitor. Windows 10 has a feature called “Snap Assist” that allows you to drag and drop a window to the part of the screen you want to snap it to.

If you are Split Screens on Chromebook Using Drag and Drop then Launch the first site you want to display and simply drag it from the title bar over to the left or right edge of the screen. An outline will form showing where the screen will be and let go of the mouse/trackpad to dock it. Before releasing the screen, it will look something like this:
Split screens on chromebook using the maximize button:
You can manage split screens is to click and hold the Maximize button until you
see arrow icons. Then you can snap the screen to the left or right of your screen.The tab will be sent over the side you selected and automatically fit the side of your screen.
For the second window, do the same, but send it to the other side of the Other Split Screen Shortcuts:
There is a keyboard shortcut to snap your screen to the left or right hand side of a
Chromebook.

Simply press Alt [ to snap to the left or Alt ] to snap to the right. Then pull your other tab
to the empty side.
Steps to turn on the snap assist feature in windows 10:
Following steps you can use :
- Launch the Windows 10 Settings by pressing the keyboard shortcut Windows Key + I.
- Click on the System and then Multitasking from the list.
- On the right side, you can see the Snap options, turn on the sliders.
- Now the Snap features are enabled on your Windows 10.
Split screen with keyboard shortcuts in windows:
- At any time you can press Win + Left/Right Arrow to move the active window to the left or right.
- Release the Windows button to see the tiles on the opposite side.
- You can use the tab or arrow keys to highlight a tile.
- Press Enter to select it.
On a Chromebook, it’s really easy to set up. When you follow the steps correctly, the computer will handle the job of resizing the two windows for you. Here’s what you’ll need to do:
- Open your first app and click the window minimize button in the top-right corner of the window.
- Drag the window to either side of the screen you’ll see a vertical line
- pop-up in the center of the screen, at which point you should release the window so it can automatically fit into that half of the screen.
- Open the second app with your favorite app or website and click the window minimize button in the top-right corner.
- The button to maximize and minimize your window size toggles between a square (when the
- screen is full-size) and a double-square (when the screen is smaller than full-size).
- Drag the second app onto the other side of the screen and release when you see that side of the screen fade to a gray color.
If you are a student who prefers using keyboard shortcuts, you can click your ALT the left or right bracket key to split your tabs perfectly to the left or right. You will need to drag one tab away from the Chrome browser first though.

If you have difficulty seeing both screens when split, you can always use the toggle feature. This allows you to toggle (or move back and forth) between your apps easily. Just hold down the CTRL key and touch the TAB key

Conclusion:
In this article you can also use keyboard shortcuts to enable split-screen mode. Press the Alt and [ keys to move your app window to the left side of the screen. Use Alt and ] to move the app to the right side of the screen.
