How to test microphone windows 10?
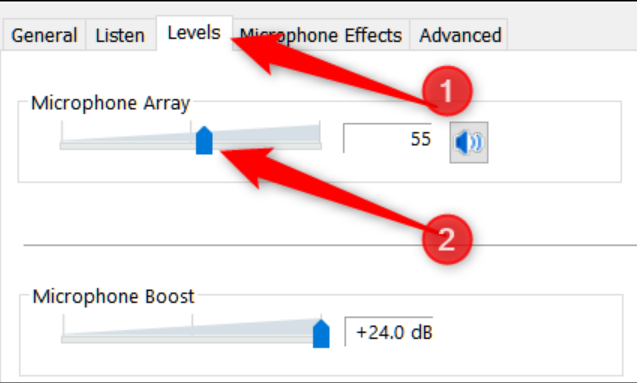
In window, go to the Levels tab and check on the volume level of your Microphone. Increase it to your preference. If there is another level called Boost, you can also try to increase it to your preference. Boost helps to amplifies the input of your mic to pick up even more sound. It’s useful if your Mic’s volume is still too low even when its volume is set 100.
To Test a Microphone in Windows 10:
you can perform a quick test anytime to make sure your microphone is hearing you. If your microphone has been working but stops, you can test the microphone in just a few steps.
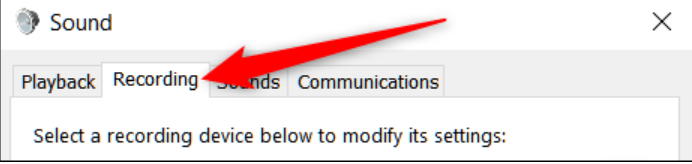
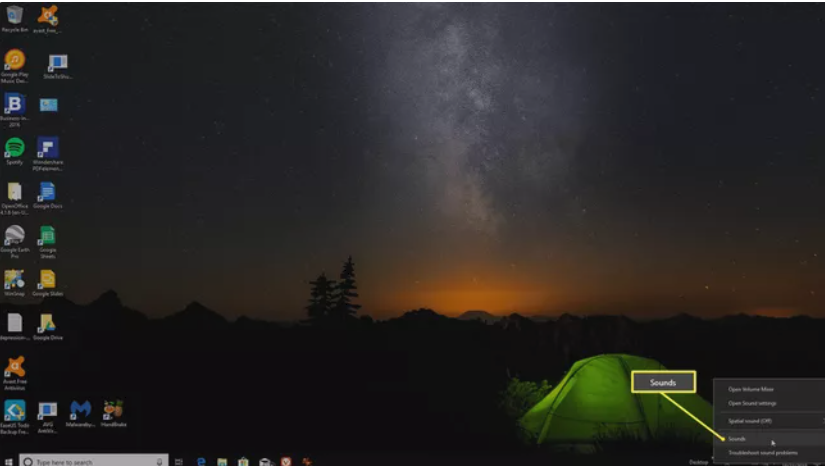
- Open up the Sounds window by right-clicking the sound icon in the taskbar and clicking the “Sounds” command.

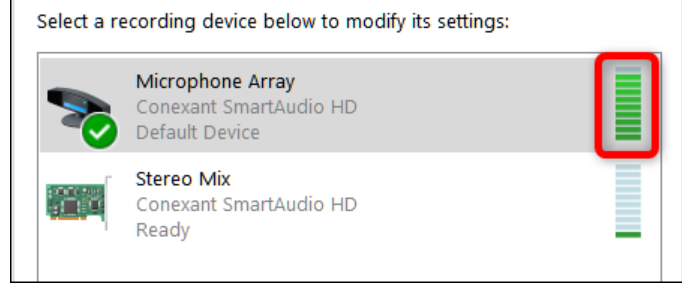
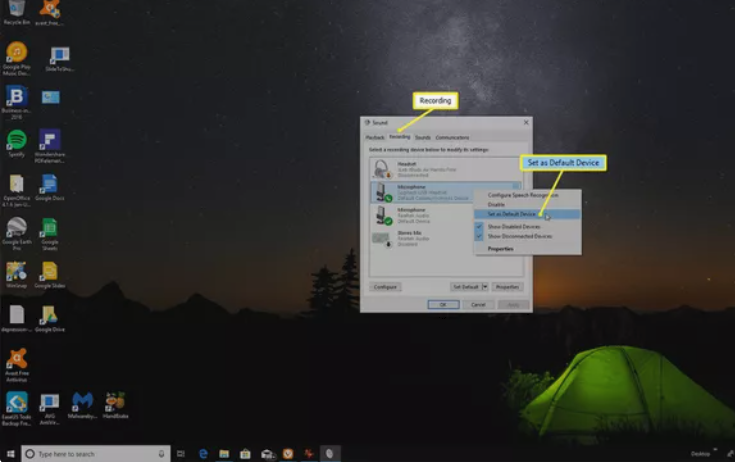
- Next, switch to the “Recording” tab to see a list of available devices. You should see a list of microphones with a vertical sound meter to the right of your enabled microphone.
- Now, speak into your microphone and look for the green bars to move as you do. If the bars are rising with your voice, your device is working properly.
- If you can see the green bar moving, but it’s barely going up at all, you might try to turn up the levels for your microphone. This works by increasing the sensitivity of the microphone, so it’s able to pick up more sounds. From the “Recording” tab, click the microphone, then on “Properties.”
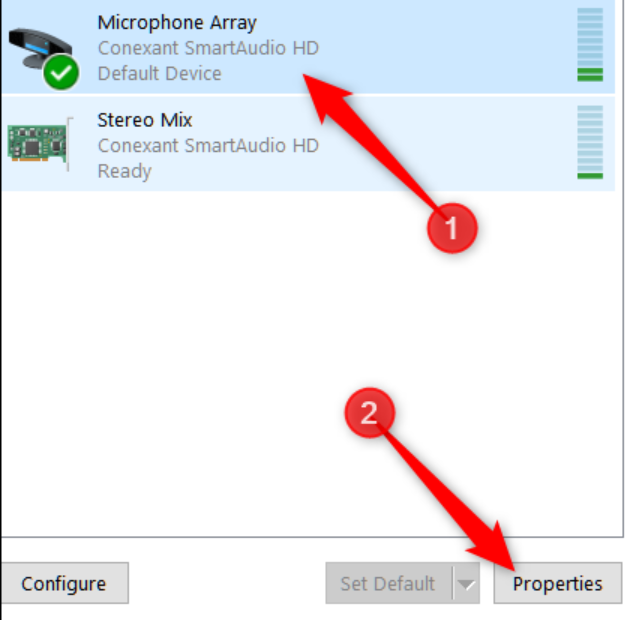
- Switch to the “Levels” tab and then adjust your microphone’s sensitivity so it can pick up your voice more easily.
- Your microphone is now connected and tested as working correctly. Select OK or Cancel to close the Sound window.
How to Set Up a Wired Microphone on Windows 10?
Luckily, setting up a microphone on Windows is simple and easy to do. Here’s how to set up and test your Microphone on Windows 10. The steps for setting up a microphone on Windows 10 are a little different:
- After the microphone is plugged in, right-click the speaker icon in the taskbar and select Sounds.
- In the Sounds window, select the Recording tab to see all connected microphones. If it isn’t already selected as the Default Device, right-click the microphone you’ve connected (you can recognize it by the listed brand), and select Set as Default Device.
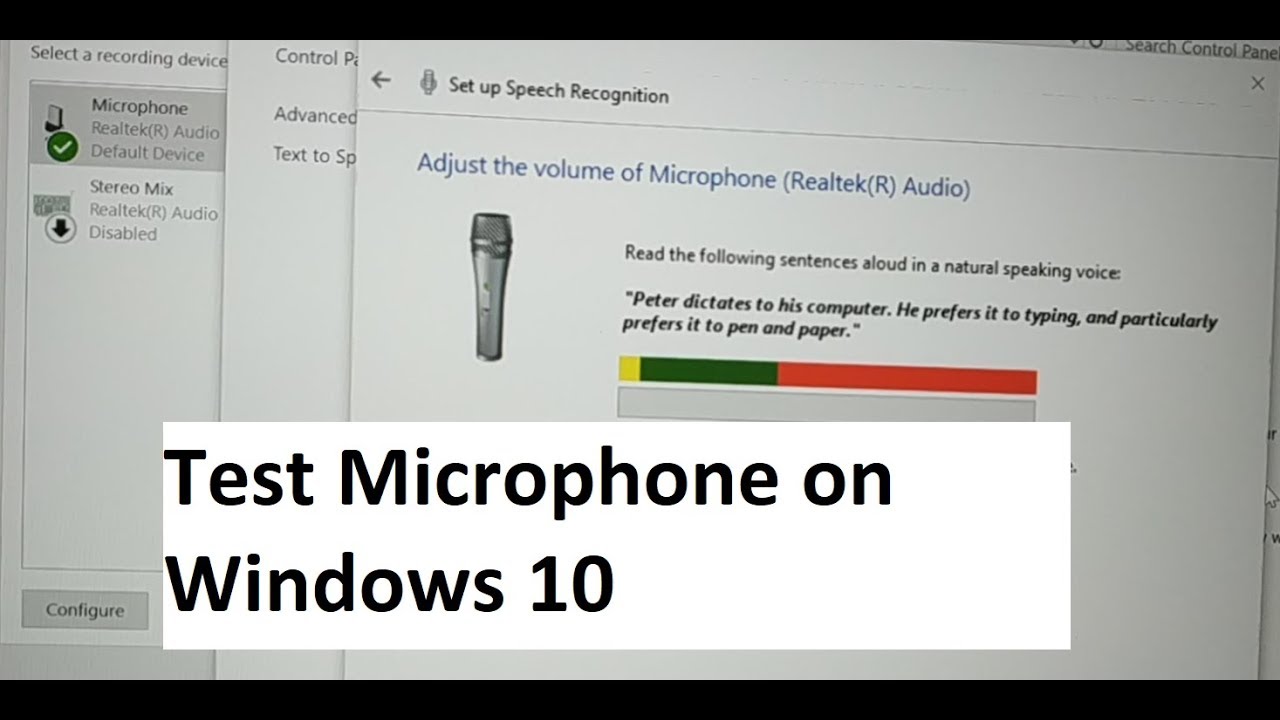
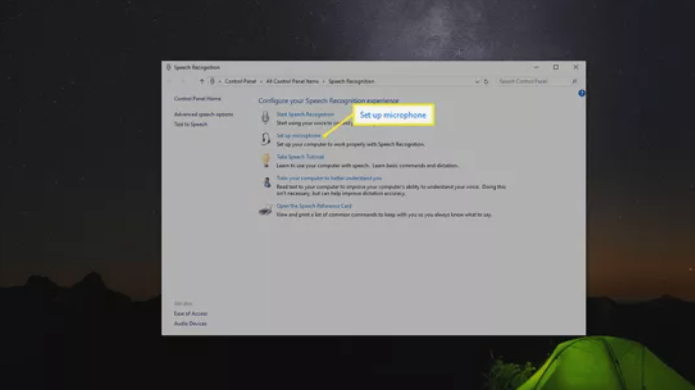
- Select the Microphone and then select Configure to open the Speech Recognition window.
- Select Set up microphone to open the Microphone Setup Wizard.
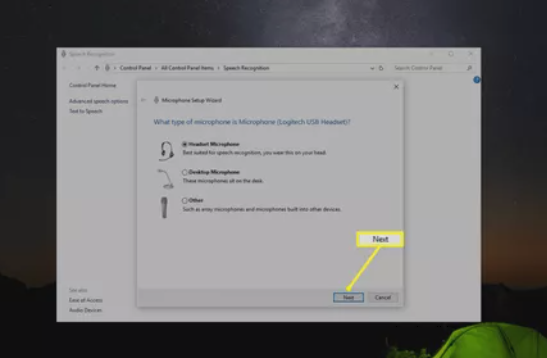
- Select the type of microphone you’ve connected to your computer and select Next to continue through the wizard. Read the instructions, then select Next again.
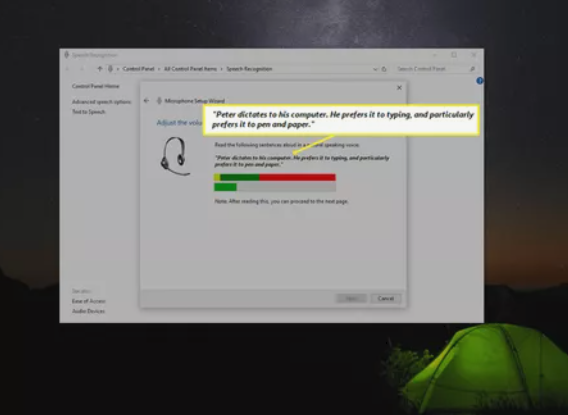
- On the next Microphone Setup Wizard screen, speak into the microphone as you read the text on the screen. If the microphone is working, you should see the lower sound bar move as you talk.
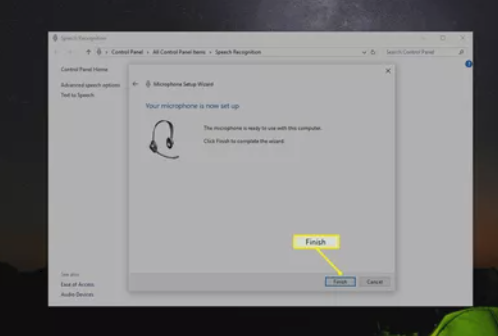
- Select Next again. You should see a confirmation window that your microphone is set up. Select Finish to exit the Microphone Setup Wizard.
Another way to test your microphone using start menu on Windows 10:
- Make sure your microphone is connected to your PC.
- Select Start
- Launch the Settings app.
- Click System > Sound.
- Scroll down to the “Input” section.
- In Sound settings, go to Input and under Test your microphone, look for the blue bar that rises and falls as you speak into your microphone. If the bar is moving, your microphone is working properly.
- Click “Troubleshoot” if you’re having issues.