When you try to connect your HP printer to your computer, but the HP Printer Not Connecting To the Computer device, the problem could lie with either the printer or your computer itself. This article will explain common reasons why the printer might not be connecting to your computer and how to resolve these issues when they arise.
Steps to Fix: HP Printer Not Connecting To Computer
Fix 1: Troubleshoot Printer Issues
You can also try the troubleshooting tool to diagnose and fix your printer issues. Here’s how to do it:
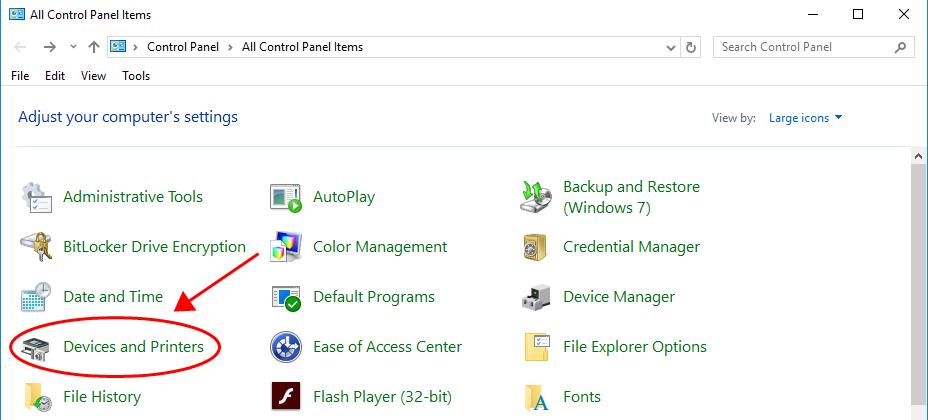
- Open Control Panel on your computer, and view large icons or small icons.
- Click Devices and Printers.
- Find your printer, right-click on your printer (sometimes it may display as Unspecified), and select Troubleshoot.
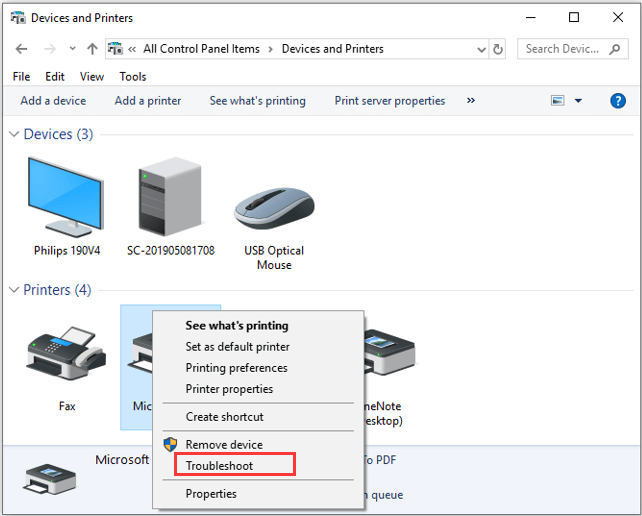
- Let your computer troubleshoot the issue and follow the on-screen instructions to fix it.
Fix 2: Configure Printer Settings
If the desired printer is not connecting, perhaps your Windows has been set to make your default printer to be the one you used most recently at your current location. To fix the issue in this case, you need to turn off the setting.
- Press Windows + I to open Settings.
- Choose the Devices category and click Printers & Scanners in the left pane.
- In the right pane, uncheck the Let Windows manage my default printer option.

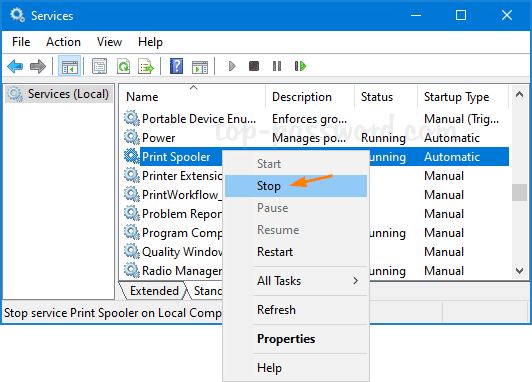
Fix 3: Restart Printer Spooler
The print spooler files may also create an issue in letting your printer connect to your device. So, you have to delete the spooler files and then restart the service.
- In the Start menu, type Services, and from the search results, click on the Services option.
- In the Services window, double-click on the option ‘Print Spooler‘.
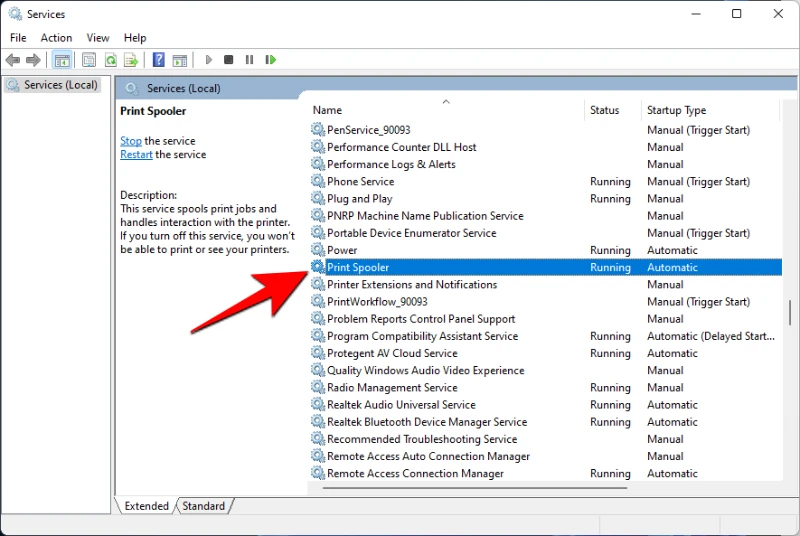
- Click on ‘Stop‘ and then click ‘Ok‘ to stop the spooler service.
- Select the folder and open it with the help of admin privileges, after that delete all the contents of the folder.
- Again double-click on the ‘Print Spooler option in the Services window
- Click on ‘Start’ and in the ‘Startup Type‘, select ‘Automatic‘. After that, click ‘Apply‘ and then hit ‘Ok‘.
Fix 4: Update The Printer Driver
You must keep on updating the drivers of your printer so that it matches your new operating system. Drivers are important for the proper functioning of printers and if you have recently updated to Windows and your computer is unable to find your printer, it may be because the drivers you have installed have gone outdated.
Moreover, if your system has faced a virus attack recently, it may be possible that the drivers have been damaged. Here are the three ways using which you can update printer drivers:
- Windows Update – Windows always offers updates for the software and drivers installed on your device. So to get the latest patch for your driver, go to Device Manager on your device and expand the list of devices in the Printers section. Right-click on your device and then select Update Driver. Next, choose the option ‘Search Automatically‘ to let Windows search for the update and install it.
- Manually – If Windows doesn’t find the latest driver for your printer, you can visit the manufacturer’s website to get the updated version for your printer’s driver.
- Installation Disc – If you have received an installation disc with your printer, check that for the software for installing the driver.
Fix 5: Temporarily Disable Your Antivirus
If all the above solutions fail to fix the issue for you, chances are that your antivirus is interfering with the proper functioning of the driver. To fix it, you can try disabling your antivirus temporarily.
If the program is the cause of the problem, just keep it disabled when you are using the printer, or uninstall it and turn to another reliable security software.
Fix 6: Delete Incompatible Printer Drivers
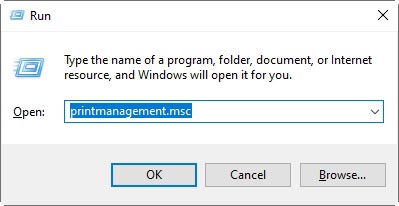
- Press Windows key + R then type printmanagement.msc and hit Enter.
- From the left pane, click All Drivers.
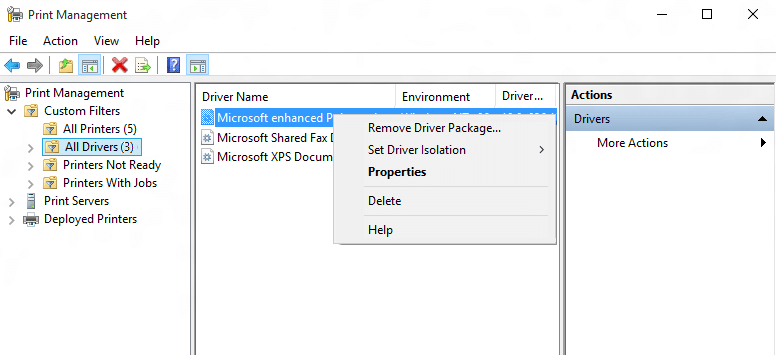
- Now in the right window pane, right-click on the printer driver and click Delete.
- If you see more than one printer driver’s name, repeat the above steps.