A memory leak occurs when a process allocates memory from the paged or nonpaged pools, but does not free the memory. As a result, these limited pools of memory are depleted over time, causing Windows to slow down. If memory is completely depleted, failures may result. A Memory Leak is a misplacement of resources in a computer program due to faulty memory allocation. It happens when a RAM location not in use remains unreleased. A memory leak is not to be confused with a space leak, which refers to a program using more RAM than necessary. When a certain app is taking more memory than it normally does, the system becomes slow, even unresponsive, and users are unable to perform even the easiest tasks in Windows.
What are memory leaks and Why is it bad for Windows?
Memory leak stands for RAM memory loss in Windows, caused by a program or an app. Every running process in Windows is taking a certain amount or RAM. The problem is completely software-related. There are programs that are more demanding and require more RAM usage to run properly, like Google Chrome, or Adobe Photoshop, and there are less demanding programs, that actually take smaller amounts of memory. So when a program is taking more memory than it should be taking, we call that a memory leak .
Bad for window:
It is obvious a memory leak is bad because it is a bug, a flaw in the system. But let’s find out how exactly it affects the system:
- Since the memory is not freed even when not in use, it results in memory depletion.
- Exhaustion of the memory results in software aging.
- Reduced available memory leads to increased response time and poor performance by the system.
- An unchecked memory leak can eventually lead to the crash of an application.
How can you fix memory leaks in Windows 10?
Here are some fixing solutions for memory leak in windows 10:
Fix 1. Restart your computer:
The best solution for that is to simply restart your PC, and memory leak won’t appear until you open the troublesome program next time. RAM only stores data of running processes while the PC is turned off. Therefore, when you restart your PC, RAM will get empty, and the memory leaking problem will wipe away.
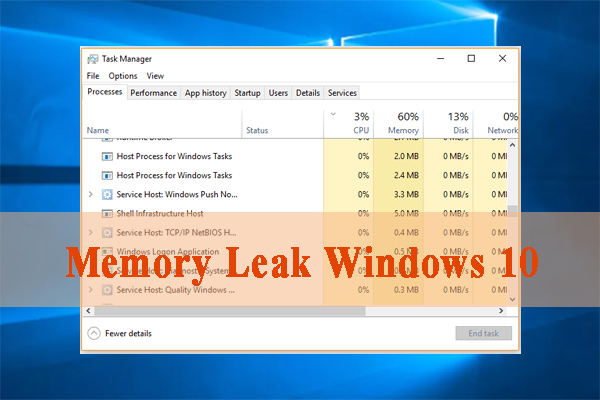
- At the same time press CTRL + SHIFT + ESC keys to open Task Manager.
- Head over to the Processes tab, and see which program is using the most memory.
- Just click End process, to close that program.
The program is now closed, but the problem isn’t solved yet, then move on next solution.
Fix 2. Use the Windows 10 built-in tools:
This type of tools scans your PC for potential memory issues, including memory leaks, and gives you precise diagnostics about all detected problems. then follow these steps:
- First, go to Search bar, type Memory Diagnostic Tool and open it.
- Choose Restart now and check for problems and don’t forget to save your work before restarting.
- Windows 10 has its own, built-in diagnostic tools that’s often enough for providing accurate analysis that will help you determining the cause of your problem.
Fix 3. Turn-off programs running at Startup:
If you solve this problem then you can use disable programs running at stratup so you do this:
- On your keyboard press CTRL + SHIFT + ESC keys to open Task Manager.
- Now go to the Startup tab.
- Click on the program you want to disable, and choose Disable.
- Now you can restart your computer.
Fix 4. Optimize performance:
Adjusting Windows for performance will manage everything including processor scheduling and memory usage to stop memory leaks. Follow these steps:
- Open your computer then right-click on ‘This PC’.
- Now select ‘Advanced’ settings on the left pane.
- Under the ‘Advanced’ tab, go to ‘Performance’, followed by ‘Settings’.
- Check ‘Adjust for best performance’ and click OK.
- Restart and check if the issue is solved.
- If this simple solution did not work, try the next solution.
Fix 5. Defrag Hard Drive:
Although Windows 10 does this for you automatically, you may need to do defrag the hard drives occasionally to optimize performance:
- Go to ‘This PC’ or ‘My Computer’.
- Right-Click the system hard drive (usually C: drive).
- Go to ‘Tools‘ under ‘Properties‘ and select ‘Optimize’.
- Select the drive to defrag and select ‘Analyze’.
- Restart your computer after the new fragmentation.
Hope this article is helpful to you.