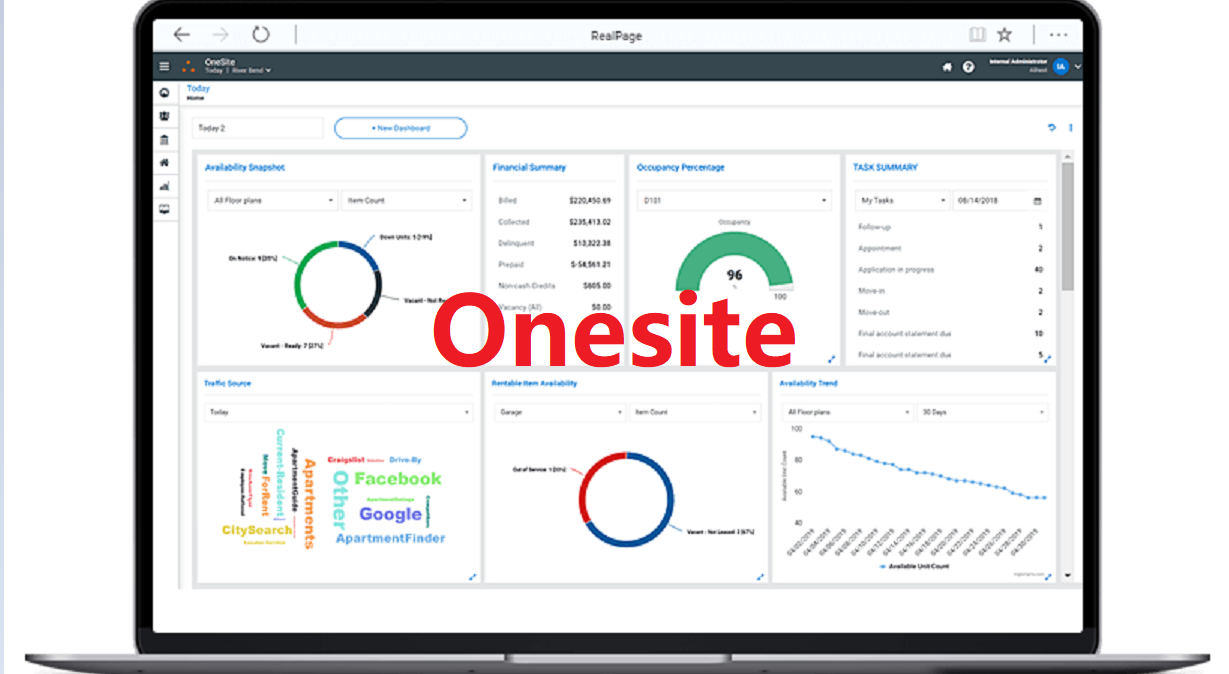
In this article, we’ll cover Onesite, a community management solution that provides document management, drag-and-drop layout creation, community grouping, simplification, and reporting. The solution enables the management of healthcare, consumer goods, education and betting organizations of all sizes. The solution enables users to tag friends, comment on discussion forums, earn loyalty points, and conduct polls.
Onesite is also allows private messaging. Also the live chat application lets members have group discussions and in addition, the platform enables community managers to manage user access and grant age-based permissions. we also describe features of onesite or transfering steps.
Onsite Features:
Here we can describe some features:
- Activity Feed is an Imp feature that allows to display a news feed of all activity on a user or across the network.
- It features a Blog post which is a WYSWYG editor with the ability to insert media and management and privacy options.
- In this feature, we can also make bookmarks that list hyperlinks to favorite content, sites and URLs.
- Individual and group calendars and events with the ability to create events and gatherings for friends.
- Document Management Upload and manage downloadable Word documents such as PDFs and images.
- Extends classification and grouping of users into extensible profiles through a user-level system.
- Members can build relationships with other members or receive unilateral updates and status.
- You can upload an unlimited number of photos to your site in any gallery or sub-gallery.
- Explains setup wizard with social registration of COPPA compliant signup with captcha protected and custom fields and web services.
- Keep friends and users full of status and mood updates.
- Converting video is through HTML5 video player. This includes standard and widescreen video.
Transferring to Onesite:
If you want to transfer ONEsite, follow these steps:
- Firstly, select the Residents tab.
- Then go to locate Resident and click on View.
- Then click on Move-out(Transfer)> Transfer request.
- Now click New Quote.
- Now enter all the relevant information and click on Find.
- Locate the Unit option and click on Special quote.
- Complete the relevant information and click on Recalculate if required.
- Click Finish.
- Select the unit and click Next.
- Select Additional Options, Rentable Items if necessary, and click Next.
- Now enter the miscellaneous information and click on Next.
- Click Finish.