
In this article, we will take you through a step-by-step guide on how to successfully activate the Transparency tool on MS Paint. If you regularly use Microsoft Paint as a basic graphic design tool, you might want to create yourself a transparent background. You want to refine your work by guiding the viewer’s point of view to a certain part of an image. Or perhaps you want to layer a certain image on top of another without any unwanted background disturbances.
To make a transparent background in MS Paint. There are many situations where you may want to use images with a transparent background. The Transparency tool on MS Paint can enhance the overall quality of your work. Images with transparent background are on each other very well and your particular task may require images with transparent background. Paint users select the transparent selection option and expect their saved image to be transparent. This is the transparent selection option that you can toggle on and off.
To create a transparent background using Windows, simply follow these steps:
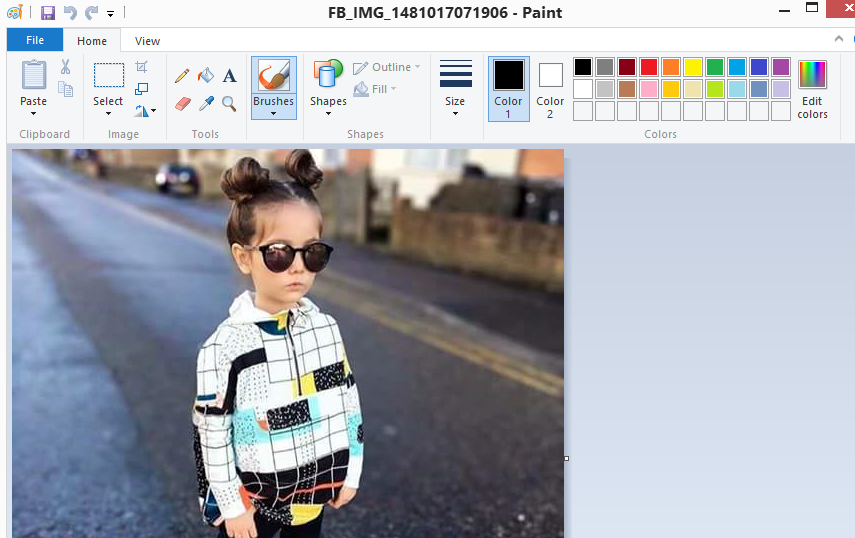
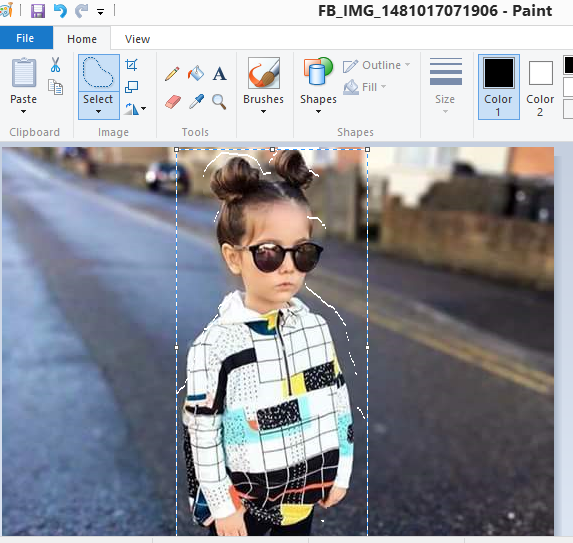
- Open Ms-paint, then select image you wish to use in “Paint”.
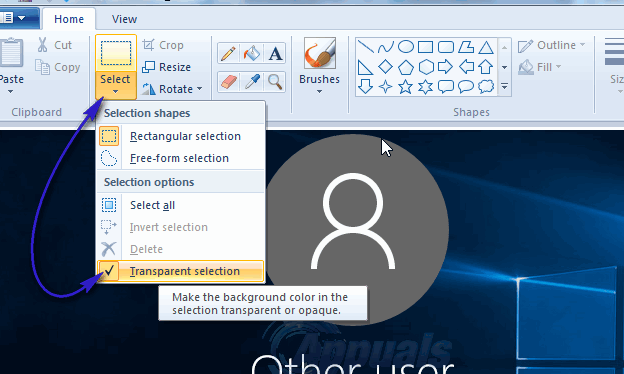
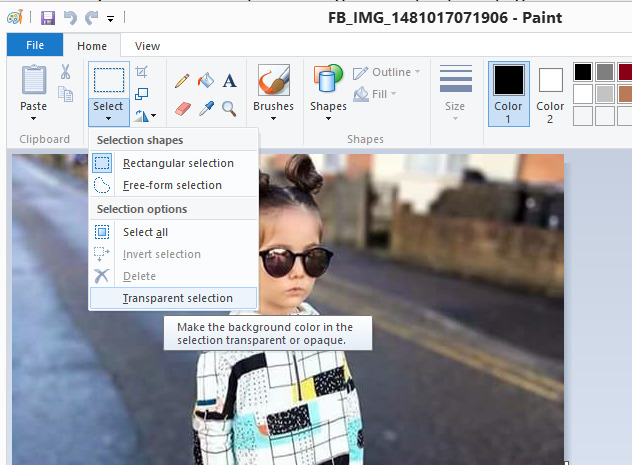
- Click on “Select” on the left-hand side of the bar located at the top of your page.
- Select the “Transparent Selection” option from the available list.
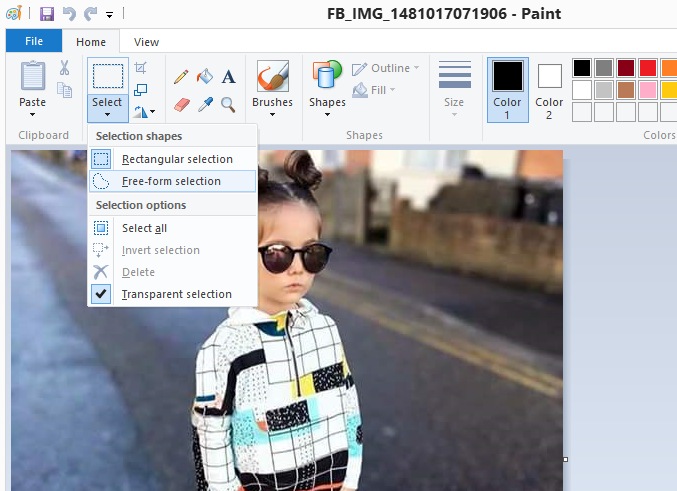
- Once you’ve done this, choose “Free-Form Selection” from the “Select” button.
- Then trace around the area you wish to preserve by holding down the left mouse button and dragging.
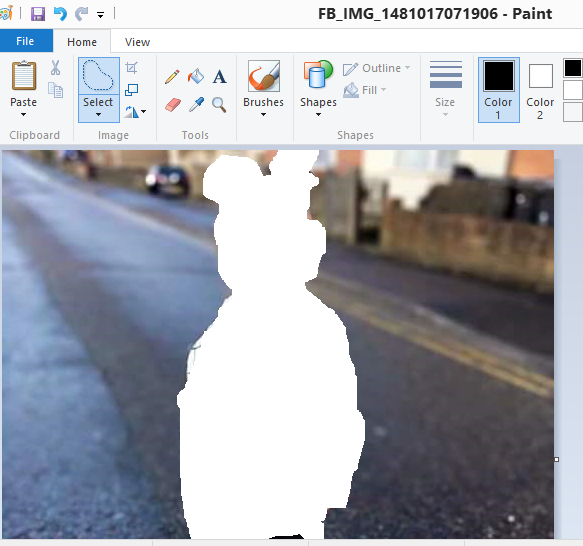
- Right-click the rectangle that appears around the traced area and select “Cut.”
- Open a new page on Paint and press Ctrl – V to paste your image.
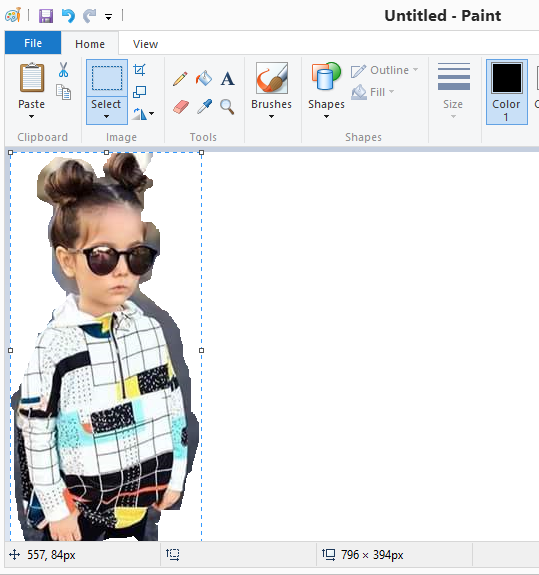
- Now you save image that location when you want.
- The picture will now have a transparent background.