Setting up the printer on an iPad can seem like a complicated task, especially if you’re not familiar with how to use iOS devices. This step-by-step guide walks you through the process and gives you troubleshooting tips if something goes wrong along the way.
Before we begin, there are a few things to keep in mind while setting up your printer on the iPad:
- Confirm that your printer supports AirPrint. Contact your printer’s manufacturer for details.
- Make sure that your iPad and your printer are connected to the same Wi-Fi network and that you’re within range.
How to Set up the Printer on Ipad?
When you use AirPrint, setting up a wireless printer on an iPad is far different and accessible from the traditional technique. You only have to make sure that your iPad uses the same wi-fi as the AirPrint printer you are about to use.
Once you are sure, follow the steps below:
- Open the document you want to print on your iPad.
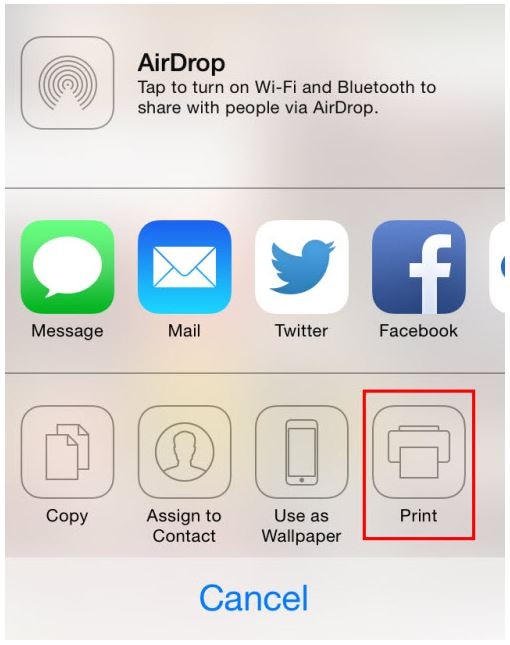
- Not all apps have similar printing methods. Find the “share” feature and click on the print icon.

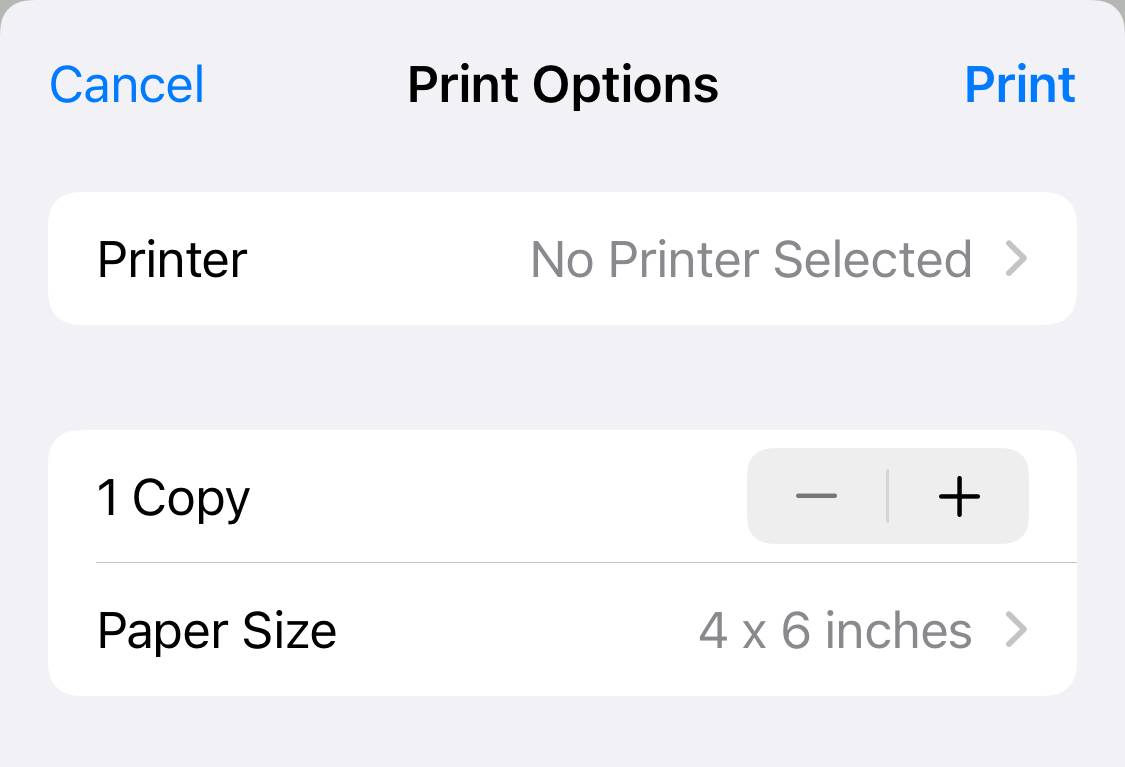
- Tap the” Select Printer” option and wait for the list of Airprint-enabled printers to appear.

- Click on the printer you wish to use.
- Choose the settings you want, such as the number of copies or color of the documents.

- Once done, click on “Print” and wait for the task to complete.

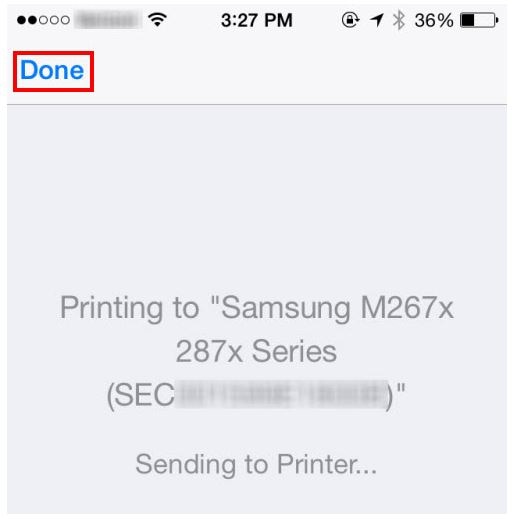
- The sent job prints and the status shows on the iOS device. Tap Done when finished.

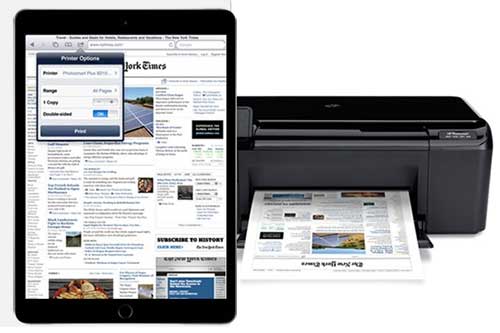
This whole wireless printing technique doesn’t take more than a few minutes to get all the required printed documents in your hand.
Troubleshooting Tip: If AirPrint is not working, turn off the iOS device, printer, router, and modem. Wait a minute or so than power on the device in this order: modem, router, iOS device, and printer. This will power cycle the network and might resolve connectivity issues. If this does not resolve the issue, an update to the printer firmware or the iPhone software might be necessary.
