It is not a new fact that your laptop would cause some sort of problem which could be related to both its hardware and software. Among the most recurring issues is the laptop showing a black screen, no matter which brand of PC or laptop you are using.
There could be any number of reasons behind the sudden occurrence of the blank screen on your laptop. As discussed in the previous section, the problem could both be with the software and hardware.
Not only that, but the lack of compatibility with a recently installed program could also be the culprit behind that. It could also be related to the driver handling the graphics of the laptop. It is wise to check the graphics adapter of the laptop screen immediately to get to the bottom of the issue and solve it.
Tip 1: Remove All External Connections
It is very possible that some hardware connections could be causing the problem. This is why the first thing you must do when you encounter this problem is to remove all eternal connections. To do that effectively, follow these simple steps;
- Switch off the Laptop.
- Unplug and remove all external devices including the headset, microphone, and USB drive.
- If the computer is a laptop, remove the charger cable and the battery (if you can).
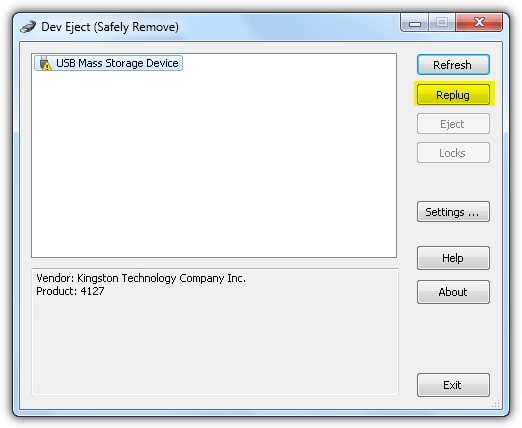
- Now press and hold the power button for 30 seconds. While you do this, the laptop will boot up and turn off repeatedly.
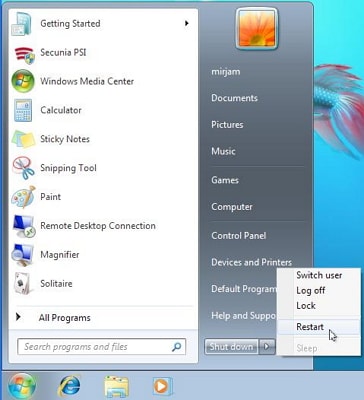
- Put the battery back into the laptop and plug the charger back in.
- Turn on your laptop as normal.
If the computer turns on normally, plug in your hardware devices one at a time. If the black screen appears again, you will know which hardware device is causing the problem and you can then replace it.
Tip 2. Reboot in Safe Mode
If none of the above helped to fix the Black screen, you should access Safe Mode by following these steps:
- Reboot your machine.
- Once the Windows logo shows up, press the Power button on your PC to interrupt the boot sequence.
- Repeat the above step two more times – this should automatically boot you into Advanced Startup mode.
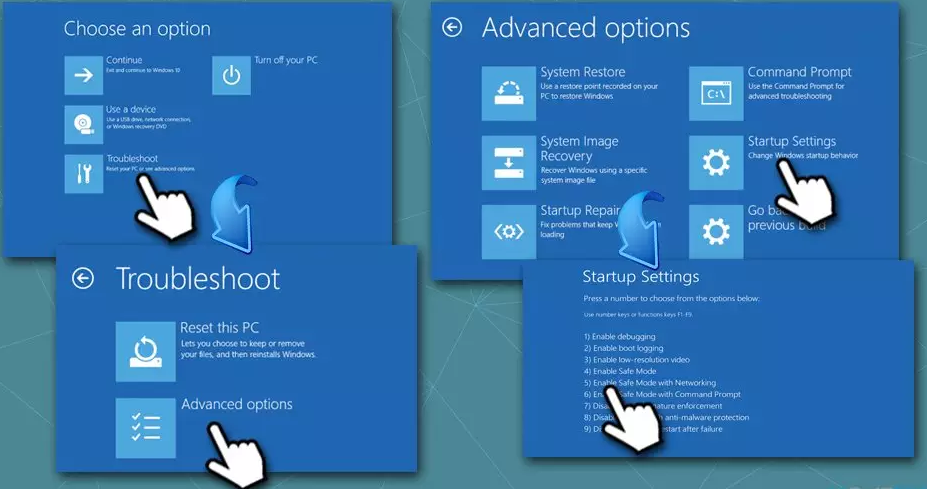
- Now pick Troubleshoot > Advanced options > Startup Settings and Restart.
- After another reboot, pick F4/4 to access Safe Mode or F5/5 to access Safe Mode with Networking.
- You should be able to operate your machine as normal in Safe Mode.
Tip 3: Reinstall Graphics Card Driver
This solution is only effective if you can still access the Task Manager on your Windows 7 computer.
- Press and hold the “Ctrl + Alt +Delete” to launch the Task Manager.
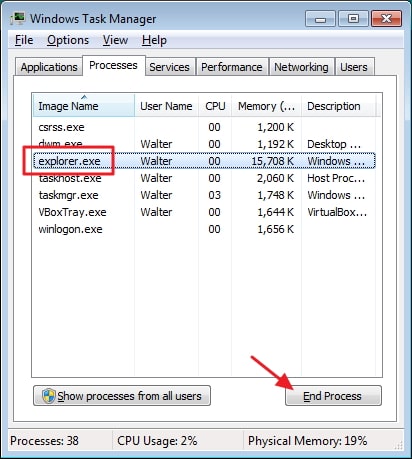
- Click on the “Processes” tab and find “explorer.exe”.
- Right-click on all selected processes and then click on “End Process”.
- Now click on File > New Task to create a new task.
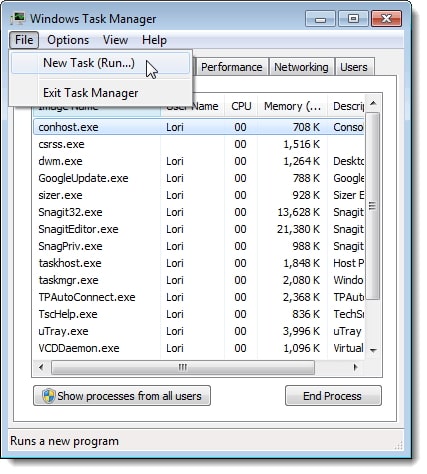
- Type in “explorer.exe” and then click ok. You should now be able to see the Windows taskbar.
- Now click on the start button in the Windows search bar, type in “Device Manager“. Click on it when it appears in the search results.

- Find the “display adapter” and double-click on it. Right-click on your device name when it appears, and then select “Update Driver Software“.
- Follow the instructions in the update Wizard that appears and when it is complete, your computer should be back to normal.
Tip 4: Perform a Hard Reset
If the laptop is still showing a blank screen, then you would have to perform a hard reset on the machine to see it working again. The hard reset procedure will clear every bit of information from your laptop’s memory without erasing any hard drive storage. It is important to disconnect every external device connected to the computer. Here is the method to perform a hard reset on the computer:
- Shutdown your laptop and remove its battery from the compartment;
- Press the power button for no less than 15 seconds to drain all the residual power left behind by the battery in the laptop;
- Connect the battery back into the compartment and start your computer again by pressing the power button.
Tip 5: Run the SFC scan
This is a process that allows you to start your Windows 7 system when your computer has serious problems. It loads the system that has worked properly in previous sessions. Here’s how to do it.
- Make sure that your computer is completely turned off and then press the “Power Button” to turn it on.
- Press “F8” on your keyboard as soon as you see the computer logo appear on the screen.
- This will open the “Advanced Boot Options” menu. Use the arrow keys to select “Last known Good Configuration” and then press Enter on your keyboard.

- Type cmd in the field in the Create new task window and check the box beside the text Create this task with administrative privileges.

- Press OK to launch an elevated Command Prompt and execute the following command:
sfc /scannow
When the scan completes, you’ll either see a message that says no system file integrity violations found or one that says violations were fixed. Restart your PC to see if the error got resolved.
Tip 6: Update Device Drivers
Keeping your drivers up to date is a good practice even without the black screen with cursor problem. Corrupt or outdated drivers could cause this issue, so updating them may fix the issue.
Since you can’t see anything on your screen, you’ll need to first boot in Safe Mode with Networking. When you’re booting into Safe Mode, simply select option number 5 (Enable Safe Mode With Networking) in the Startup Settings screen and follow the steps below:
- Download the latest drivers from the graphics hardware manufacturer’s website.
- Press Ctrl + R, type cmd, and press Ctrl + Shift + Enter to run an elevated Command Prompt.
- Type devmgmt.msc and press Enter to launch the Device Manager.

- Locate and right-click on your graphics drivers and select Update driver.

- If you’ve downloaded the drivers already, select the second option Browse my computer for driver software. Otherwise, choose Search automatically for updated driver software.

Once you’ve installed the latest graphics drivers, restart and see if that helps eliminate the problem. If not, try selecting Uninstall device instead of Update driver. When you restart the PC, the driver will reinstall automatically.
Tip 7: Restore OS System
To fix this problem, you can also choose to do a system restore to restore the computer to a previous state. You can do this even if you don’t usually save the restore process and the restore will not affect any of your files. Here’s how to do a system restore.
- Boot your PC in safe mode.
- On the lower-left corner of the screen, click on the “Start” button.
- In the search function, type “recovery” and then select it from the results that appear.
- Click on the “Open System Restore” option to launch the system restore Wizard.
- Now simply follow the instructions on the Wizard to restore the system to a previous point.

Tip 8: Remove Suspicious Programs
Some programs could potentially cause this problem on your PC. If the black screen is keeping you from accessing anything on the PC, use the Task Manager.
- Launch the Task Manager by pressing Win + Shift + Esc.
- Select File > Run new task.
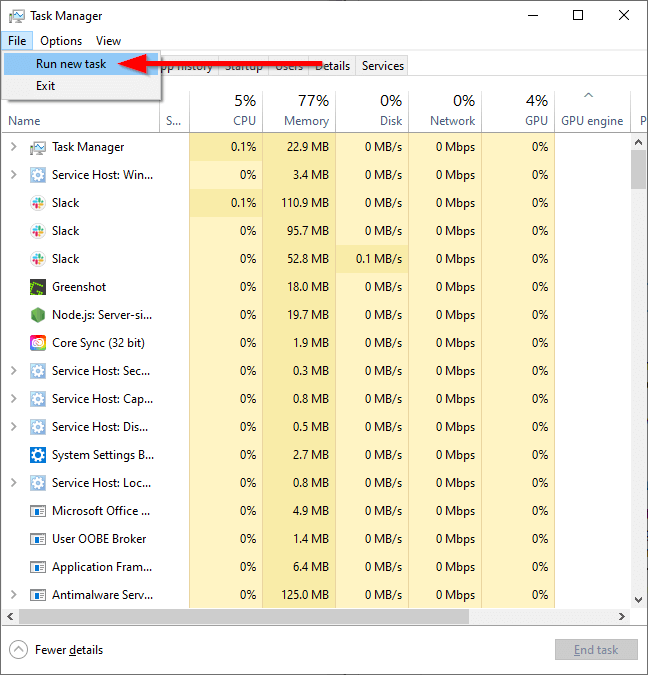
- Type appwiz.cpl and press Enter.
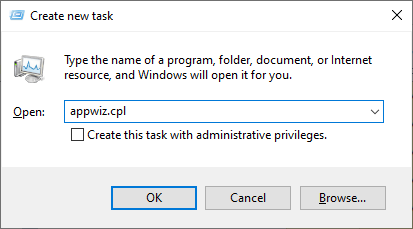
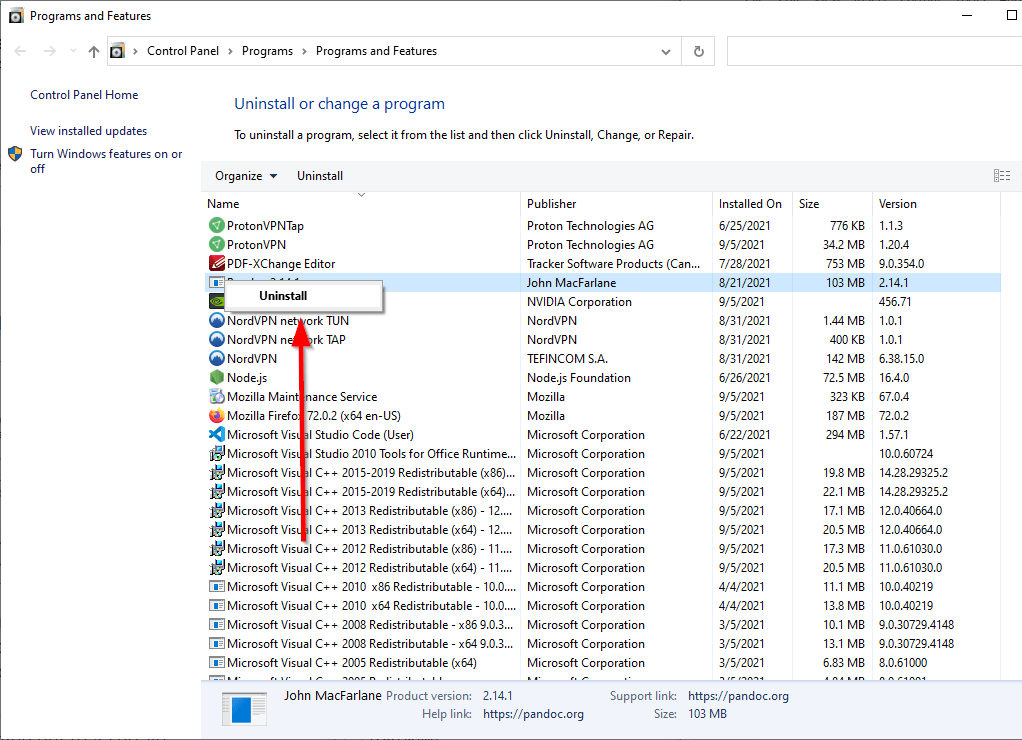
- You should now see the Programs and Features windows. If the black screen with cursor problem started after installing a specific program, uninstall it by right-clicking the program and selecting Uninstall.
