If you want to record desktop screen then use desktop recorder. In this article we will discuss about it. Screen recorder, screencasting software, and screen capture software are different names for the same tool that allows you to record the output of a computer screen. While screen capture tools vary in price and functionality, most have a number of features, such as:
- adjustable video frame
- Cut-and-paste editing options
- Unlimited Recording Time
If you want to know which screen recording tool you need to use to record a new maneuver in your favorite game, we’ve rounded up Windows Recording Tools to help you find a perfect fit for your specific needs and present them for you here. Methods are given which are given below.
Steps to record your desktop screen in windows 10:
On Windows 10 operating system, you already have a built-in screen recorder called Xbox Game Bar. It has quite limited capabilities; more specifically, it doesn’t allow you to record the entire desktop or File Manager. However, you can use it with any desktop app or program downloaded from the Windows Store. Let’s see how to do this:
- Firstly open the program you wish to record.
- On your keyboard, Press the Windows key + G at the same time.
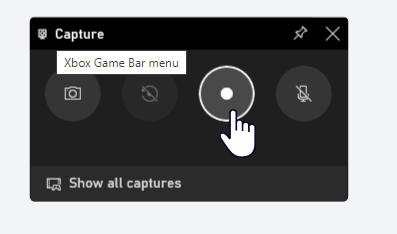
- You’ll now see the Xbox Game Bar menu.
- Then click on Start Recording at the upper left-hand corner of your screen.
- You can also capture your voice by clicking on the Microphone button.
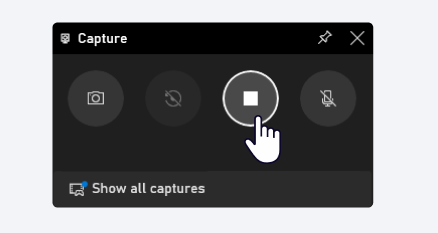
- Once you’ve finished recording, open the Xbox Game Bar menu and click on Stop Recording.
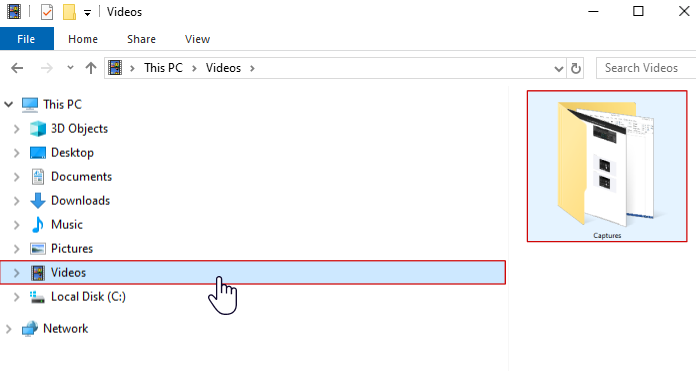
- Now you’ve made your screen recording. You can find it in the Captures subfolder of the Videos folder.
To check the maximum duration of how long a screen recording then follow these steps:
- Go to Settings then Click on Gaming.
- Under Captures will be the option for Background Recording.
- Select from the maximum recording time drop-down from 30 minutes to 4 hours.

- Now you’re all set to record your screen. Windows 10 Game Bar can only support screen recording of one application at a time. This means, you can’t switch to recording another window or ALT + TAB your way after you’ve started recording.
Another way to record your screen using the Game Bar:
If you want to search another way to record screen using game bar then follow these steps:
- Firstly, open the app you want to record.
- Now Press the Windows + G on your keyboard. This should open up the Game Bar.

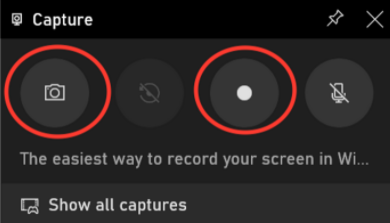
- In the ‘Capture’ window, click on the Camera icon to take a screenshot.
- To start recording your screen, click on the circle with the dot (or press Windows + Alt + R).
- Once you start recording, a capture status with a timer, recording controls and a microphone will appear.
- Then mic is to switch on and off external sounds to record commentary. Internal sounds will be recorded by default.
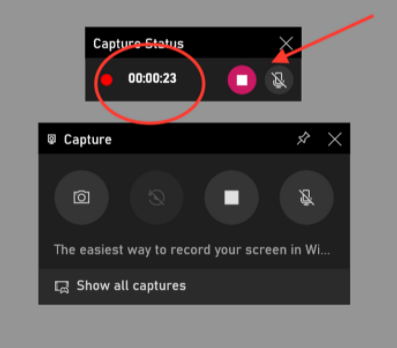
- If you want to stop recording then click on the stop button or press Windows + Alt + R.
- A pop up will appear on the right side saying ‘Game clip recorded’. Click on the pop-up to see that your screen recording is saved in the ‘Captures’ folder in File Explorer.
Hope this article is helpful to you.