In addition to updating Windows, Microsoft has introduced new features to Windows 10, 8 and 7. The name of the new feature is inbuilt user account and it is known as a reliable installer.
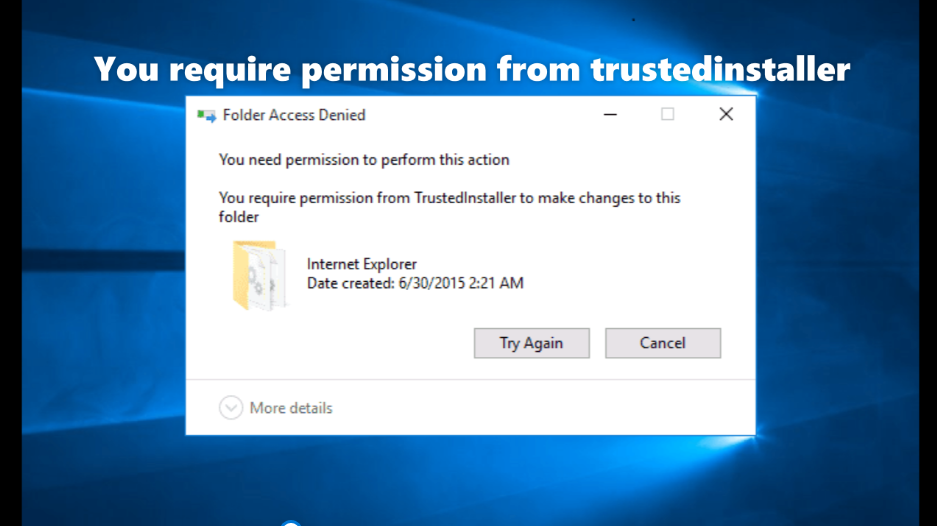
Trusted Installer is one of the best inbuilt user accounts that protects various files. Have you ever deleted a file that is protected by a trusted installer? If yes, then you have seen Folder Access Denied message saying “You need permission from Trustedinstaller to make changes to this folder.”
How to take permission from Trustedinstaller on Windows 10 ?
The first thing you should do is to get permission from Trustedinstaller to avoid the Access Denied message on Windows 10. Once you have got the permission you can delete the file, you can change it and you can also modify it as per your convenience. So, follow the below steps in order to get permission from trusted installer :
- First of all install File Explorer on your Windows 10 and find the file which you want to modify or delete.
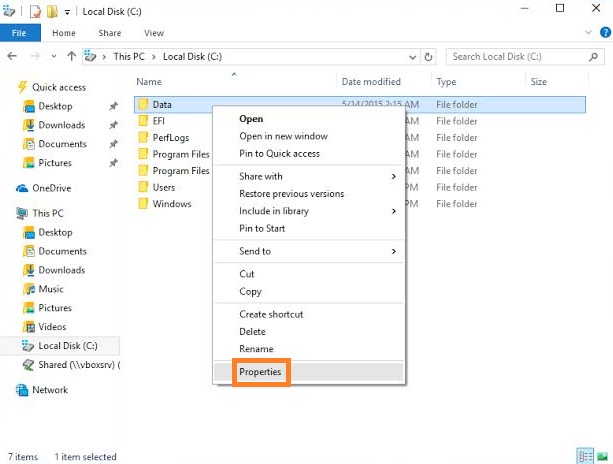
- Once you have the file that you want, right tap on it and select the option name as Properties.
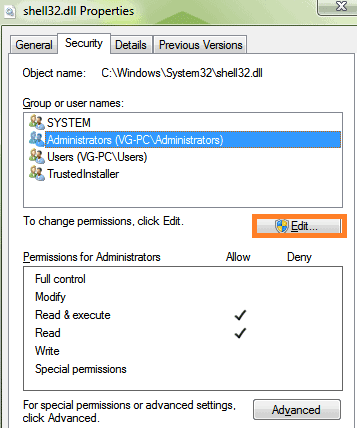
- In the properties screen, you will have multiple tabs but you have to go to the security tab and it will hit on the advanced button.
- Once you hit on the Advanced button you will have a new screen showing the advanced security settings for the data. So, all you have to do is tap on the Change button beside the owner label.
- By tapping on the Change button you will once again have a new screen name such as Select User or Group. So, write its name as “NT Service\Trustedintsaller”, therefore, it will be the new owner name by which you will get permission from trusted installer.
- At last all you have to do is hit on the OK button.
So, applying the above steps will give you permission from trusted installer on Windows 10. To eliminate confusion I have given different steps for Windows 7, so follow according to your Windows system. If you are using Windows 10 then follow the above steps or if you are using Windows 7 then follow the below steps explicitly.
How to take permission from the Trustedinstaller on Windows 7 ?
As we told you that due to changes in Windows system, some steps of obtaining permission from TrustedInstaller will be changed. So without leaving a single step follow the steps given below properly :
- First of all open File Explorer on your Windows 7 and then right tap on the file which you want to modify or delete and select option Name as Properties.
- Now you will have multiple tabs on the screen so go to the Security tab and hit on the Advanced button.
- Once you hit on the advanced button you will have a new screen showing multiple tabs, so go to the owner tab and tap on the edit button.
- Now it’s Time to Change the Owner So Change Over. I must say that if your account is an administrator then you should select it.
- On the same screen you will have a box named Change owner on sub-containers and items, so you should uncheck this option if you want to delete or modify multiple files.
- Finally hit on the OK button and you can see that now the account you have selected will be the owner.
- Once you are finished with the above steps, if you want to modify or delete a folder that contains subfolders then you should go to the Permissions tab and tap on Change permission and select the account you want want to be the owner and at the bottom you will have a box named “Replace all child object permission from object with inheritable permission”, so, check it.
- Now once again right tap on the file or folder and select Properties.
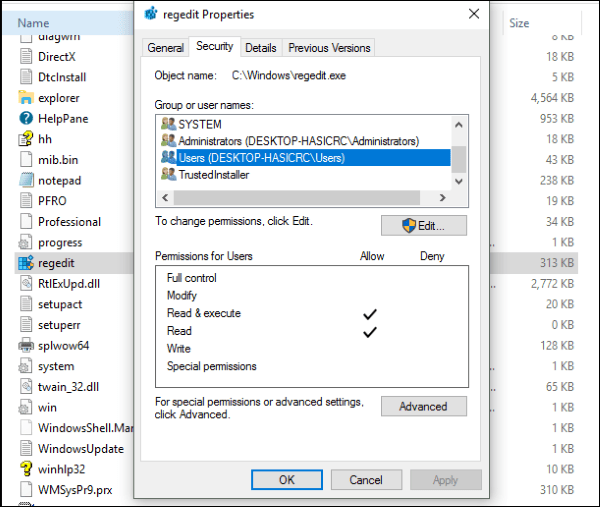
- In the Properties screen, you will have different tabs but go to the Security tab and instead of clicking on the Advanced button, tap on the Edit button.
- Now it’s time to tap on the name of the user whose permission you want to change. If by chance the username is not found then tap on the Add button and type the name and tick Full control.
- Once you tick Full Control, other options will be ticked automatically. Finally hit on the Apply button and then on the OK button.
How to fix TrustedInstaller error via File Explorer?
Once you use File Explorer to gain access using the following steps, you can delete or modify files as needed.
- Open File Explorer, then right-click the folder or file you want to take ownership of.
- Select Properties from the menu that appears.
- Select the Security tab, then choose Advanced.
- Select Change Permissions.
- Enter your username in the blank space and select Check Name.
- Check the box next to Change owner on sub containers and items.
- Select Apply, close the Properties window, then open it again.
- Select the Security tab once again, then choose Advanced.
- From the Permissions window, select Add.
- Select Choose a principal, input your username, check the Allow all boxes, then select OK.
- Check the box next to Replace all child object permission entries with inheritable permission entries from this object, then select Apply.