
The Windows operating system has a directory structure that does not change much in large versions. You can find kernel system files in the Windows folder, user profile information in the Users folder, and program files in the Program Files and Program Files (x86) folders.
But what about Microsoft Store? Unlike other desktop applications, Microsoft Store applications remain hidden in the WindowsApps secret folder. Windows restricts access to this folder from standard Windows user accounts, and you must edit it to view or edit it in any way. Here’s what you need to do.
What is the WindowsApps Folder in Windows 10?
The WindowsApps folder, as we have already mentioned, is a tight folder with Microsoft Store applications. It also includes some Windows applications that use the Universal Windows Platform (UWP) style application (as introduced in Windows 8).
From a security perspective, the WindowsApps folder restriction makes sense. By sandboxing Microsoft Store applications from other parts of Windows and restricting file ownership to a secret TrustedInstaller user account, Microsoft Store applications restrict access to other Windows compared to standard desktop applications.

Unfortunately, this means that making changes to (or viewing) the WindowsApps folder is difficult. You must first take steps to own the folder to which you will have access, and then change the folder.
However, it is important to consider security risks before attempting this. While Microsoft rates applications on quality and security, restricting access to the WindowsApps folder adds a layer of protection that prevents access to other sensitive files or folders (such as the profile folder). to your user directory in C: \ Users).
Using Windows File Explorer to Access the WindowsApps Folder
Accessing the WindowsApp folder in Windows 10 is the easiest way to use Windows File Explorer. You must enable the display of hidden folders and take ownership of the folder, which gives you the ability to view the folder and make changes.
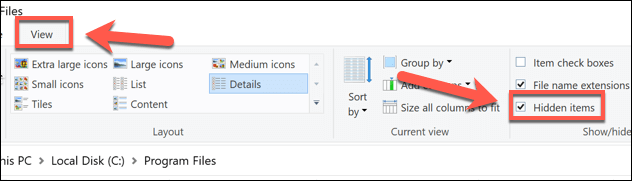
- To get started, open File Explorer on your Windows computer. Windows hides some folders by default, so you must disable them first. To do this, choose View> Hidden Objects. This causes hidden files and folders to appear in the folder list on the right.
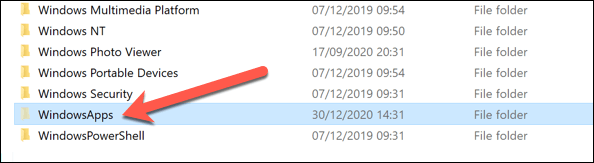
- With the hidden folders accessible, open the Program Files folder (usually C: \ Program Files) with the address bar. The WindowsApp folder should appear in the folder list.
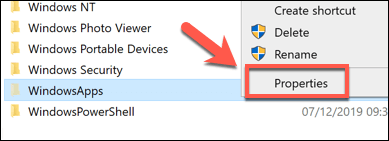
- To take control of WindowsApps, right-click the folder and select Properties.
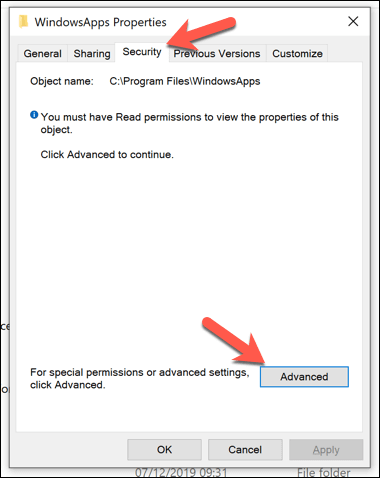
- In the Properties window, select the Security tab, then select the Advanced option.
- In the Advanced Security Settings window, select the Change button, listed next to the Owner information at the top.
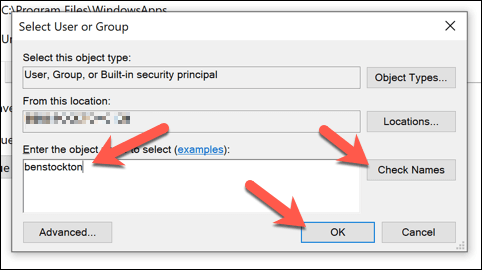
- In the Select User or Group box, type the username for your Windows user account, then select Check Names before selecting OK. For Microsoft accounts, type your email address instead.
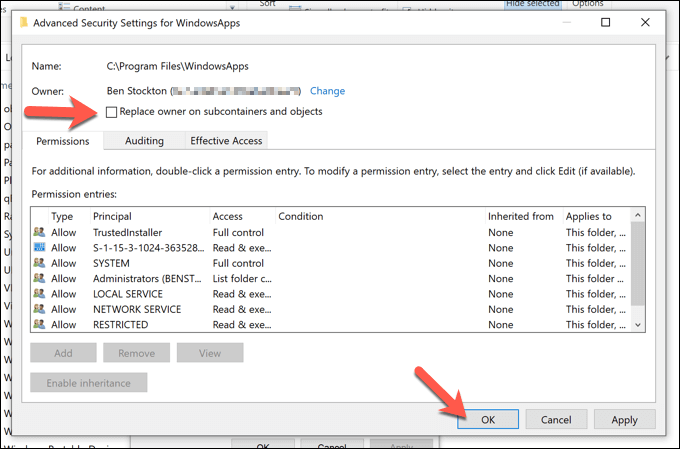
- Ownership of the folder will update to reflect your username (as seen in the Owner information at the top of the window). Make sure to enable the Replace owner on subcontainers and objects checkbox at the top of the menu. If you’re happy to proceed, select OK (or Apply > OK) to make the change.
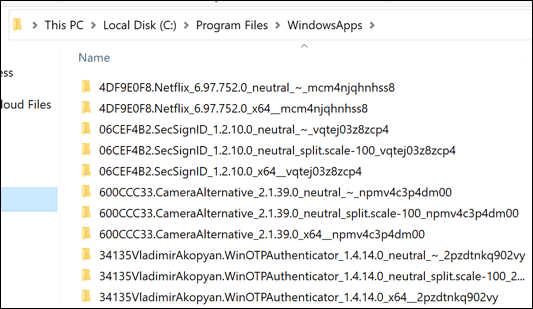
- You should now be able to view and edit the WindowApps folder, along with all sub-folders and files. Double-click the WindowsApps folder in the C:\Program Files directory to view the full contents.
Gaining Access to WindowsApps using the Windows PowerShell
The method above will grant you access to the WindowsApps folder and allow you to take ownership, but it can be quite a cumbersome process to follow. If you want to quickly change ownership of the WindowsApps folder and gain full access, you can use Windows PowerShell instead.
Understanding the WindowsApps Folder Structure
Unlike the Program Files folder, the WindowsApp folder is not structured by a simple application name. The Microsoft Store application folder in WindowsApps has a name structure that usually follows this pattern: name, version number, architecture (such as x64 for standard 64-bit CPUs), and publisher ID in the Microsoft Store.
- To open a new PowerShell window, right-click the Start menu and select the Windows PowerShell (Admin) option.
- In the new PowerShell window, type takeown /f “C:\Program Files\WindowsApps” /r and press Enter. This will take some time to complete.
- By using the /f (force) and /r (recursive) flags, the takeown command will force ownership of the WindowsApps folder to change, applying the change to all files and subfolders.
- Once the process is complete, the WindowsApps folder (C:\Program Files\WindowsApps) will be accessible to you in Windows File Explorer.
However, the kernel files can be found in the main architecture directory (such as the x64 directory). Some applications may have executable files that you can run directly, while other web applications have visible javascript and other web resources.
For example, Netflix is a web application. The Netflix x64 kernel folder displays folders marked js, images, fonts and obj to the source, with javascript and html code. Some applications, such as Microsoft Bing News, instead have executable files and Dynamic Link libraries (DLLs), similar to standard desktop applications.