If you’re looking to connect your printer to Wi-Fi, you may think the process will be confusing and difficult, but this isn’t the case at all. Here are the steps that you’ll need to take to connect your Canon printer to Wi-Fi on your home network.
How to Connect a Canon Printer to Wifi?
Before connecting to WiFi, make sure you have your Network Name (SSID/ESSID) and Network Key (Password/Security Key) memorized or written down so that setting up a wireless connection can be as painless as possible.
- Ensure that the Canon printer is turned on. (Here the white power lamp will be lit.)
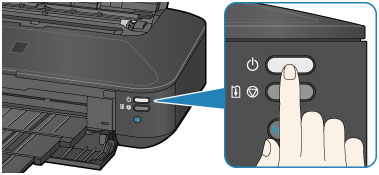
- Now press the Wi-Fi button on the Canon printer.
- Then, tap and hold the Wi-Fi button until the Wi-Fi lamp begins to blink.

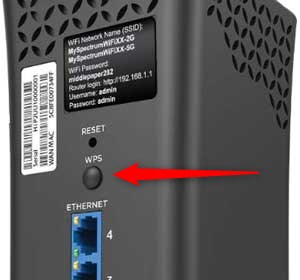
- Place your router nearby so that you can easily access the WPS button and hold your Wi-fi button until your printer light is on.
- Next, a network list will appear on the screen. Select your WiFi network from the list and press ok.
- Now it will ask for your WPA/WEP key. Enter your correct password here and press on ‘OK’ button
- Now, your printer is searching for a network, and during this process, a blue Wi-fi light is on.
- Once the Wi-Fi connection is established, the Wi-Fi lamp will begin to blink in blue color.
- Therefore, after following all the above steps, the users have established the connection successfully.
Setting Up Your Canon Printer
- Firstly, download the Canon printer driver & finish the installation process.
- On your system, click on the start button.
- Go to the control panel and search for the “Hardware and Sound” option
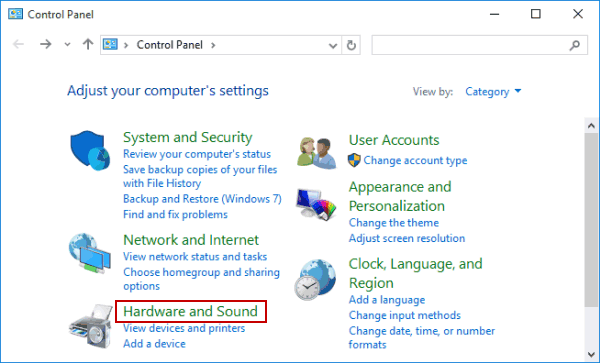
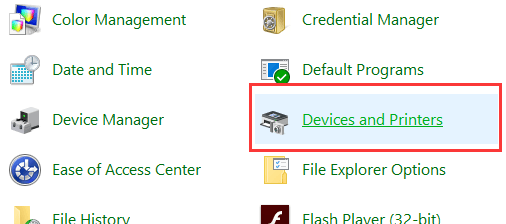
- Select the ‘Devices and Printers’ option. Now you will see your printer with a Green check-mark.
- Now, click on the “Add printer” option from the upper left corner. Select your printer and wait for a few moments.
- After this, the printer will be successfully connected to the Windows device and ready to use.
