Method to Connect Canon tr4522 Wireless Printer
In this article, we have explained the detailed process of connecting the Canon tr4522 printer to wireless settings. Thus by following these steps, you can easily set up a Canon printer on a WiFi network.
The connection between a wireless Canon tr4522 printer and a commanding device is established via a shared connection or WiFi. Therefore, it is important to have the printer on the same WiFi network as your computer.
WPS Connection – To Connect Canon tr4522 Printer with Wireless Network
Before following this method, first, make sure that your WiFi router has a WPS button. Also, the router must use WPA or WPA2 security protocols.
- Hit the power button on the printer to make it ‘ON’. Also, switch on your WiFi router through WPS Button. Thereafter, go to the printer ‘Home’ from the touch screen and then press and Hold ‘WiFi’ button.
- Next, select the ‘LAN Wireless set up’ option> press ‘OK’. At this moment your printer will search for the access point of your wireless network.
- Choose your WiFi Network (named Canon in your router setting).
- After that, hit on the WiFi access point which will ask for a passphrase or WPA Key. Now, enter your WiFi password and then press the ‘OK’ button.
- This process will take a few moments to establish the connection of the Canon tr4522 printer with your WiFi router access point.
- Now, the Canon tr4522 printer and the router will automatically make a connection at this point.
- When the wireless connection is done, the power and the WiFi light will stop flashing. Instead, they will continuously remain lit after the connection.
How to Connect Canon tr4522 Wireless Printer on Windows
- The first step is to connect the printer to the WiFi network and set it up ( followed by as mention in above steps).
- Then download the printer driver by visiting here.
- Thereafter, double click on the downloaded file and complete the installation process and go to the next steps.
- Press Win Key +R to open the Run command
- Type this command in the Run dialog box- control/name Microsoft.DevicesAndPrinters
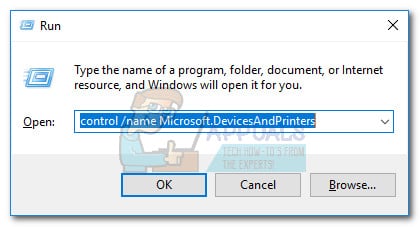
- Click OK. Now ‘Devices And Printers’ folder will open.
- You will see the ‘Add Printer’ button on this window.
- Click on the Add Printer and follow the instructions that appear on the screen
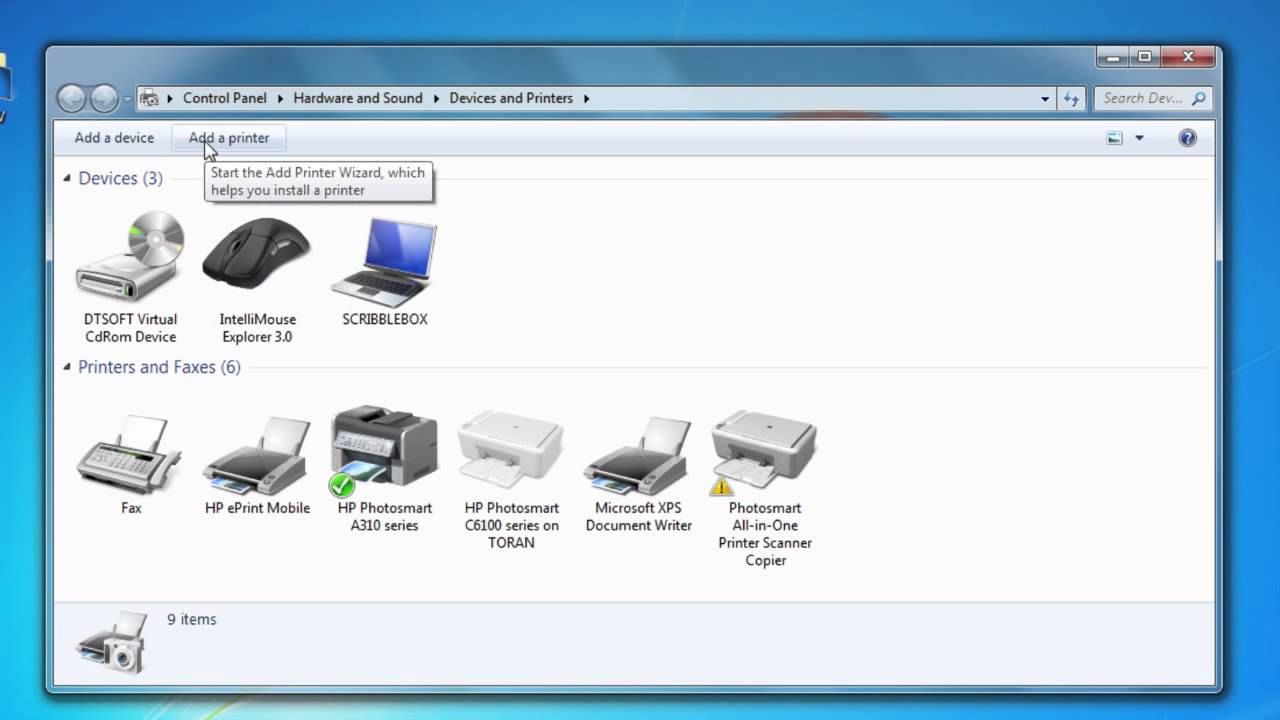
- Complete this process and click on OK.
- Now you’ve completed the connection process for your canon wireless printer on Windows. You can print a test page and start using your printer.
How to Connect Canon tr4522 Wireless Printer on MAC
By following these steps mention below you can set up a Canon wireless printer on MAC
- Firstly, turn on your Mac device and Canon Printer
- Then, connect Canon printer to wireless network by following the steps discussed in the first section of this write up.
- Then, go to the canon official website to download the driver. Now complete the driver installation process.
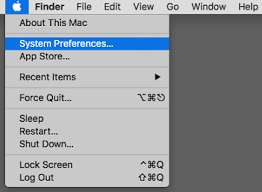
- Then, click on the Apple menu > Click System and Preference.
- From the next prompt screen choose the ‘Printers and Scanners’ option.
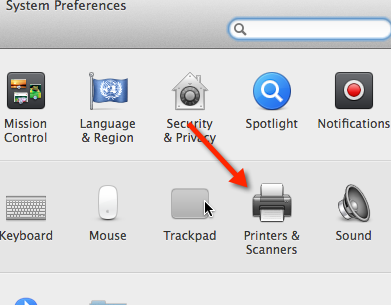
- Thereafter, you have to click on the + Sign to add the printer.
- Now from the pop-up window, select your Canon printer and click on “add”.
- Once your printer is added, you can see the printer’s name on the left side of your screen.
- Finally, your Canon wireless printer is successfully connected to Mac