vmware
VMware is a virtualization and cloud computing software vendor based in Palo Alto, California. VMware bases its virtualization technologies on its bare-metal hypervisor ESX/ESXi in x86 architecture. Bare-metal embedded hypervisors can run directly on a server’s hardware without the need of a primary operating system. With VMware server virtualization, a hypervisor is installed on the physical server to allow for multiple virtual machines (VMs) to run on the same physical server. Each VM can run its own operating system, allowing multiple OSes to run on one physical server. All of the VMs on the same physical server share resources, such as networking and RAM. In this blog we will explain how to download and install VMWare.
Downloading and installing VMware Workstation
Here are the steps of download and install process:

To download VMware:
- Go to VMware Workstation Download Center.
- Click Downloads for VMware Workstation for Windows/Linux.
- Click Download Now.
- If prompted, log in to your Customer Connect profile.
(If you do not have a profile, create one. For more information, see How to create a Customer Connect profile (2007005). Ensure that your profile is complete and enter all mandatory fields.)
- Review the End User License Agreement and click Yes.
- Click Download Now.
To install VMware:
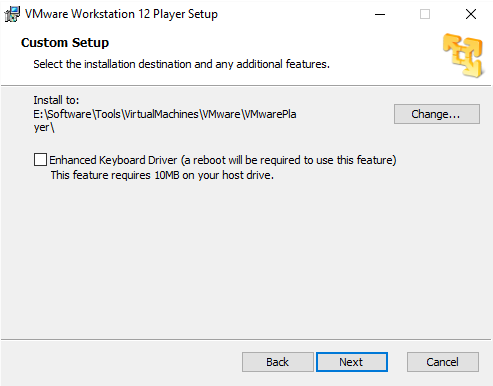
- Double-click the downloaded file VMware-player-12.1.0-3272444.exe to start the installation.
- The installation location is “E:\Software\Tools\VirtualMachines\VMware\VMwarePlayer”.
- The detailed installing processes and steps are omitted.
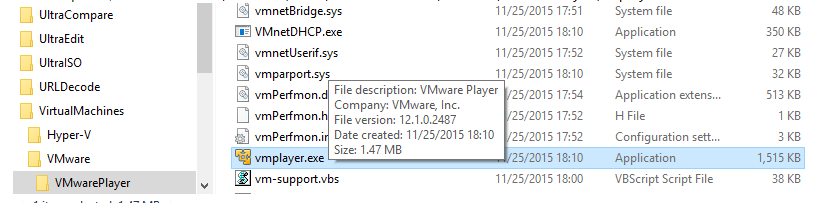
- Run VMware Player.
- In File Explorer, double-click “E:\Software\Tools\VirtualMachines\VMware\VMwarePlayer\vmplayer.exe”
- Then type email, and click Continue button.
- Then VMware Player is starting.
- Create Windows XP virtual machine in VMware Player.
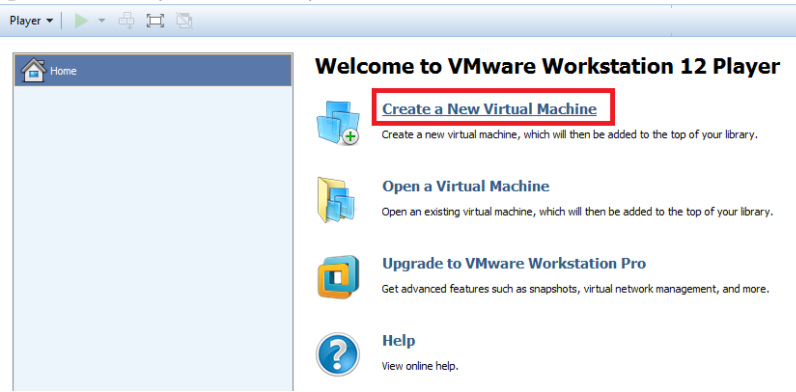
- In VMware Player, Click “Create a New Virtual Machine“, then “New Virtual Machine Wizard” dialogbox pops up.
- Click or ensure that the default “Installer disc:” button is selected.
- Then click Next button.
- On the “Easy Install Information” wizard, input Windows XP’s product key, user full name, and password.
- Click Next button.
- Virtual machine as “Windows XP Professional“, and then click.
- Then select location.
- Click Next.
- On the “Specify Disk Capacity” wizard, select the Maximum disk size (GB): “40” .
- Then click Next.
- click and ensure that the “Show all USB input devices” checkbox is selected, then click [Close] button.
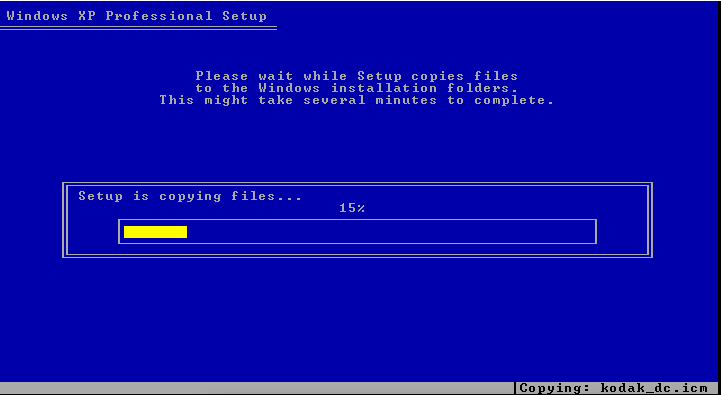
- Complete Windows XP installation.
I hope you found it informative. If you wish to learn more, you can check out our other ComputerSolve Blogs as well. how to use camera in vmware in mac os?.