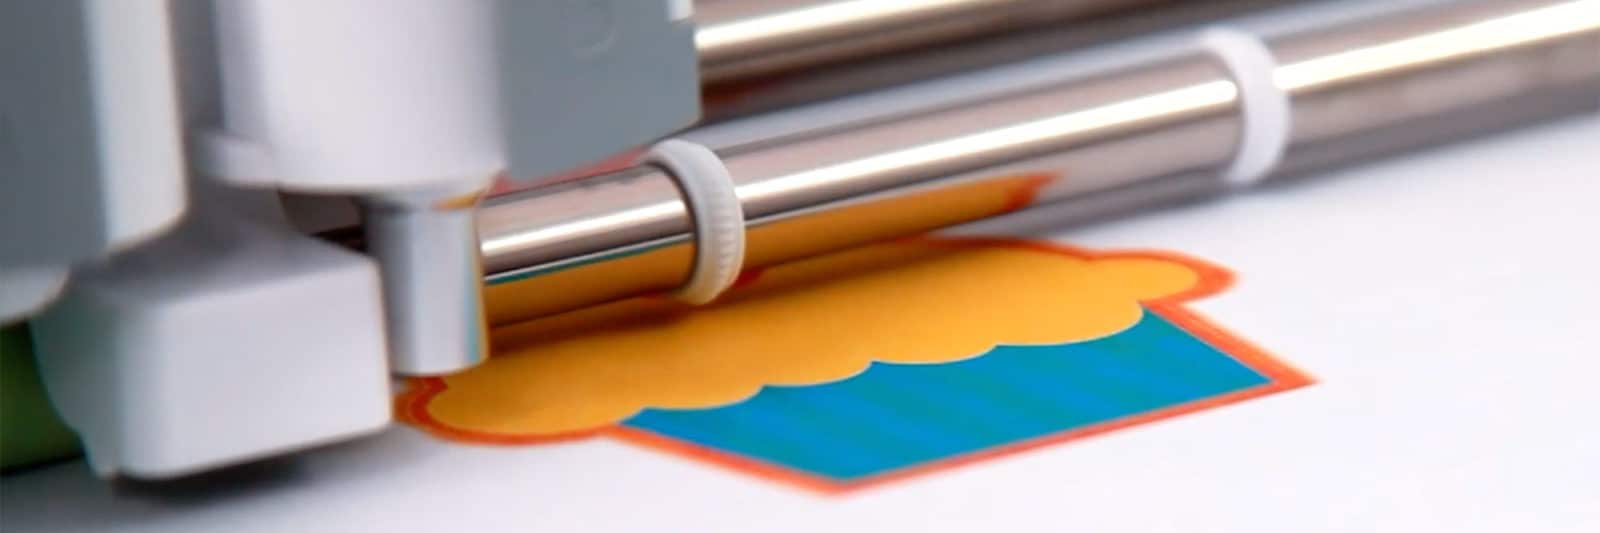
Cricut’s Print then Cut feature is a way for you to create a perfectly printed and cut item with perfect alignment between the two. Why do you need that? No more hand cutting to make something perfect. And no more trying to make a perfect circle or square. Let the machine do it for you!
Other Things to Keep in Mind…
- Put your printer quality on best to make sure that your image comes out store quality.
- Don’t be afraid of double-sided printing! Just make the two different sides on different layers in the file and don’t attach them. This will allow you to print, flip, then print again before you cut.
- Use the bleed feature if you want the color to go all the way to the edge.
- Remember that your printer colors might not be as bright as in real life. Bump them up in the design if you need to.
- Some materials that you can cut with your Cricut may be too thick for your printer. Be sure to do a test before you map out your whole project.
.
Steps to Print then Cut with Cricut
- Open Cricut Design Space, upload your image and create your design.

- Drag a box around the image, then hit the Flatten icon on the bottom right-hand side. Now it is ready to be printed.
Note: The maximum image size for Print Then Cut is 9.25″ x 6.75″ and the default material is 8.5″ x 11″. This cannot be changed at this time.
- Click Enter on the top right-hand side. Green button.
- When you see your image on the mat with the black box around it, you don’t need to do anything more on this page. Click continue.
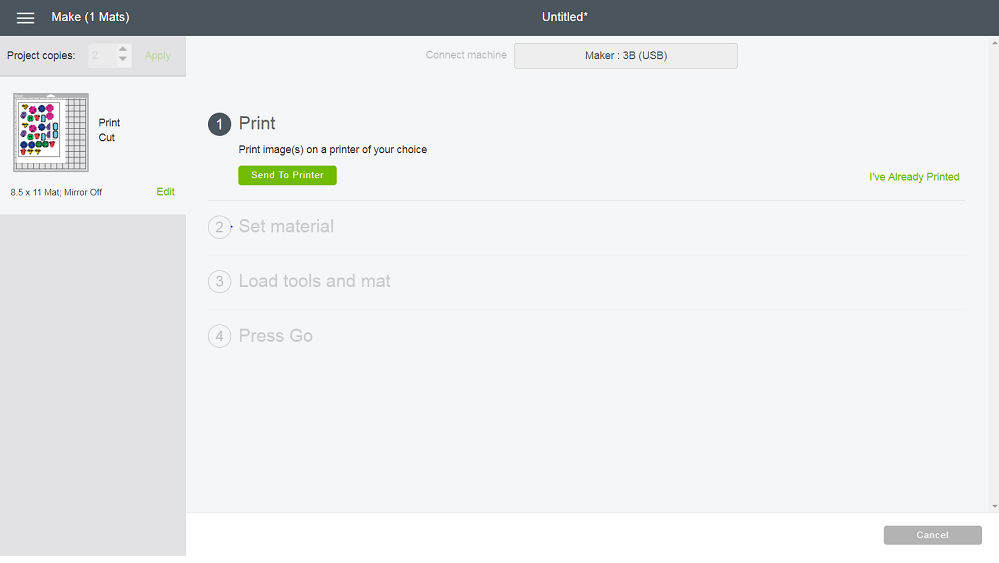
- Here you will see an option that says “Send to Printer“. You’ll print to whatever printer you want. If you’ve already printed the project, select “I’ve already printed“
- An image bleed will automatically be applied to the image(s) so that there is no white border left once the cut is complete.
- Now you will select the material that you have printed from the list of materials.
- Place your material on your mat in the top right corner of your mat.
- Load into your machine – it will take a couple of seconds for it to detect your registration marks.
- Press Go and let the magic happen!
- Remove the mat from the machine and carefully peel up the paper or sheet that you are using for your project