Scanners used to be very complex and prone to errors. Due to which uploading of documents becomes a drawn out experience which many people forget. But with the rise in popularity of all-in-one printers, many people now have the ability to scan documents. Many businesses use scanners to create electronic files of documents that were created manually to reduce paper consumption and allow editing and email delivery.
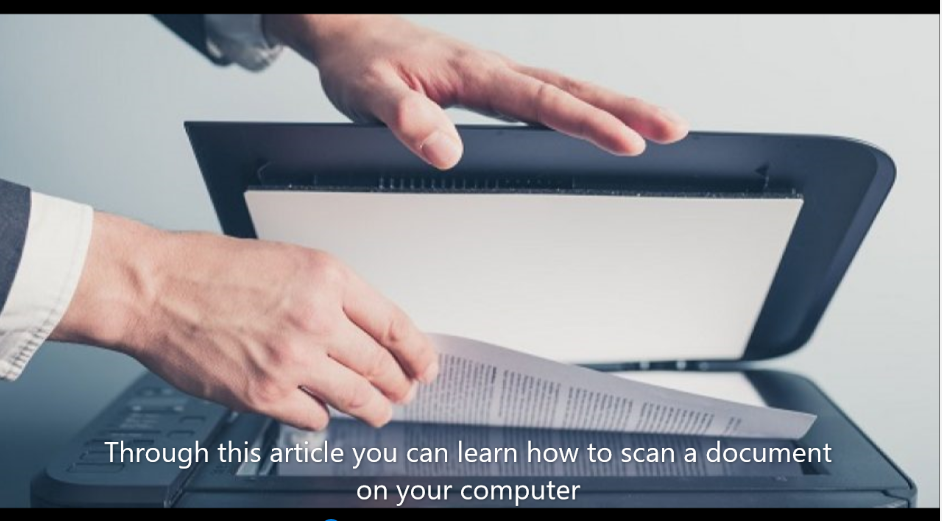
Through this article you can learn how to scan a document on your computer –
- First you need to turn on your scanner.
- Locate and install the software for the scanner on your computer. Which works with most scanners.
- Click once on the “Scan” drop-down menu, and select “To file.”
- Select the type of file in which you want to save the scanned document. If you have PDF writing software, such as Adobe Acrobat Pro, and the document is primarily text, save the scan as a PDF file. Other options include “JPG,” “TIFF” and “BMP (Bitmap).” In the example, a “JPG” format is selected.
- Choose whether you want to scan the document in grayscale (black and white) or color. If you’re scanning to a text document, selecting “Grayscale” will shrink the file size.
- Using the browse function, select the folder to be saved for the scan. This special software is installed to automatically save all scans to “My Pictures” folder.
- Click once on “Acquisition“.
- Adjust the options on the “Scan” window to suit your needs. Depending on the type of software you have, a number of features may be available to give you more control over the quality of the scan. It is important to note that the higher the resolution, the larger the file size.
- Click “Scan” once when you are ready to scan the document. When the document is scanned, the original screen will appear.
This way you can scan your document.
How to scan documents using cell phone ?
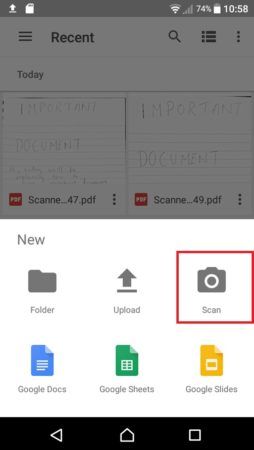
To scan directly from your phone, you’ll need the Google Drive app. It comes as standard on most modern iPhones and Android devices, so there’s a good chance you already have it and you don’t know. Open the app, sign in, click the blue plus icon in the bottom right, and select Scan.
You will be asked if the app can have certain permissions. These are just so that it can reach the camera, so don’t worry too much about it. You can revoke the permissions later if you wish.
Snap a picture of your document. You will be shown a preview – feel free to take another photo by clicking the arrow icon in the middle of the screen if you wish.
The app will try to guess where the document is, but it’s not always accurate. Sometimes you’ll find that an important piece is missing, for example, or that some detail (like our signature line) is missing. It might help if you try different angles, with the flash, focusing on different sections, and so forth. So what are our final thoughts on this method?
As the image above shows, a real scanner does a better job of retaining fine details. However, if you run into a problem and need to scan a document really fast, Google Drive provides a reasonable way to do so.
We will add that scanning via Google Drive is clearly insufficient for business applications. For example, you don’t want to scan contracts, but for quick copies of notes or doodles, this is great.
How to save document ?
After scanning all the pages, a screen showing the scanned pages pops up. Make sure all the pages are visible on the screen. If not, you need to re-scan the document.
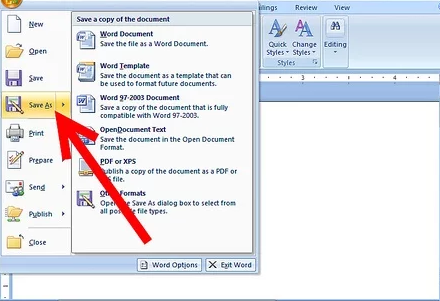
If you’re using the Windows Fax and Scan program, in the top middle of the screen, click Save As, or you can click File, then click Save As.
In the pop-up window, choose a save in location, then type the desired file name. Then, change Save As to .jpg, .bmp, .gif, .tiff, or .png, depending on your preference. We recommend saving any photo as a .jpg and any document as a .tiff. Saving documents as .tiff reduces their size, making it easier to send by e-mail and similar programs.
Once selected, click Save.