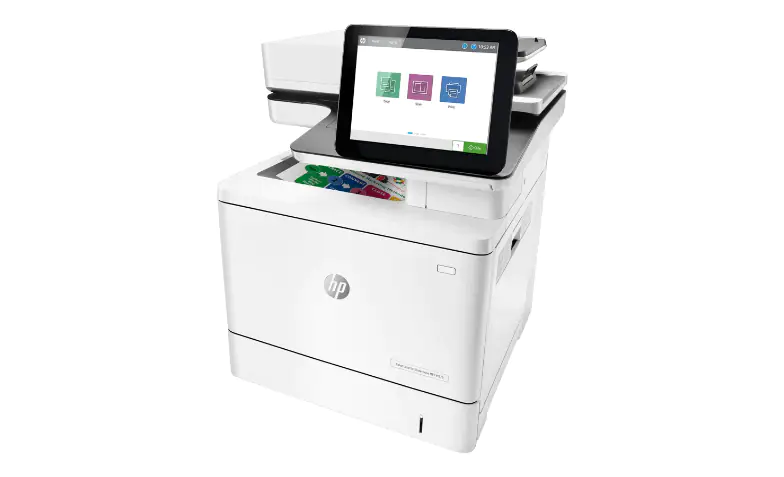
How to scan on HP printer? how to connect the hp printer to wifi? how to get hp printer online? How do I install an HP printer? These are some common questions asked when you have an HP printer, especially if it’s your first time using one. Here are some tips and tricks on how to scan on HP printer so that you can enjoy your printing experience without too much hassle or trouble at all.
Part 1: Setting Up Your HP Printer
- Make sure it is plugged into a power source and press the power button to turn it on.

- Make sure your printer’s connected to the same Wi-Fi network as your computer. You’ll need to access the control panel, Wireless Wizard set up, then follow the instructions to connect.
- Open the printer’s flatbed scanner. Merely lift it up away from the printer.
- Add your document. Lay, facing down, the document or photo you will be scanning.
Part 2: Scan with the HP Smart app (Windows)
Download the HP Smart app from HP Smart – Microsoft Store (Windows) or HP Smart – Mac App Store (macOS). Scan documents and photos from the printer, capture items with the computer camera or use the scan tools with files saved on the computer.
- Open the HP application. From your computer desktop, click on the Start menu then Programs.
- Click the Scan tile on the HP Smart app home screen.
- Select an option from the top menu bar.
- Scanner: Place the original on the printer scanner glass or into the automatic document feeder (ADF). Select scan job type, size, color, and resolution settings, and then click Scan in the lower right corner.
- Import: Select photos saved on your computer to apply a boundary, and then use the settings to edit, print, and share.
- Camera: Uses the computer camera or a webcam to capture, edit, and print or share a photo or document.
- From the Scan window, change settings, such as source, presets (document or phototype), page size or scan area, output type, and resolution to match the scan job.
- Click Scan.
- If the Detect Edges window opens, adjust the boundaries by clicking and dragging the blue dots, and then click Apply.
- Select from the following options and settings in the Preview window.
- Add another page by clicking + Add.
- Drag and drop the images to reorder multi-page scans.
- Click the menu icon to edit, replace, or delete the scanned items.
- Click the Rotate icon to rotate the item.
- In the Save or Share window, change the file name, file type, and compression settings, and then click Save.
- After saving the scan, click OK, and then click the Back button to return to the Home screen.
So, these are some of the steps related to how to scan a document on an HP printer. Try out these steps to get prints via your Mac computer or Windows computer.
