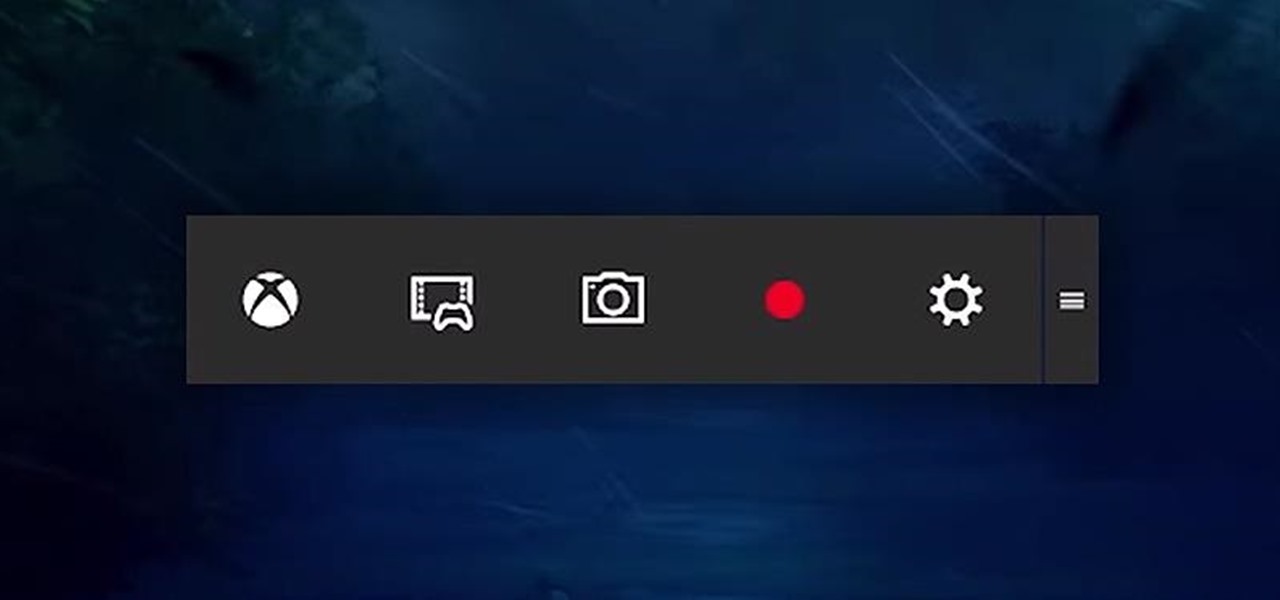
Have you ever wanted to record your screen to share your computer activities or create tutorials to show others how to do something? You can screen record on Windows using the built-in software in Windows 10 and Windows 8, no extra third-party programs required! This step-by-step guide will teach you how to screen record on Windows in minutes, no matter what version of Windows you’re using. The best part is that this method records in high quality and it’s free!
How Can I Screen Capture on Windows?
Screen Recorder 4 is one of the easiest screen capturing products to use even if you do not have video production knowledge. Below, we look at how you’ll use Screen Recorder 4 to record, and stream your screen content with your viewers.

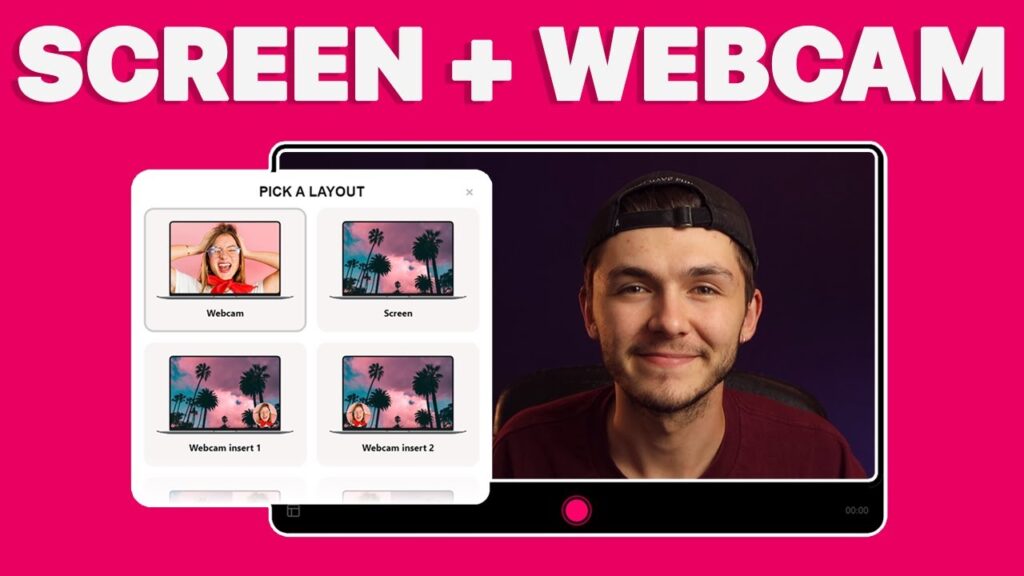
How can I Record Your Screen and Webcam?
You can record a feed from your webcam with all the screen recording options this program has to offer, including:
- Full-screen recording
- Game recording
- Lock for app recording
- Custom screen size recording
- Connected device recording
- After selecting your screen recording option from the Record tab, open the Preferences window by tapping on the icon that looks like a gear. Then, click on Webcam.
Select the webcam feed’s frame rate from the dropdown menu. Click on the Preview button to add the size of the webcam window. If you have a solid-colored background, such as a green screen, you can use the Chrome Keys option to change your background as a custom one.

How To Add an Overlay While Recording?
You can add overlays to your videos as BMP, GIF, PNG, or JPG images while recording. Examples of video overlays include watermarks. To add a picture in picture (PIP) image to your video.
Click the plus sign next to the video overlay button, which looks like two little snowflakes inside a box Click Insert Image in the Video Overlay window and open the image file on your computer. After you’ve imported an image from your computer, you can adjust its opacity in the Video Overlay window by changing it to a watermark.

Streaming for Twitch, YouTube and Facebook
If you purchase Screen Recorder 4 separate from PowerDirector, you can stream a video of your screen or game console directly to Twitch, YouTube, or Facebook. The streaming process for each platform is similar.
First, choose your recording option (full screen, custom area, etc.) from the Record tab. Then, click on the Stream tab and select the platform to which you want to stream. For example, if you want to stream your video to Facebook, check the box above the Facebook logo.
Next, click on Login and follow the instructions to sign in to your Twitch, YouTube, or Facebook account. After logging in, click on the settings menu to set the following options:
- Video title and description
- Privacy settings
- Video resolution and frame rate
- The URL for your live stream
- Feed settings from your webcam, microphone, and video overlays
- Check the Save Streamed Video to Disk option if you want the stream to record to your hard drive. The video file will save in your export folder for upload to another platform.
To start streaming your screen, click on Live. When you finish your live stream, click Stop or use the assigned hotkey.

