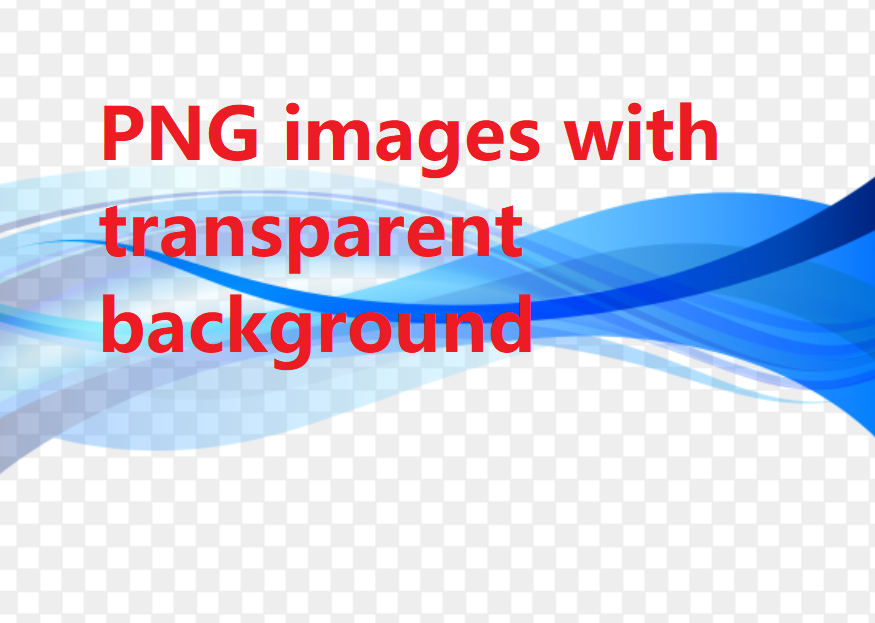
Oftentimes deciding factor for using a PNG file, is that–unlike a JPG–they support transparency. This allows you to have a transparent background around an irregular-shaped object and avoid a white or other colored box outlining your image. In this article we will explain about png images with transparent background.
Use some transparent background tools apps:
You can use background transparent tools that describe in this post.
1. Canva tool:
If you want to make background transparent then use canva tool. In the premium version, you have to choose the Transparent Background option to bring changes to your image background optimally. To remove your background with Canva, simply Upload your own image or choose one from our image library. then click on the Edit Image button on the top toolbar.

Removing the background of a photo is useful if you are creating marketing graphics for your website, flyer or social media graphics for example. Canva does quite a decent job at removing backgrounds.
Steps to make image transparent using Canva:
- Set your background color to white, or delete any existing background.
- Then click Download from the top corner of the editor.
- Click the File type dropdown, and choose PNG.
- Now tick the Transparent background option.
- Optional: Tick Compress file size, and drag the slider to adjust the compression ratio.
- If your design has multiple pages, select the pages you want to download from the dropdown, and click Done.
- If your design has premium elements, click the Premium elements dropdown, and choose a license for each element by clicking the arrow next to them. You can also download a watermarked draft before proceeding to pay.
- Click Download, or Pay and Download.
Features of Canva:
- The drag and drop feature of Canva makes it user−friendly. You can use templates and photos in your design in just a few clicks
- Convenient controls to change the image background into a transparent form
- Built-in templates are available to obtain professional outcomes
- Due to its user-friendly environment, even the newbie can excel in the editing process
- Canva has a library of free stock photos, icons, and fonts that you can use to create engaging graphic designs
2. LunaPic tool:
If you want to make background transparent then use Lunapic tool. Use Lunapic to make your image Transparent, or to remove background. LunaPic is a stunning free online photo editing. Lunapic is a completely free online photo editing platform that lets users edit photographs without login, signup or installation of any software. In this environment, you can effortlessly import an image, add effects, apply filters, etc, and customize it precisely. The Edit option leads to a page where you have to upload the image which requires a transparent background.

Steps to make image transparent using LunaPic:
- Make your image Transparent, or to remove background then use Lunapic.
- Use form above to pick an image file or URL.
- Then, just click the color/background your want to remove.
- In the future, access this tool from the menu Edit > Transparent Background.
Features of LunaPic:
- Lunapic is a completely free online photo editing platform
- Personalize the images with high standards
- The customizing controls are displayed explicitly for easy reach
- You can upload the desired pictures to make image background transparent from the online platform using the URL
3. Wondershare Filmora:
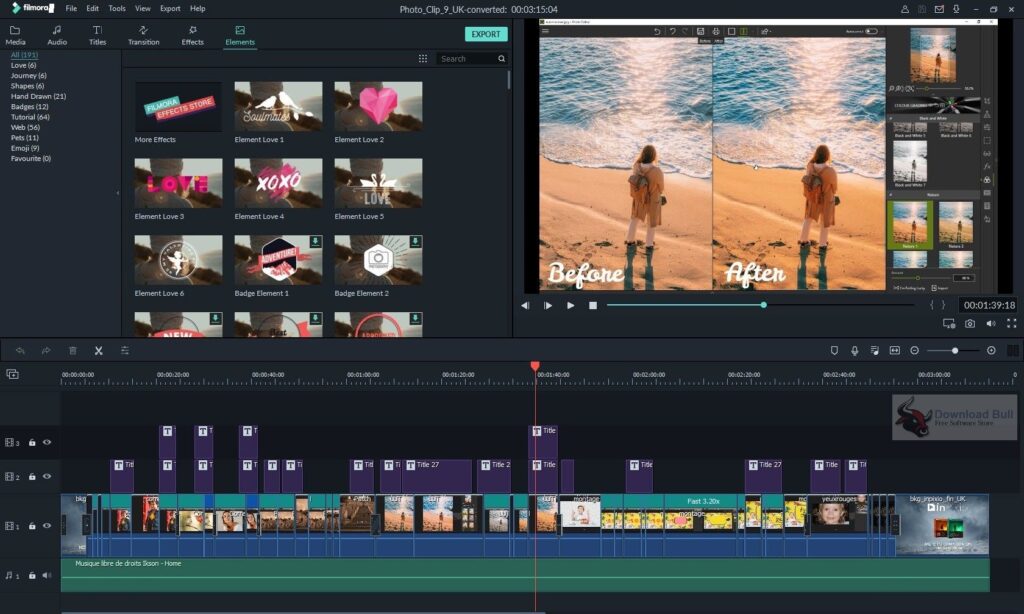
This is another tool for transparency. Wondershare Filmora composes of mind-blowing editor toolbox to work on the multimedia files optimally. You can work on the image background by working on built-in features like Brightness, Saturation, and Contrast. This application is compatible with Windows and Mac systems precisely. You can make your image background transparent by its Chroma Key settings or the Screen mode under the Compositing menu.

Steps to make image transparent using Wondershare Filmora:
- Firstly you can download and install Wondershare Filmora on your computer.
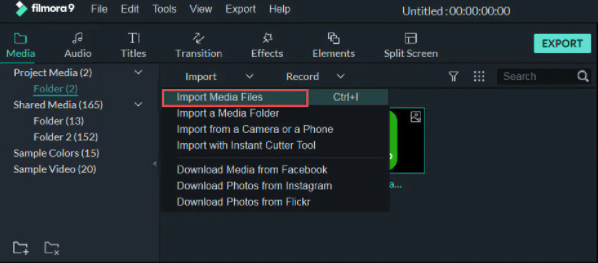
- Now open Wondershare Filmora and select Import-Import Media Files in the dropdown to load your source image to the media library.

- Add the imported image to the filmora timeline. You can right-click the image and select the “Insert” option or just drag and drop the image on the timeline.

- Here the real work starts. Double click the image in the timeline, and it will open a detailed settings tab just above the timeline.
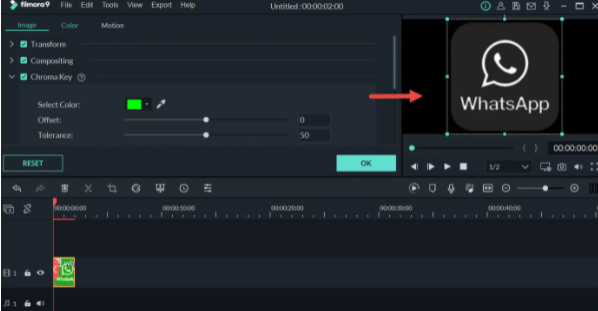
- Scroll down the list of settings and find “Chroma Key” settings.
- Enable Chroma Key, and you will see the image get transparent. Green is the default color to white as the image background color. Or you can just click on the “Color picker” icon right to the select color and go to the section you want to make transparent and click once.

- If the background is not fully transparent, you can also adjust the chroma key settings such as offset, tolerance, edge thickness, and edge feather to make image fully transparent.
- Finally, you can overlay the transparent image to your video, and click OK to save the settings. Then you can add this transparent image to your video.
Features of Wondershare Filmora:
- Simple and user-friendly interface
- Advanced chroma key settings
- Edit and export videos at resolutions of up to 4K
- Remove unwanted background noise easily
- Adjust the white balance and dynamic range of the clips
- Multiple video and sound effects
- Screen recording and scene detection
- Easy video sharing to YouTube
- Add panning and zooming movements to still footage
You can also use Microsoft Paint for transparent background you can click here…
Conclusion:
We’ve gone through three different tools and methods for you to make image transparent. They may help you edit your image and play with your editing expertise. You can choose the way you like. Do leave your comments below if you have suggestions.
