Canon Printer Installation and Start Setup – Guidance!
In this article, we have explained the process to install a Canon printer. We have explained the setup process for both wired and wireless connection for Windows and Mac operating system
Basic Specification To Perform Canon Setup
- Before beginning with the Canon IJ Setup process, keep the model number of your printer in hand.
- Ensure that your operating system has enough storage space so that driver and software will easily be installed.
- Also, ensure that the Canon IJ printer is securely plugged into the power outlet.
- Make sure that your computer has a strong internet connection.
Procedures to Install Canon printer Setup
Follow the given steps one by one to get through the Canon printer installation process easily. Take a look at the points given below and do the same:
Procedure 1: Installing a USB Printer For Windows And iOS
Go through the given instructions to install a USB printer for both Windows and iOS systems:
- Read the instruction mentioned in the book which has come along with the printer. You can even also find the desired information on Google by simply searching for ‘’manufacturer model support’’
- Now, connect the printer to the computer with a USB cable
- Turn On your printer now, wait for your system to detect the device and install the printer
- Install the printer software too
- In case, you don’t have the disk, download the drivers from the manufacturer’s website
- Run the downloaded file to install the driver. Now your printer is all-set to print, scan or fax
Procedure 2: Install A Network Printer For Windows
You can connect your printer to a network via wired or wireless ways.
- Wired: With a wired Ethernet network cable you can simply connect your device and generally doesn’t require any further network configuration.
- Wireless: Connect your printer with a Wi-Fi network to wirelessly connect the device.
Desired Steps You Need To Follow
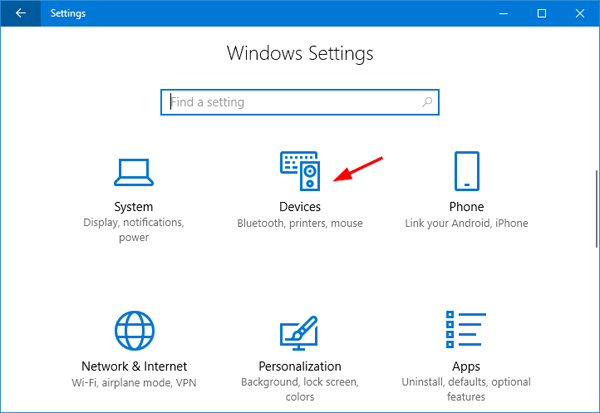
- Open the Control Panel on your Windows
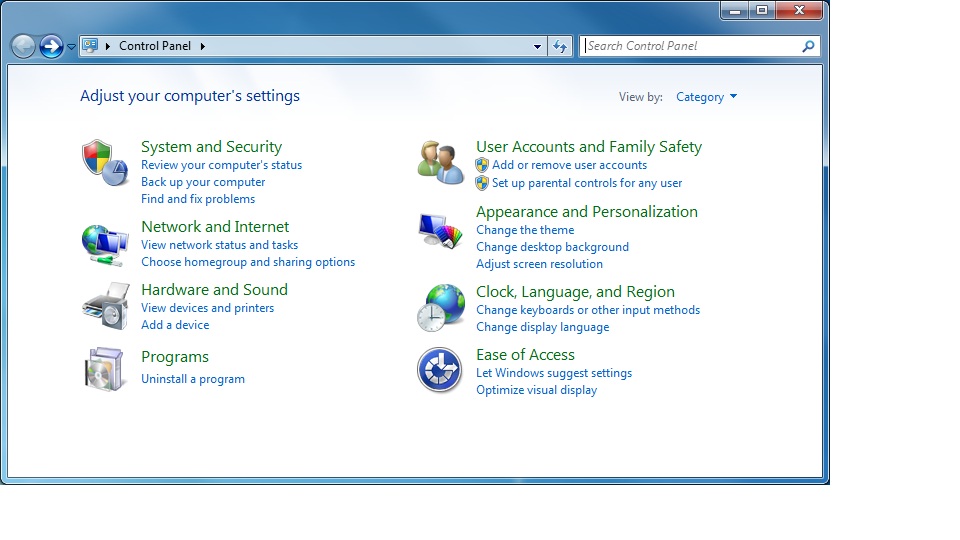
- Select ‘Devices and Printers’
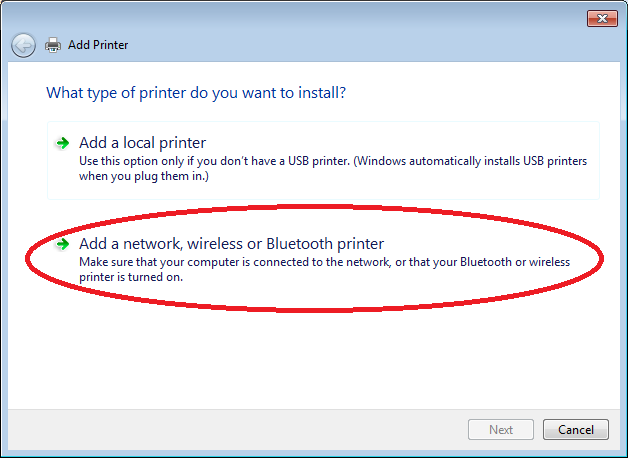
- Click on Add a Printer
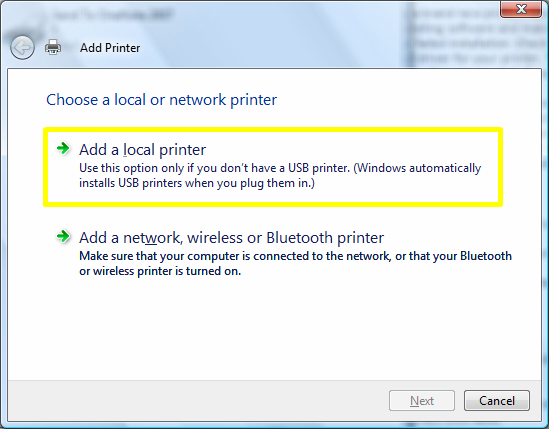
- Now, choose ‘Add a network, wireless or Bluetooth printer’
- Select your wireless printer from the given-list and click Next
- Now install the drivers: During installation make sure your system is connected to the internet. In case, you do not have internet, you can use the CD which came along with the printer
Setup Canon Printer On Windows (Wireless)
- Firstly, download and install your printers driver from Canon official website.
- Turn on your Canon printer and make sure that it is properly plugged in with the power switch.
- Thereafter, open the downloaded file of driver setup.
- Click on next till the time you see screen where you see options of choosing “Wireless Setup”.
- Now after selecting the wireless option, go to your Canon printer screen and tap on WiFi setup button.
- Select the device settings and click on OK.

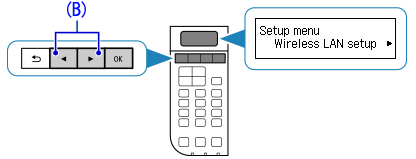
- Next, Choose Device Settings>LAN Settings and press ‘OK’ button
- LAN Settings>Wireless Lan Setup and press on ‘OK’.
- Now your printer will search for access point.
- Make sure that your WiFi router is turned on. Now, WiFi flash lamp will blink on the printer.
- Next, a network list will appear on the screen. Select your WiFi network from the list and press on ‘OK’.
- Now it will ask for your WPA/WEP key (WiFi password). Enter your correct password here and press on ‘OK’ button.
- In a few moments, your printer will connect to a WiFi network.
- Hence, by using the above steps you can easily complete the Canon setup for your Windows system.
Process to Setup Canon Printer on Mac
- Firstly, download and set up the driver and go for the next step.
- Follow the steps given above in the first section of this write-up to put the Canon printer on the same WiFi network as your device.
- Next, open the ‘Apple’ menu and click on ‘System Preferences’.
- Now from the System Preferences window click on the printer-shaped icon called “Printers & Scanners”.
- Click on the “+” sign near the bottom left corner of the screen after which a pop window will appear.
- You will be able to see the name of your printer in the left pane if it is already connected to the network.
- Click on it to start the setup process. Once the process is complete, your printer will be displayed with a green check and ready to use.