Luckily, setting up the microphone on windows 10 is simple and easy. Here’s how to test microphone on windows 10.
Whether you are using HP, Dell, Lenovo or any other laptop, or desktop PC, whether it is running Windows 11 or Windows 10, you can use this method on both Windows. It should be used to work on most microphones, be it a headset, headphones or a standalone mic, as long as it is properly connected, detected, and enabled in Windows.
How to test microphone windows 10 ?
- First go to your windows.
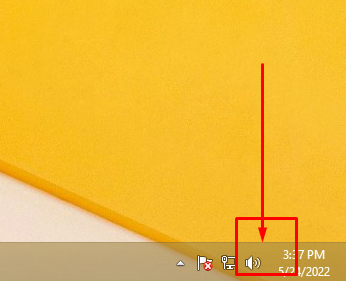
- Then in your taskbar, in the bottom-right side of the screen, find the little “speaker icon“.

- Click on the one you want to see the “icon hidden” from your “taskbar”.
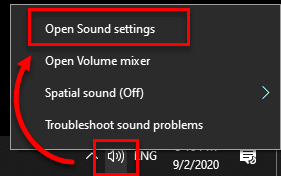
- Right-click on the speaker icon and select “Open Sound Settings“.

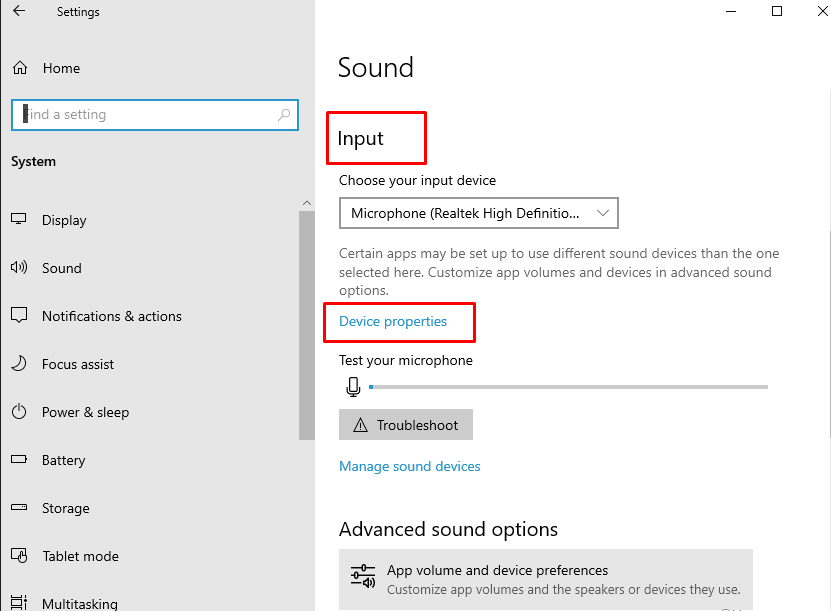
- Scroll down to “Input“. Windows will show you which microphone is currently your default in other words, which one it’s using now and a blue bar shows your volume levels. Try talking into your microphone. If the blue bar bounces around when you raise and lower your voice, it means it’s working properly.

- If your computer is using the wrong microphone, you can change it by clicking the drop-down menu and selecting a new option – make sure the correct microphone is plugged in correctly, or it won’t show up.
