When you try to access shared resources on a Windows 10 PC from a Windows 7 or a Windows XP PC, you receive an error message “The Specified Network Name is No Longer Available”. Server Message Block (SMB) is a file transfer protocol used on Windows systems for many years. Its primary use is to allow client computers to access remote files on another computer system. The computer storing the file needs to have SMB protocol enabled, and the client accessing the file needs to support SMB protocol. The issue commonly faced on Windows 7 or XP client computers.
In our environment we have two Server 2008 R2 servers- a bot server and a file server. Basically, as our bot server performs its business-related tasks, it creates and updates .csv files which are located on shares on the file server.
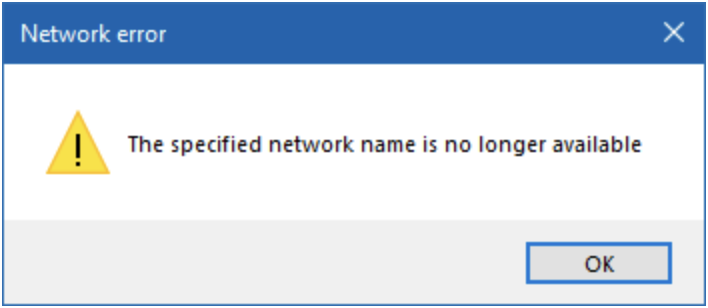
Occasionally, the bot server is not able to access its file server files. When this happens, its error log outputs the Windows error “The specified network name is no longer available” when referencing the target file.
Why does “The specified network name is no longer available” Error occurs?
- Using a device that supports SMB 1.0 on the latest version of Windows 10.
- Due to antivirus and firewall.
- Network scanning program.
How to Fix “The specified network name is no longer available” Error?
1. Disable Antivirus Software and Firewall
- Press the ‘Window + X’ shortcut key on your keyboard at the same time and click ‘Task Manager’ option.
- On the Task Manager window, navigate to the Process tab, and search your third-party antivirus software, right-click it and select ‘End task’ from the context menu.
2. Turn On the SMB 1.0
- Press the ‘Window’ shortcut key on your keyboard and type windows feature in the Search bar and choose ‘Turn Windows features on or off’ option.
- On the Turn Windows features on or off window, search SMB 1.0/CIFS File Sharing Support and then click the checkbox next to it. Tap on ‘OK’ button to save changes and restart your PC.
3. Turn On Computer Browser, Server and Workstation Services
- Press the ‘Window + R’ shortcut key on your keyboard and type ‘services.msc’ in the Run box and tap ‘OK’ to open Services.
- Double-click ‘Computer Browser’ in the ‘Services’ window. Click on the ‘General’ section, change the ‘Startup type’ to Automatic, and choose ‘Start’. Then tap on ‘Apply’ and ‘OK’ to save changes. After complete process, restart your PC.
4. Map Network Drive Using IP Address
- Navigate to ‘File Explorer’ and tap on ‘This PC’.
- Tap on ‘Computer’ and then select ‘Map Network Drive’.
- In the Map Network Drive window, select ‘a drive letter’ from the context menu next to Drive.
- Enter the address ‘\IP address\share folder’ of the shared folder you want to access next to Folder.
- Tap on ‘Finish’ and restart your PC.
5. Enable Network Sharing
- Press the ‘Window’ shortcut key on your keyboard and type ‘Control Panel’ in the Search bar and choose ‘Control Panel’ option.
- On the Control Panel window, click on the View by field and set it to Large icons.
- Choose ‘Network and Sharing Centre’ from the list, tap on ‘Change advanced sharing settings’ on the left side of the panel and expand the ‘All Networks’ option.
- Navigate to ‘Public folder sharing’ and tap on the radio button next to ‘Turn on sharing so that anyone with network access can read and write files in the public folder’.
- Now, navigate to ‘Password-protected sharing’ section and tap on the radio button next to ‘Turn off password-protected sharing’.
- Click on ‘Save changes’ to save the changes and exit.
6. Turn Off Symantec Endpoint Protection
- Press the ‘Window + X’ shortcut key on your keyboard at the same time and click ‘Command Prompt (Administrator)’ option.
- On the Command Prompt window, type “smc -stop” and hit ‘Enter’.
7. Grant Permissions to the Shared Folder
- Right-click on the folder and choose ‘Properties’ among the options.
- In the Security tab, choose ‘Advanced’ and in the Advanced menu, navigate to the list of owners.
- Verify and modify the permissions as desired.
In this article, you can find four useful methods to fix “The Specified Network Name is No Longer Available” error. If you want to know more details about to solve “Youtube Invalid Response Received”. Click Here.