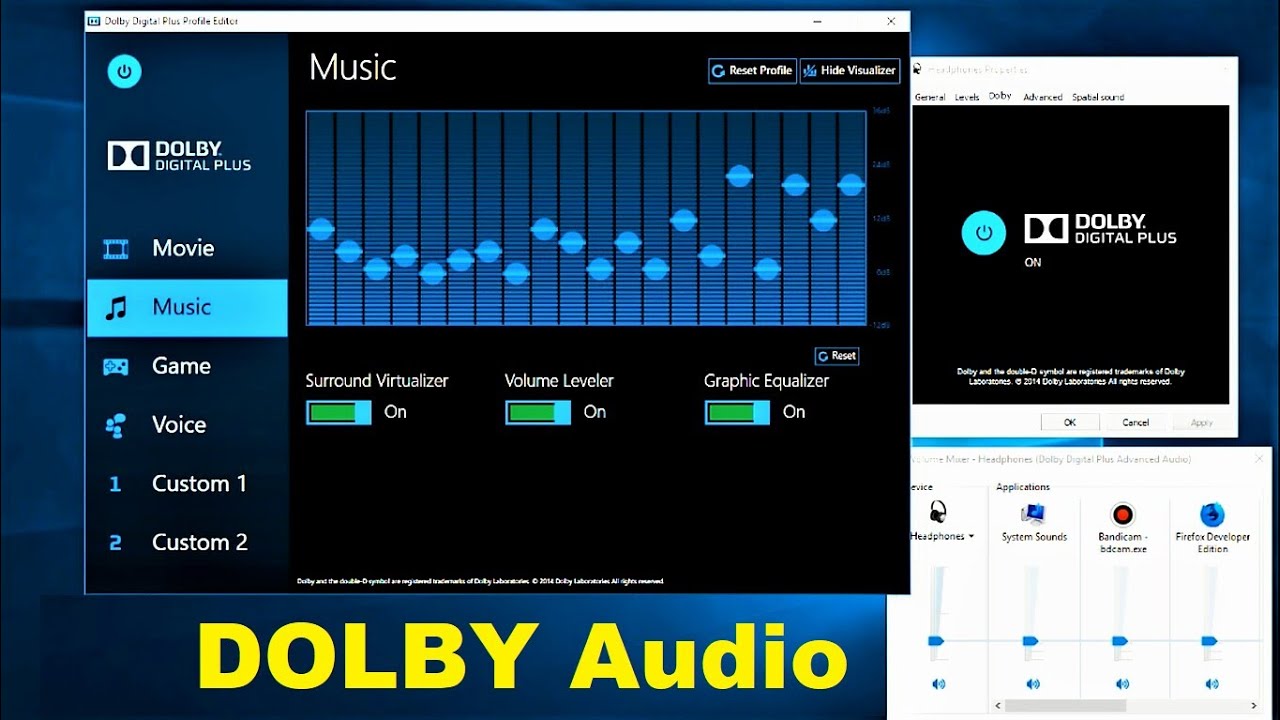
Dolby is an audio compression technology which provides a unique sound experience by enhancing digital audio output. It takes sound like movie soundtracks, which is designed for vast rooms and huge, cinema style speakers. Dolby Audio was first used in 1992. The Tim Burton classic Batman Returns was the first feature film to use Dolby Digital sound, which has since spawned Dolby Digital Plus, Dolby Atmos and Dolby TrueHD.
Dolby Audio provides complete audio solutions for Laptop. Dolby Audio is offered on most Lenovo laptops these days. Dolby Audio helps set Lenovo models apart. Lenovo wants to deliver the best possible sound so that videos, movies, music, and games all deliver a more compelling experience across Lenovo PC and tablet product lines.
Movie audio is recorded in surround sound, helping to create an immersive experience with noises exploding all around us. Dolby helps to recreate this in smaller speakers that can be used in the home. It is a HD surround sound, giving us access to overhead speakers.
How does Dolby Audio work on Laptop?
Dolby Audio can be set up on a Laptop to be used with headphones or, a less likely scenario, external speakers and an AV receiver that supports Audio.
Process to Install Dolby Audio in Laptop
You can install Dolby Audio as Store Product or as a Software.
Steps to Install Dolby Audio as Store Product
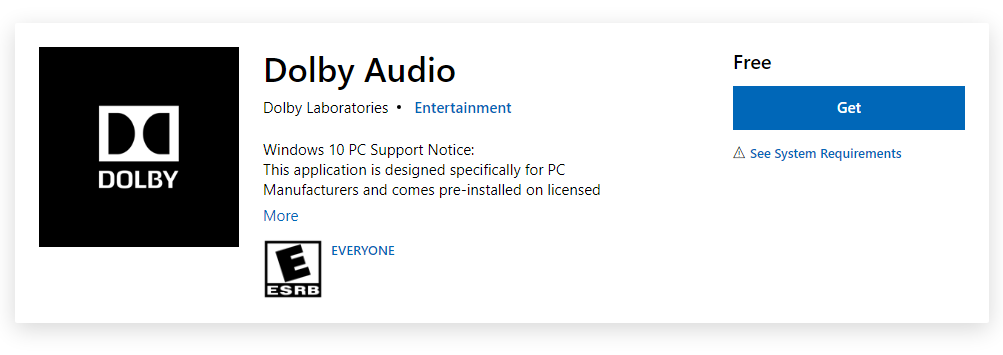
- Visit this link of Microsoft Store here.
- Click ‘Get’ to install Dolby Audio.

Steps to Install Dolby Audio as a Software
- Visit this link Dolby Audio to download Dolby Audio. https://dolby-audio.en.softonic.com/
- Click ‘Download’ to download the Dolby Audio package zip file.
- Extract the ‘Dolby Digital Plus Advanced Audio’ to a location of your choice.
- Press ‘Windows + I’ to open the Settings window.
- Now, tap on ‘Update and Security’.
- Then, tap on ‘Recovery’ option on the left panel.
- Under the ‘Advanced Startup’ section, tap on ‘Restart Now’ button.
- Now, select ‘Troubleshoot’ option and then, click on the ‘Advanced options’.
- Select ‘Startup Settings’ option under the ‘Advances Options’ window and click ‘Restart’ button to restart your computer in safe mode.
- Click on the ‘Disable Driver signature enforcement’ option.
- Now, press ‘Windows + X’ and then select ‘Device Manager’.
- Click on ‘Sound, video and game controllers’ to expand. Right-click on ‘Realtek(R) Audio’ and then select ‘Update driver’ from the menu.
- Choose ‘Browse my computer for driver software’ option.
- Now, select ‘Let me pick from a list of available drivers on my computer’ option, tap on ‘Have Disk’ and hit ‘Browse’.
- In Locate File window, select ‘Dolby Digital Plus Advance Audio’ folder and double click on ’64 bit’ > ‘Drivers’.
- Now, select ‘Digital Plus AA’ and click on ‘Open’. Now, click on ‘OK’.
- Select ‘Dolby Digital Plus Advance Audio’ and then, tap on ‘Next’. If there is any warning message, select ‘Yes’.
- After complete process, restart your computer.
Process to Install the Setup File of Dolby Audio in Laptop
After restarting your computer, follow below steps to install the Setup File of Dolby Audio:
- Go to the location where you have extracted the zip file of ‘Dolby Digital Plus Advanced Audio’.
- In Locate File window, select ‘Dolby Digital Plus Advance Audio’ folder and double click on ’64 bit’ > ‘Setup’.
- Now, double click on ‘DolbyDigitalPlusAAx64’ to run the setup on your computer.
- Follow the on-screen instructions to install the Dolby Digital Plus on your computer.
- After completion, click on ‘Finish’ to finish the installation process.
We have described all the information related to What is Dolby Audio in Laptop. Hope you are like it! Thanks for reading this article. Check out this article if you want What is ESENT.
