Canon PIXMA PRO-100 Wi-Fi Setup Guide
Some access points (often called routers or hubs) feature an automatic connection button labeled “WPS” which stands for Wi-Fi Protected Setup and allows permitted devices to connect to your network without needing to enter a password. This is the easiest way of connecting your PIXMA printer, so if your access point has a WPS button please select ‘WPS Connection Method’ below for instructions on connecting using this method.
Canon pixma pro-100 wireless setup process
- First, press and hold the Wi-Fi button on the Canon Pixma Pro 100 printer while simultaneously holding down the button on the access point.
- Here, make sure the Wi-Fi lamp flashes quickly and the Power lamp lights up immediately.
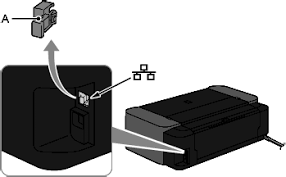
- Next, press and hold the Access Point button within two minutes.
- Here, make sure the blue WiFi lamp and power lamp are lit.
- So, now your wireless setup connection is done for Canon Pixma 100 Pro Printer.
Canon Pixma 100 pro wireless setup on Windows
- Connect Canon Pixma Pro 100 to WI-Fi exactly according to the steps given in the first section of the present write up.
- Now, download the printer driver on your Windows computer, click to know more.
- Select your printer model and hit on the “Download” option.
- Once the downloading process is complete, click on the Driver Package option to open the setup.
- Then complete the installation steps by carefully following the onscreen instructions.
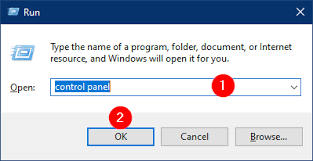
- Now click the Windows ‘Start’ button to open Control Panel (or open the Run dialog box and type Control Panel > Hit OK)
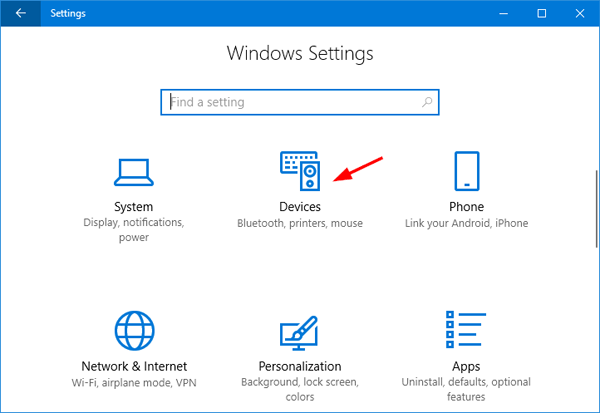
- From the next window, select “Devices and Printers” from the window that comes up.
- Click on “Add Printer” option from where user can see the list of installed Canon printers.
- Select your printer from the list and wait for a few seconds.
- Your printer name will be displayed in the ‘Devices and Printers‘ section which will then be ready to use.
Canon Pixma 100 pro wireless setup on MAC
- First, turn on your printer and Mac PC.
- Next, connect your Canon Pixma Pro 100 to Wi-Fi as per the steps in the first part of this write-up.
- Now, download and install the latest version of the printer driver by visiting the official Canon website.
- Follow the on-screen instructions and finish the driver download process.
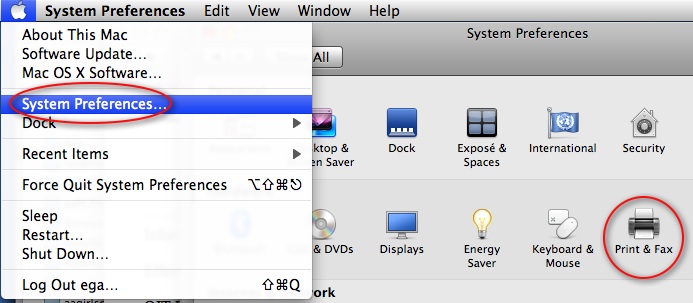
- Please select “System Preferences” from Apple’s menu.
- Next, click on the option “Printers and Scanners” from the new window.
- Hit on the “+” option as seen in the image below and add your Canon Pixma Pro 100 printer from the drop and down menu.
- Select your printer from the drop-down list.
- Congratulations your wireless Canon Pixma Pro 100 printer will be connected to the Mac system.
More Post: 123 hp com dj3630 | Brother Printer | HP OfficeJet 3830