Zipping a file is an efficient way to store or transfer data. Zipping refers to compressing large files using any archive file format. ZIP is the most common archive file format that’s why it’s being used to describe data compression with other formats. Here are some easy steps given to create a ZIP file according to your operating system.
How Do We Create a ZIP File in Windows?
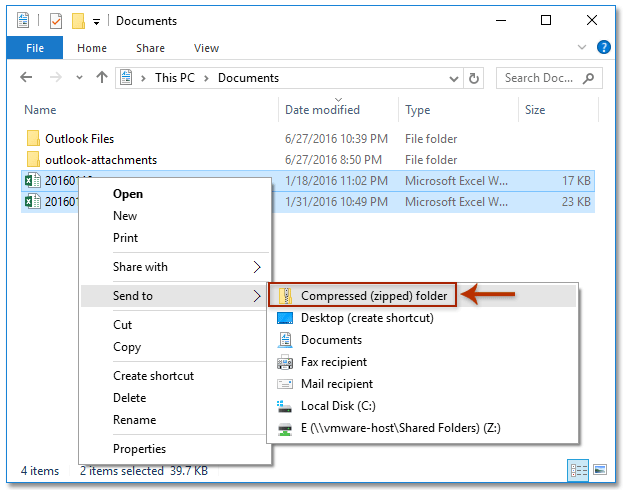
You can follow this easy approach for creating a ZIP file in Windows :
- It starts from your desktop, first, right click to a blank space and then choose ‘New > Compressed (zipped) Folder’.

- Then name the ZIP file as per your choice. The recipient will see this file name when receiving the ZIP file as an attachment.
- Now drag and drop the required files and folders, you want to transfer in the ZIP file into a blank area. These files include text documents, images, videos, music files, or any other kind of data you would like to send.

- And You’re done! Your ZIP file is now ready to send.
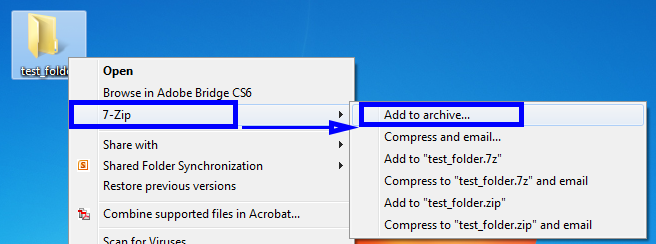
Please Note that, another method for creating ZIP files in windows is by using a ‘file archive program’ such as 7-Zip or PeaZip, So you can try use this one also.

How Do We Create a ZIP File on a Mac?
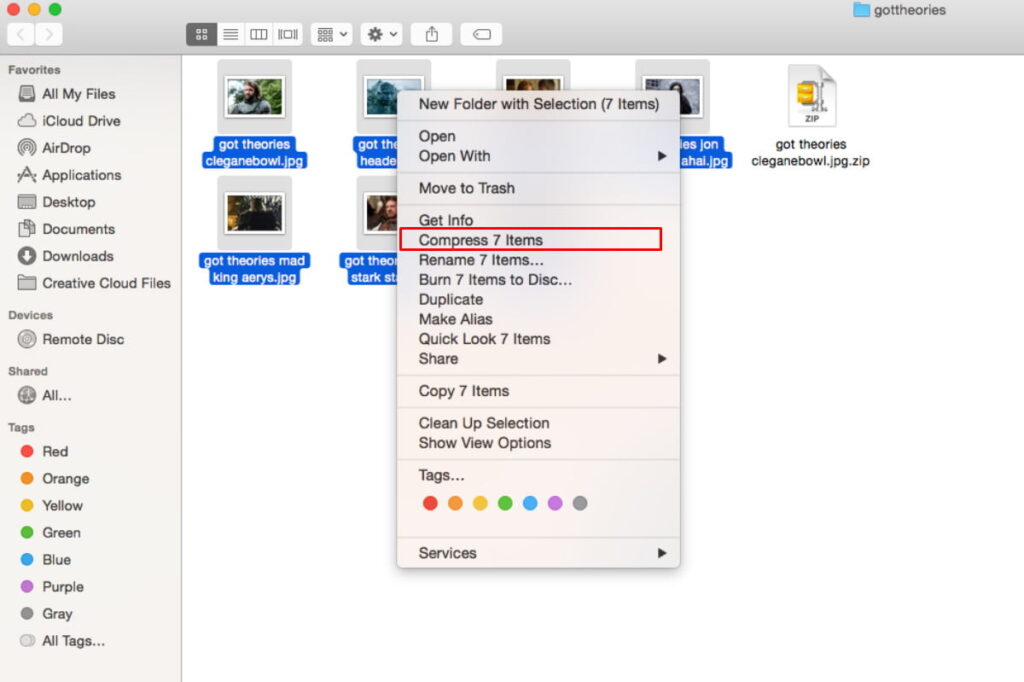
Here is the process for mac since it includes in-built capacity for compressing and unzipping files :
- First of all, you can either right click or press Control while clicking a file or folder you want to compress.
- Then select ‘Compress’ in the pop-up menu as you will see.

- As soon as you do that, A New ZIP file appears in the same location as the original file or folder with an extension ‘.zip’.
Why should we zip files?
As we discussed earlier, ZIP files can be very useful if you’ve dealing with a large group of files or even one massive file that you need to share. A lot of email clients won’t allow you to send large files. So file compression can be the best solution for sending bigger data. You can also use ZIP files to encrypt your private data before sending it online.
