In this article we will describe “how to do a screenshot?” Here’s how to take a screenshot on Android, apple, macOS, and Windows. If you Want to preserve what you see on your phone or computer screen? So you provide robust screen-capture tools on mobile and desktop operating systems. Most are built into the device, but there are third-party options, as well as browser extensions, that get the job done.
Steps to take screenshot on Android phone:
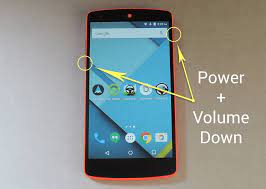
- On an Android phone, open the screen you want to capture.
- Press the Power and Volume Down buttons at the same time.
- If that doesn’t work, press and hold the Power button for a few seconds. Then tap on Screenshot.
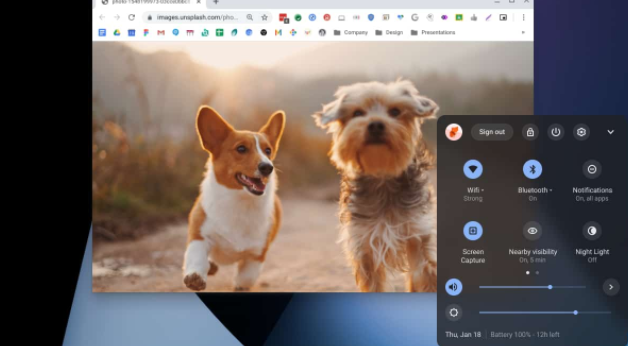
- At the bottom left, you’ll find a preview of your screenshot. On some phones, at the top of the screen, you’ll find Screenshot Capture.
Steps to Take a Screenshot on Apple watch:
- First open the Watch app on your iPhone, and navigate to My Watch
- After that go to General.
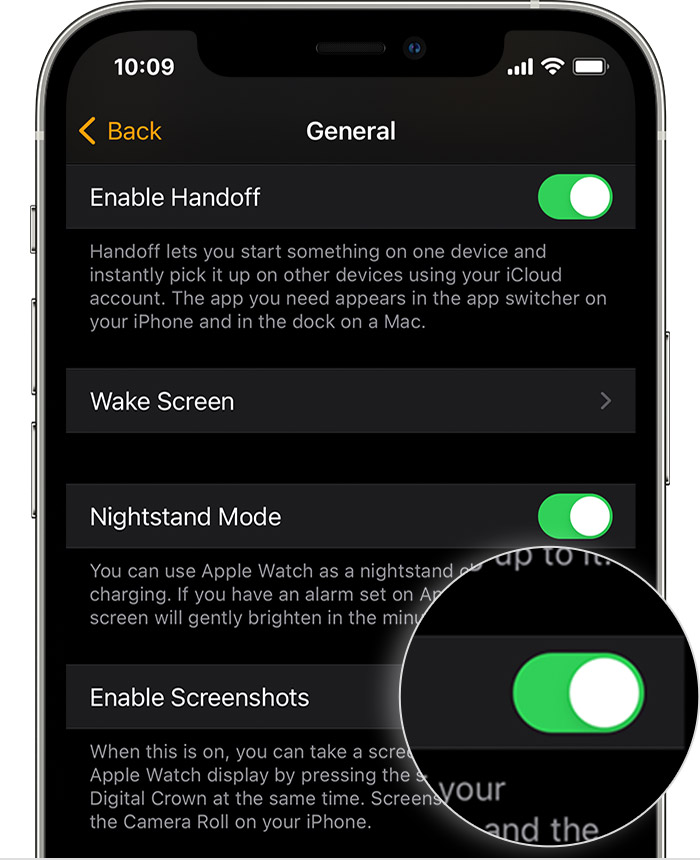
- Now enable Screenshot and turn it on.
- Open General in Settings and tap Enable Screenshots on your watch.
- Take a screenshot on Apple Watch by dragging up the screen you want to capture.
- Hold the Side button and click the Digital Crown simultaneously.
- The screenshot will then appear on your iPhone’s Camera Roll.
Steps to take a Screenshot in Windows 11:
The easiest way to save a copy of what’s on your computer screen is to press the “Print Screen” key on your keyboard. It’s usually labeled “PrtScn” and is located in the top row, between or near the function keys.
On some keyboards (especially laptops) you have to use the function key by holding down the function key and then pressing PrtScn.
Microsoft includes a flexible screenshot utility with Windows 10, called Snipping Tool.
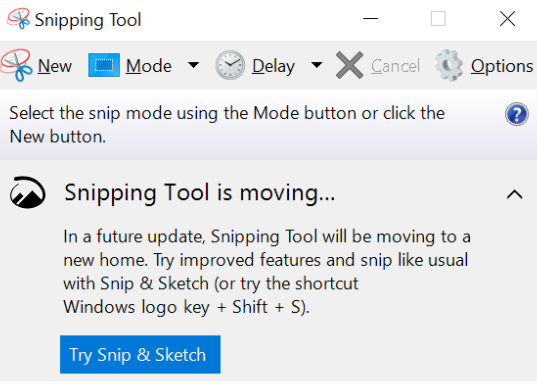
- You can use the Snipping Tool to take a screenshot and save it as an image file without having to paste the screenshot into another program first.
- Start the Snipping Tool from the Start menu.
- In the “Mode” drop down, choose the kind of screenshot shape you want – you can choose anything from full screen to rectangular to a free-form shape.
- You can choose the kind of screenshot that Snipping Tool takes with the program’s menus.
- Click New, and your screen will freeze. You can then use the mouse to create the screenshot. The screenshot will then appear in the Snipping Tool window.
- If you want to include something like a tooltip, which only appears after a mouse movement, you can specify how long to wait before taking the screenshot using the Delay menu.
- If you want to, once you’ve taken your screenshot, you can use the drawing tools to annotate the screenshot.
- When you’re done, click “File” and then click “Save As” to save the completed screenshot to your computer.
- You can also click the copy button in the Snipping Tool window – it looks like two pages laid over one another – to copy the image to your clipboard.
Steps to take a Screenshot in Windows 11:
- Windows 11 actually allows Snipping Tool to the PrtSc key from Settings > Accessibility > Keyboard.
- Use the Print Screen button to open the Screen Snipping box.
- Now open the Screen Capture tool, instead of just grabbing your entire screen.
- Now crop it and save it.
- screenshot will come.
Steps to take a Screenshot on Mac:
The screen-capture window allows you to perform various actions and save images to your desktop. Choose to capture the entire screen, part of the screen, or a specific window. The update introduced a screenshot tool for Mac users to take screenshots on Macs that can be triggered by pressing Command+Shift+5 or navigating to Launchpad > Other > Screenshots.

- Use Command+Shift+3 to capture the entire screen.
- If you only want to capture part of the screen, Command+Shift+4 will turn the cursor into a crosshair. Select the part of the screen you want to capture.
- To capture a specific window, use Command+Shift+5. Then hit the space bar to switch between capturing a part of the screen and a specific window.
- If you have a Mac with a Touch Bar, capture it by pressing Command + Shift + 6.