
Want to flush dns cache windows 10 in computer or server?
Then you’re in the right place.
What is the DNS Cache?
The primary function is storing the location of web servers that contain web pages which you have recently accessed. If the location of any web server changes before the entry in your DNS Cache updates, then you can no longer access that site.
A record of the IP address is created within Windows so if you visit that same website again, the information is accessed quicker. These records make up the DNS Cache (sometimes called a DNS resolver cache).
Also Check – How to clear computer cache windows 10?
Why Need to Clear the Cache?
If you can’t access a web page in spite of the page existing on the internet it indicates DNS Cache on the local server may be corrupted or broken.
Sometimes bad results are cached, maybe due to DNS Cache Poisoning and Spoofing. Therefore they need to be cleared from the cache in order to allow your PC to communicate with the host correctly.
How to Flush DNS Cache Windows 10 using Command Prompt?
Windows 10
To clear your DNS cache on a Windows OS, you’ll need to open Command Prompt, the system’s command line interface. You can access this program in Windows 10 by clicking on the Start button. Then navigate to Windows Systems > Command Prompt:
Once the command line interface is open, enter the following line: ipconfig /flushdns
Windows 8
Clearing your DNS cache in older versions of Windows requires the same command ipconfig /flushdns. However, the steps for accessing Command Prompt are slightly different between versions.
In Windows 8, open the Apps screen. On the far right side, find Windows Systems and select Command Prompt.
Once the program opens, run ipconfig/flushdns. You should receive a confirmation once the DNS cache has been cleared successfully.
Windows 7 and Windows XP
In Windows 7 or Windows XP, Click on the Start button. Navigate to All Programs > Accessories and select Command Prompt.
In the command line interface, run ipconfig/flushdns. You should receive a confirmation message once the DNS cache is flushed.
Flush DNS Cache Windows 10 using Powershell
- Go to “Start” button, then type “powershell“.
- Select “Windows PowerShell“.
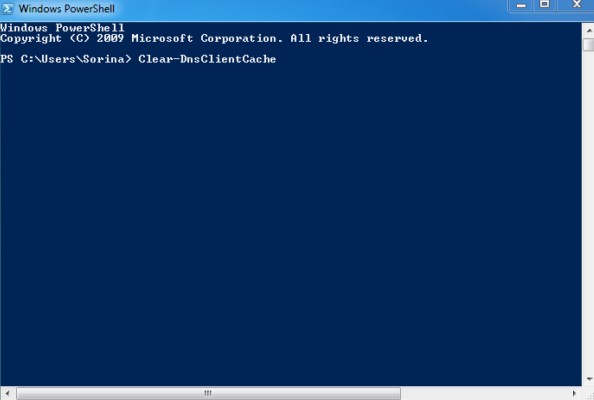
- Type Clear-DnsClientCache, then press “Enter“.
Clear DNS Cache on Windows DNS Server
- Hold down the Windows key and press “R” to bring up the Run dialog box.
- Type ipconfig /flushdns then press “Enter“.
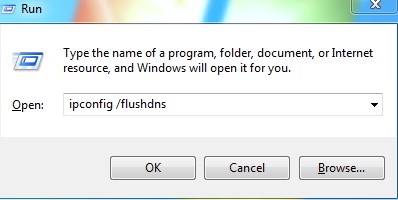
- A command box will flash on the screen and the DNS Resolver cache is cleared.
Flushing your DNS cache only requires a few steps. First, you need to know what OS and version you’re using. Then, you can follow the relevant steps above and clear the DNS cache.