Print screen, or PrtScn, is a useful key on your Mac keyboard that you can use to take a picture of what’s on your computer screen at any time. If you’re wondering how to print screen on Mac, this guide will teach you everything you need to know about taking screenshots and saving them to your computer in the form of .jpg or .png files, and more.
Taking a Screenshot of your Whole Screen –
To capture the entire screen along with the taskbar and all the details on the screen, follow the simple procedure:
- Press the “Command” key.
- Along with the Command key, press the “Shift” key and numeric “3” key.

- This will save the screenshot of the entire screen on the user’s desktop in “PNG” format.
Capture a Selected Area of the Screen –
To capture the selected area or region on the Mac, follow the simple procedures mentioned below:
- Press together Command + Shift + 4. You may leave the keys when you see the crosshair.

- Now, you may leave the keys when you see the crosshair.
- Select the region you want to capture and then release the mouse button.
- The selected area will be captured and saved in PNG format on the desktop by default.
Capture a Specific Window of the Screen –
- Press together Command + Shift + 4.

- Leave the keys when you get the selection cursor.
- Now, press the Space bar once.

- The cursor would turn to a camera icon.
- Press the spacebar and toggle to the window you want to capture.
- Then click on the “Save” button.
- The image will be saved to the desktop in PNG format by default.
Take a Scrolling Screenshot on a Mac –
There are a few steps to follow to complete the scrolling screenshot.
- Open the page you intend to capture.
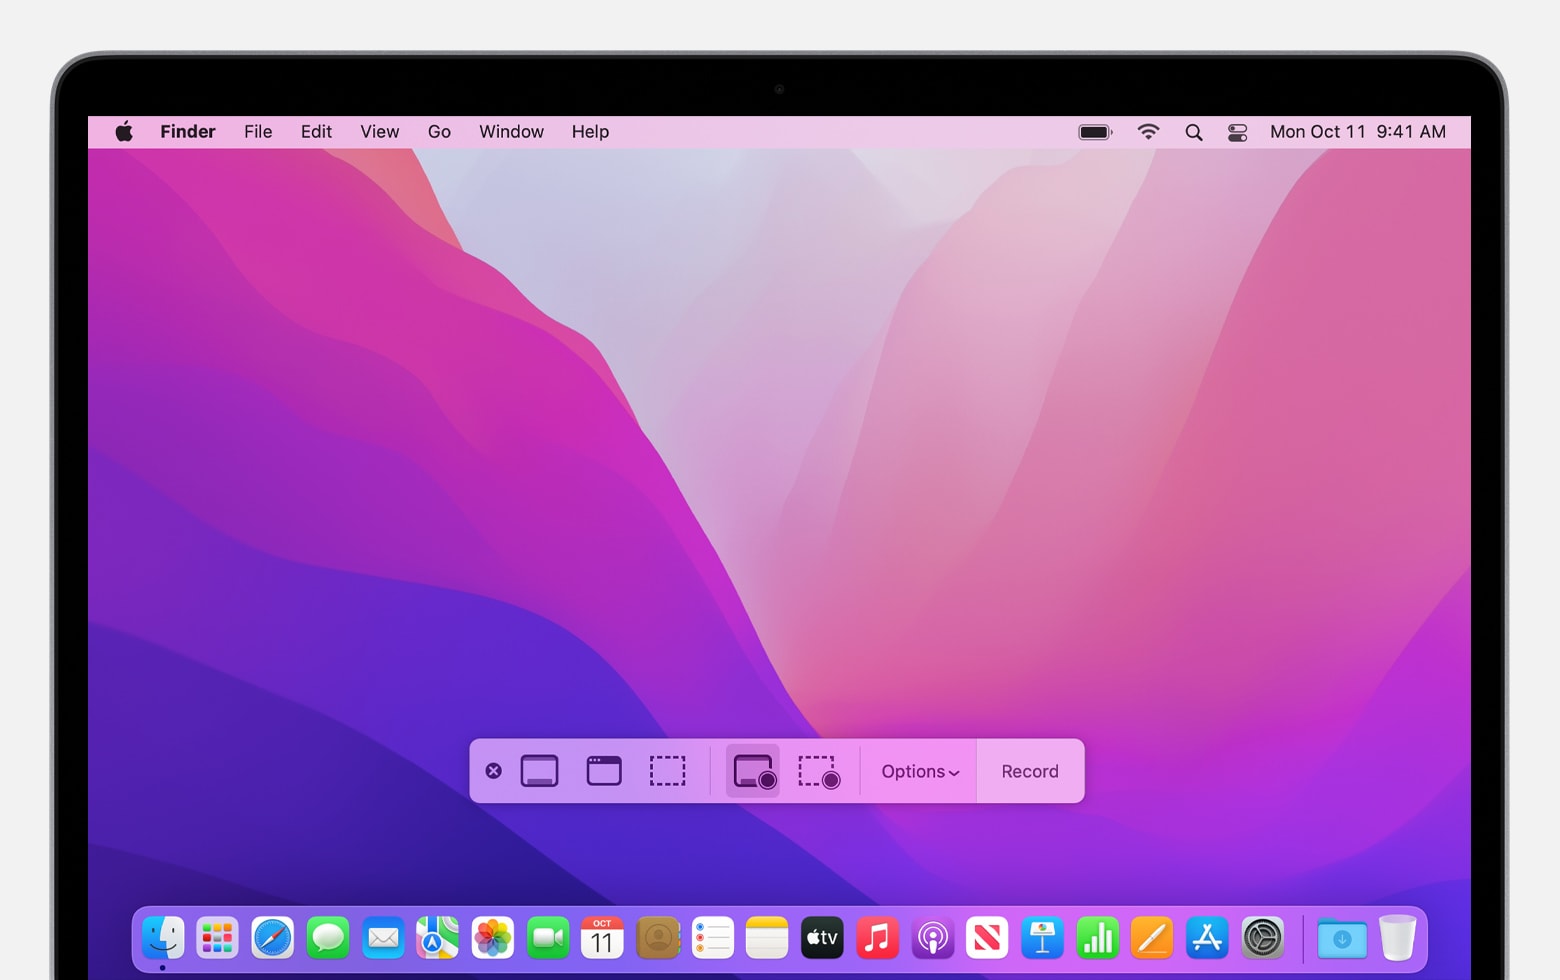
- Simultaneously press Command + Shift + 5.

- A screen record toolbar will emerge at the bottom of your screen.
- On the menu bar, click the Record Entire Screen button.
- A camera icon will appear – click it anywhere on the screen.
- Scroll through the entire document/screen you are capturing.
- Simultaneously click Command + Shift + 5 again.
- The same menu bar will pop up; click the Stop Screen Recording Button.
Capture the Touch Bar of the Screen –
This is one of the complementary features available on Mac and allows the user to take a screenshot of the touch bar.
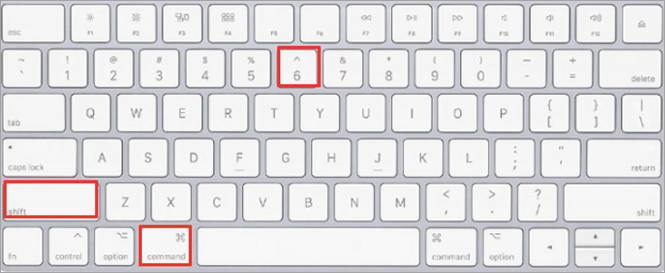
- Press the “Shift” key.
- Press the “Command” key and then press the numeric “6” key.

- This will capture your touch bar’s image and save it on the desktop in PNG format.
