Snipping tool helps us to take or part of image appears on screen. In other words, take screenshot of anything which appears on screen or saved image or text or something you want in your phone or computer. This feature is introduced in Windows 7, Windows 8 and also in Windows 10.
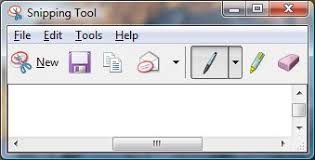
For example, if you want to share any picture or any written notes to your friend, then you can share the picture or also send the complete web page. It also edit the image by highlighting, crop and also erase the editing. What is toolbar ?

How to use Snipping tool?
Use Snipping tool in Windows 7:
Step-1 Open Windows 7 and Click on Start button and open menu.
Step-2 Tap on All Programs option.
Step-3 Then tap on Accessories option.
Step-4 It will show you he option.
Step-5 Click now you can take screenshot of any article, image or sections of any document.
Use Snipping tool in Windows 8:
Step-1 Start Windows 8 and tap on the Windows + Q on the screen which show you all apps.
Step-2 Click on Snipping tool option.
Step-3 Tap on Pin option to pin page or image on your screen.
Step-4 It will capture the page you want in your computer.

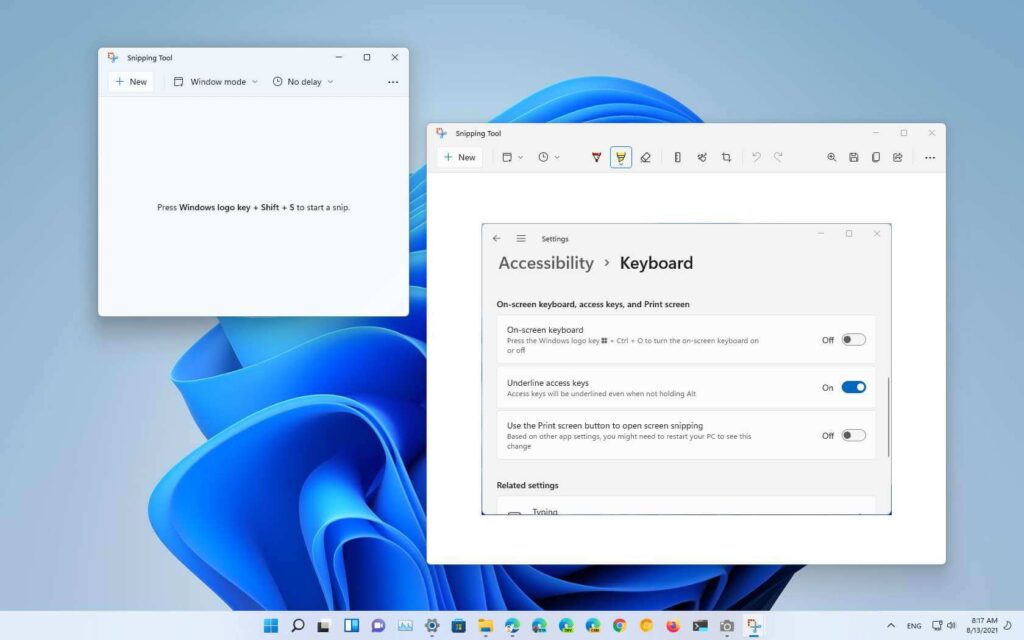
Use Snipping tool in Windows 10:
Step-1 Start Windows 10 and search.
Step-2 Then select a file or location of file.
Step-3 When file open click.
Step-4 Send on Desktop and now it will appear on Desktop.
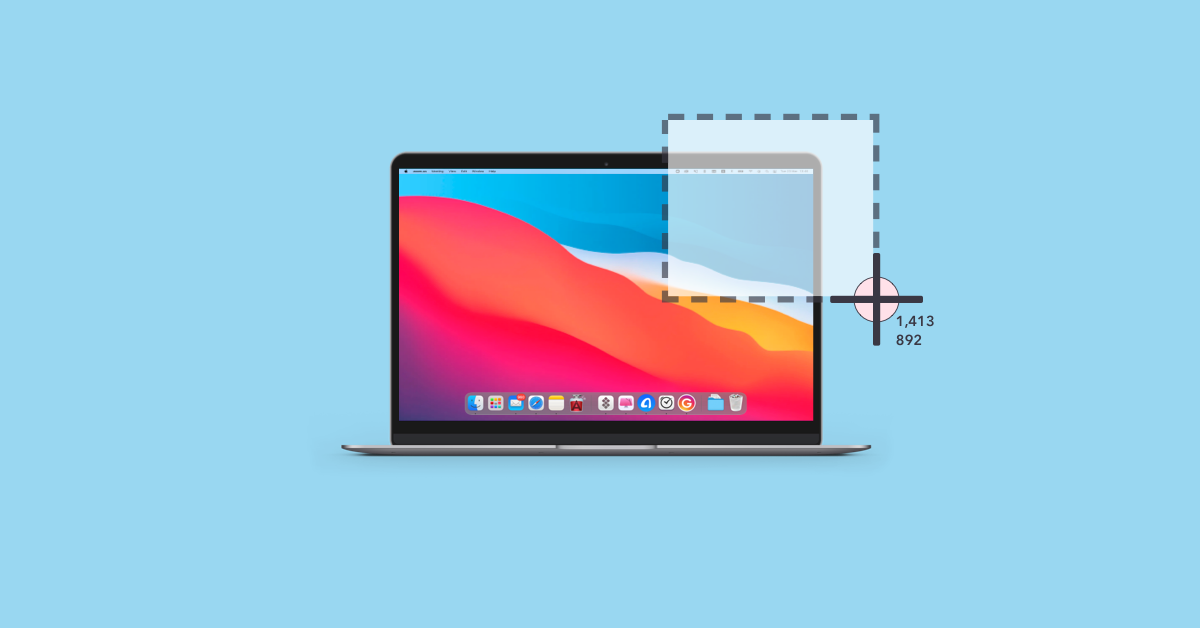
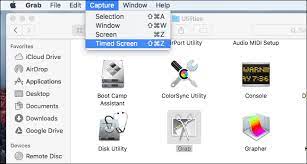
Use Snipping tool in mac:
Step-1 Press CMD + Shift + 4.
Step-2 Then a small bull eye appears and by your mouse select the area, portion or image.
Step-3 Mark entire portion you want screenshot.
Step-4 Release the mouse to capture the image.
In Free Form:
It helps us to select any image or article in a shape you want.
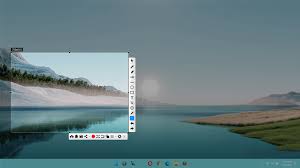
In Rectangular:
It helps us to select rectangular shape of your image appears on your screen.

In Window Form:
It helps us to capture complete page or article appears on your screen.
In Full-Screen:
It helps you to save entire image or content which appears on your computer screen.
