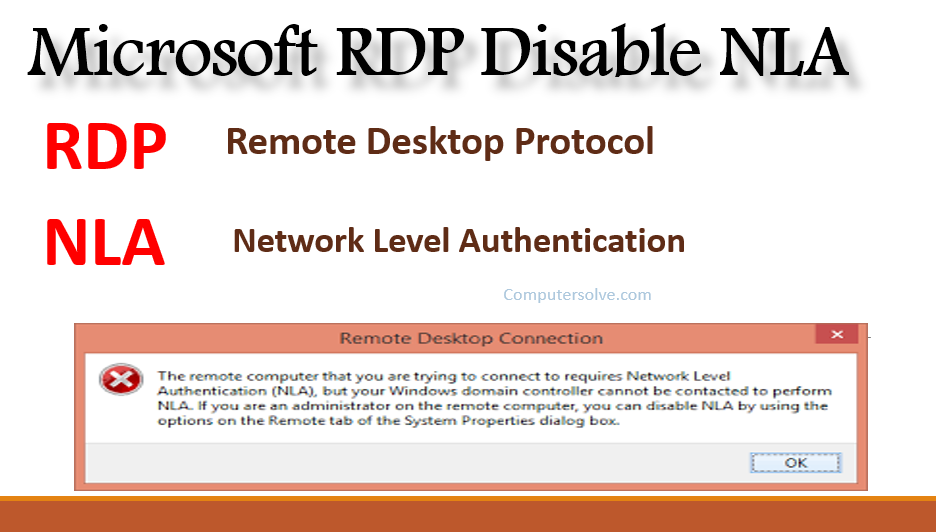
The remote computer that you are trying to connect to requires Network Level Authentication (NLA), but your Windows domain controller cannot be contacted to perform NLA. RDP stands for Remote Desktop Protocol. To learn Microsoft RDP Disable NLA follow the below steps:
While NLA does provide a security benefit, disabling it does not alone pose a major security risk, which could be further mitigated by restricting RDP access to the host with appropriate firewall policies.
Microsoft RDP Disable NLA in Remote Registry:

- Start > Run > Regedit. You may need to use “Run As” to launch it using an account with admin priviliges on the target server.
- File > “Connect Network Registry…”
- Enter remote computer name and click OK.
- Navigate to HKLM\SYSTEM\CurrentControlSet\Control\Terminal Server\WinStations\RDP-Tcp
- Select “SecurityLayer” and change the value to 0.
OR
- Open Registry Editor with administrative access.
- Connect Network Registry.
- Enter your remote computer Name.
- Browse to the Key “HKEY_LOCAL_MACHINE\SYSTEM\CurrentControlSet\Control\Terminal Server\WinStations\RDP-Tcp”.
- Find Value Name “UserAuthentication” and change Value Data to 0.
OR
- Open regedit on another computer on the same network.
- Under the File menu click “Connect Network Registry…”
- Enter your computer name and click Ok. If this fails to connect you may be out of luck.
- Scroll down in the left pane to find the newly added server. Navigate to this Key:
HKEY_LOCAL_MACHINE\SYSTEM\CurrentControlSet\Control\Terminal Server\WinStations\RDP-Tcp - Find the value “SecurityLayer” and change the data to 0 (that is a zero).
OR
- Press Windows image + R keys to open the run command box on your Microsoft windows.
- Type regedit and press Enter.
- In Registry Editor navigate to the following key:
HKEY_LOCAL_MACHINE\SYSTEM\CurrentControlSet\Control\Terminal Server\WinStations\RDP-Tcp - At the right-pane double-click at UserAuthentication REG_DWORD value.
- Set the Value Data to 0 and click OK.
Microsoft RDP Disable NLA in Remote PowerShell:

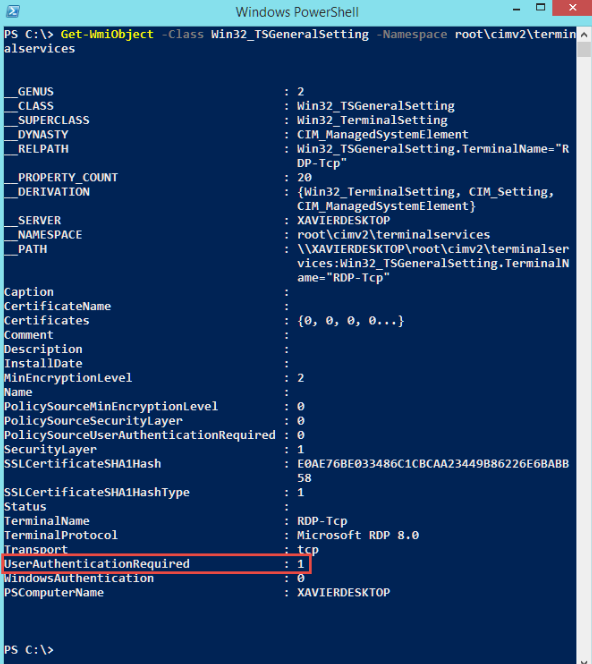
- $TargetServer = “Server_with_NLA_Enabled”
(Get-WmiObject -class “Win32_TSGeneralSetting” -Namespace root\cimv2\terminalservices -ComputerName $TargetServer -Filter “TerminalName=’RDP tcp'”).SetUserAuthenticationRequired(0)
Disable NLA using Group Policy:

- Create and apply GPO to the server(s) via the Group Policy Management Console.
- Edit the GPO and navigate to the following setting:
- Computer Configuration\Administrative Templates\Windows Components\Remote Desktop Services\Remote Desktop Session Host\Security
- Set the policy “Require user authentication for remote connections by using Network Level Authentication” to DISABLED.
OR
- Press simultaneously the Windows image + R keys to open the run command box.
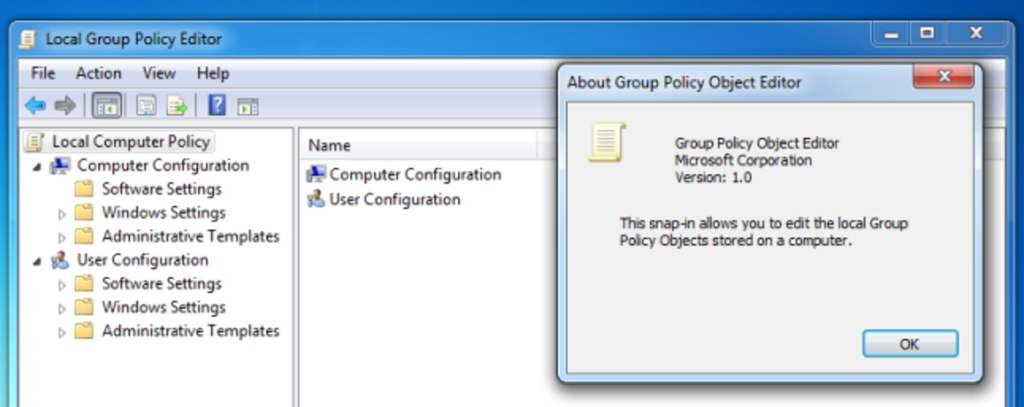
- Type gpedit.msc & press Enter to open the Group Policy Editor.
- At the left pane navigate to:
Computer Configuration > Administrative Templates > Windows Components > Remote Desktop Services > Remote Desktop Session Host > Security - At the right-pane, open the “Require user authentication for remote connections by using Network Level Authentication” policy.
- Select Disabled and click OK.
Disable NLA using Settings App:
- Click Start and select the Settings icon.
- On the Windows Settings page, select System.
- Scroll down and click About.
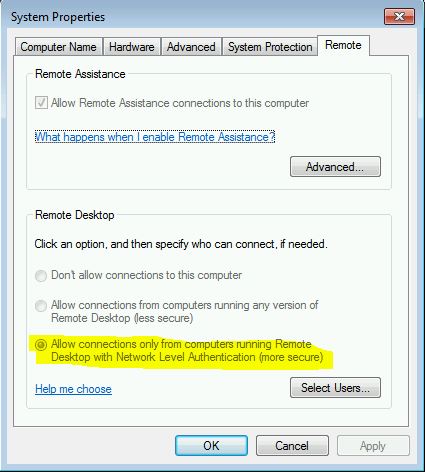
- Under Related settings, select Advanced System Settings.
- You will now see the System Properties window.
- Under Remote Desktop, uncheck the box Allow connections only from computers running Remote Desktop with Network level Authentication (recommended).
- Click OK.
Why is NLA important?
The advantages of Network Level Authentication are: It requires fewer remote computer resources initially, by preventing the initiation of a full remote desktop connection until the user is authenticated, reducing the risk of denial-of-service attacks.
Is NLA secure?
There are some security advantages to enabling NLA, but one of the drawbacks is that users with expired passwords are prevented from logging on to the remote system. More information about NLA and RDP can be found at the Microsoft site and on Wikipedia.
