The whole point of NLA is to make sure the name you typed into the RDP (Remote Desktop Protocol) application in fact the server you’ve connected to. While NLA does provide a security benefit, disabling it does not alone pose a major security risk, which could be further mitigated by restricting RDP access to the host with appropriate firewall policies. Remote Desktop Connection don’t use NLA learn following steps.
However, it’s frustrating when you encounter issues while trying to connect to a remote PC. Just when you’re about to get connected, you see an error message that reads “The Remote Computer Requires Network Level Authentication (NLA)”. Disable NLA in Remote Desktop:
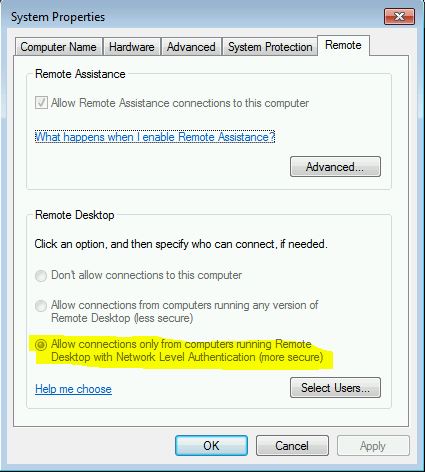
Remote Desktop Connection don’t use NLA Via System Settings:
- Press Win + R to open the Run command dialog box.
- Type sysdm.cpl and press Enter to open the System Properties window.
- Navigate to the Remote tab.
- Uncheck the Allow connections only from computers running Remote Desktop with Network Level Authentication.
- Click Apply and tap on OK.
- Restart your PC to save these changes.
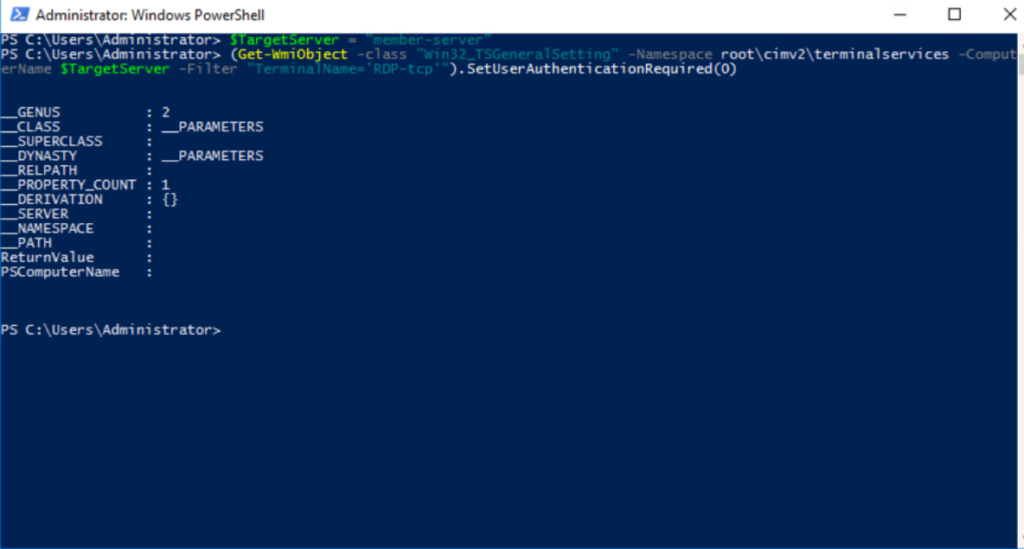
Disable NLA Settings Via PowerShell:
- Press Win + R to open the Run command dialog box.
- Type PowerShell and press Ctrl + Shift + Enter to open an elevated PowerShell window.
- Next, type the following command:
- $TargetMachine = “Target-Machine-Name”
- (Get-WmiObject -class “Win32_TSGeneralSetting” -Namespace root\cimv2\terminalservices -ComputerName $TargetMachine -Filter “TerminalName=’RDP-tcp’”).SetUserAuthenticationRequired(0)
- This will automatically disable NLA.
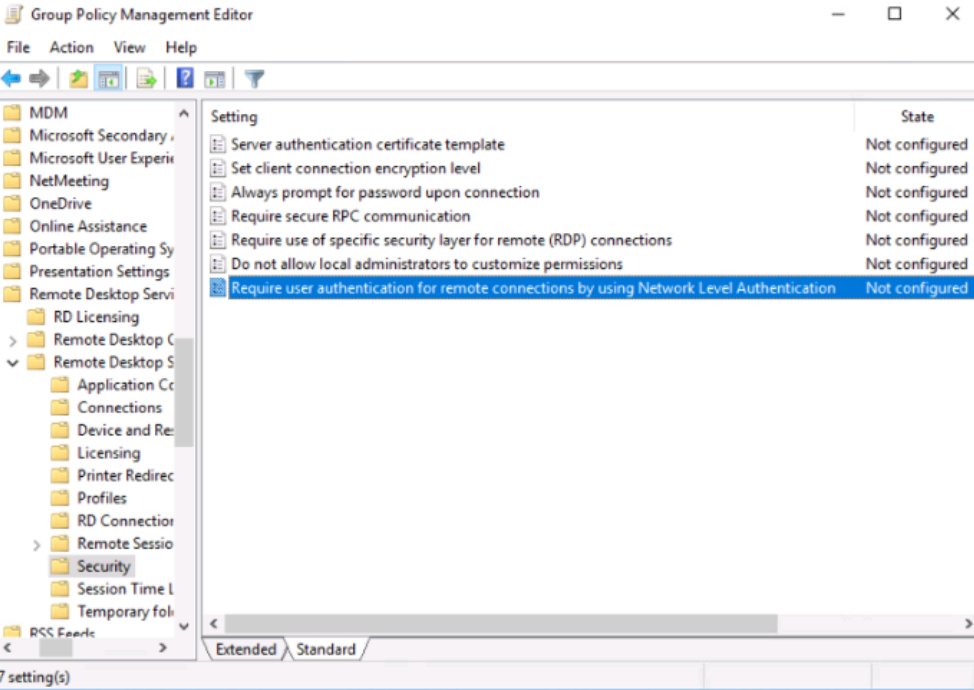
Remote Desktop Connection don’t use NLA Via the Local Group Policy Editor:
- To get started, press Win + R to open the Run command dialog box.
- Type gpedit.msc and press Enter to open the Local Group Policy Editor.
- Navigate to Computer Configuration > Administrative Templates > Windows Components > Remote Desktop Services > Remote Desktop Session Host > Security.
- Double-click the Require user authentication for remote connections by using Network Level Authentication option on the right.
- In the next window, check the “Not Configured” or “Disabled box”.
- Press Apply or press OK, and restart your PC.
Disable NLA Settings in Different ways:
- Open the Control Panel and ensure that the control panel is showing items by Category.
- Click on System and Security and under System click on Allow remote access.
- Under the Remote Desktop group un-tick the checkbox Allow connections only from computers running Remote Desktop with Network Level Authentication.
- Click on OK.
OR
- On the RD Session Host server, open the Server Manager.
- Click on Remote Desktop Services and under collections option click on the name of the session collection name that you want to modify.
- Click on Tasks and select Edit Properties.
- Under the Security tab un-tick the option Allow connections only from computers running Remote Desktop with Network Level Authentication.
- Require user authentication for remote connections by using Network Level Authentication Group Policy setting.
- Click on the Disable option and for confirmation click on “OK”.
OR
- Press Windows + R, type “regedit” in the dialogue box and press Enter to launch the registry editor.
- Once in the registry editor, click on File > Connect Network Registry. Enter the details of the remote computer and try connecting.
- Once you are connected, navigate to the following file path:
- HKLM >SYSTEM > CurrentControlSet > Control >Terminal Server > WinStations > RDP-Tcp
- Now change the following values to 0.
- Now navigate to the PowerShell and execute the command: restart-computer.
Is NLA secure?
There are some security advantages to enabling NLA, but one of the drawbacks is that users with expired passwords are prevented from logging on to the remote system.