First of all check that any antivirus is blocking the installation. This could occur because some antivirus software programs set very strict restrictions when it comes to installing applications. This article helps you in System Administrator has Set Policies to Prevent this Installation.
If you ask my initial suspect then it was an antivirus that could prevent this installation but no, it wasn’t the antivirus. Furthermore, the .msi installer was downloaded from a trusted source and make sure that UAC was off.
To fix the error System administrator has set policies to prevent this installation:
METHOD 1: Use the Group Policy Editor

Step 1: Login to the system with an administrator account.
Step 2: Click Start > Run and enter gpedit.msc.
Step 3: This will open the Local Group Policy Editor.
Step 4: Expand Computer Configuration > Administrative Templates > Windows Components > Windows Installer.
Step 5: Turn off Windows Installer.
Step 6: On the Turn off Windows Installer setting box and tap on Enabled.
Step 7: Under Options > Disable Windows Installer – Click the drop-down and select Never.
Step 8: Click Apply and OK.
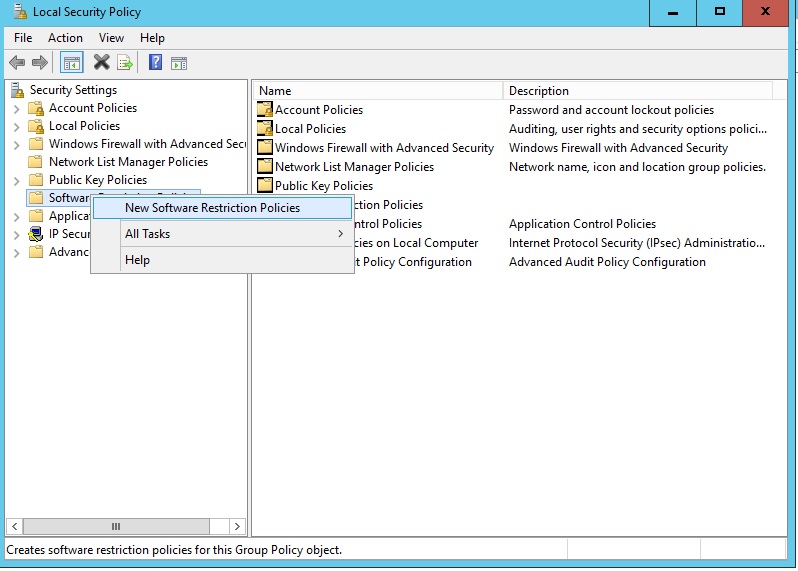
Step 9: Expand Windows Settings > Security Settings > Software Restriction Policies.
Step 10: Right click Software Restriction Policies and click New Software Restriction Policies.
Step 11: Click Enforcement and Properties.
Step 12: In the Enforcement properties box, look for Apply software restriction policies to the following users.
Step 13: Select All users except local administrators.
Step 14: Click OK.
Step 15: Close the group policy editor and it will help in System Administrator has Set Policies to Prevent this Installation.
METHOD 2: Registry Method
Step 1: Click Start > Run and type regedit and click OK.
Step 2: Navigate to HKEY_LOCAL_MACHINE\Software\Policies\Microsoft\Windows\Installer.
Step 3: Right click DisableMSI and click Modify and change the value to 0.
Step 4: Close the Registry Editor.
Step 5: Log off and login back to the machine.
METHOD 3: Enable Windows installer in the Windows Software Restriction Policy
Step 1: Click Start > Run.
Step 2: Enter gpedit.msc.
Step 3: Click Local Computer Policy > Computer Configuration > Administrative Templates > Windows Components > Windows Installer.
Step 4: Click Disable Windows Installer.
Step 5: Click Display Properties > Enabled.
Step 6: Set the Disable Windows Installer drop down to Never.
Step 7: Drill down to Computer configuration > Windows Settings > Security Settings > Software Restriction Policies.
Step 8: Right-click Software Restriction Policies and click Create New Policies.
Step 9: Right-click Enforcement, and click Properties.
Step 10: Click All users except local administrators.
Step 11: Click OK.
Step 12: Close Group Policy.
Step 13: Open a Command Prompt then run the following command.
- gpupdate /force
Step 14: When local group policy is finished updating, re-run the Tools setup.
METHOD 4: Using Control Panel
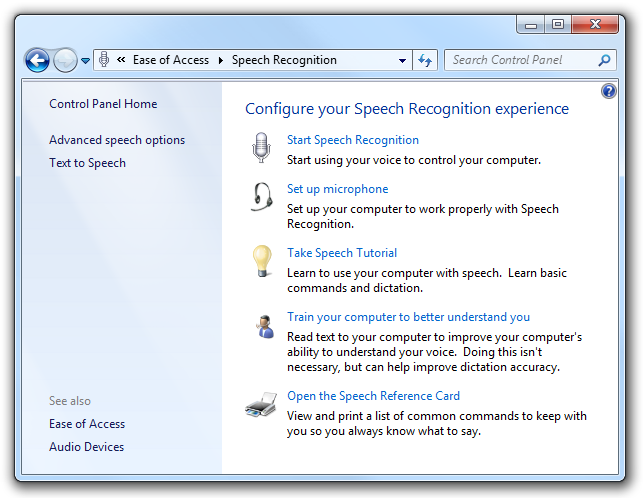
Step 1: Open Control Panel by searching for it in the Start menu.
Step 2: Switch the View by option in Control Panel to Large Icons and locate the User Accounts option.
Step 3: Open it and click on “Change User Account Control Settings”.
Step 4: You will notice that there are several different options you can choose on the slider.
Step 5: Try decreasing this value by one if it’s at the top slider and check to see if it helped.
- Repeat the process if the error still appears or turn of UAC completely.
Step 6: We recommend you turn it off for now as the file should probably install successfully.
METHOD 5: Set UAC to ‘Never Notify’
Step 1: Click on the Search bar and type “uac“.
Step 2: Click on “Change User Account Control settings“.
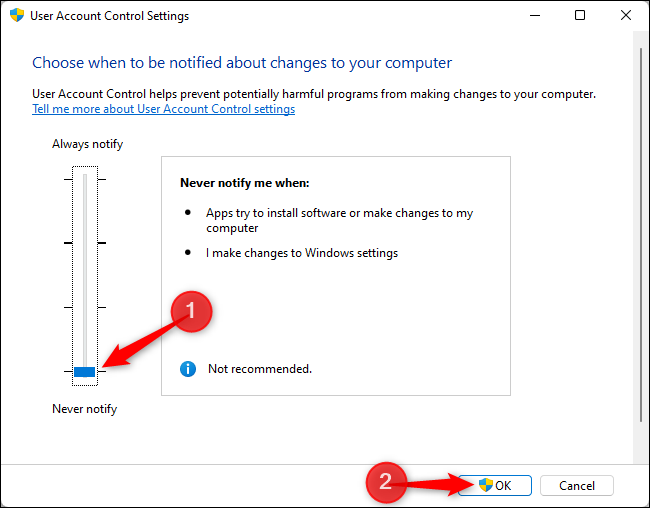
Step 3: When the User Account Control Settings window opens up and tap on the “Never Notify“ option.
Step 4: Click on “OK” to save the changes on your computer.
Step 5: Once done, try to modify/ install the application again.
METHOD 6: Add an admin account using CMD
Step 1: Click in the Search box beside the Windows icon and type “cmd“.
Step 2: Now, you have to simply right-click on “Command Prompt” and choose “Run as administrator“.
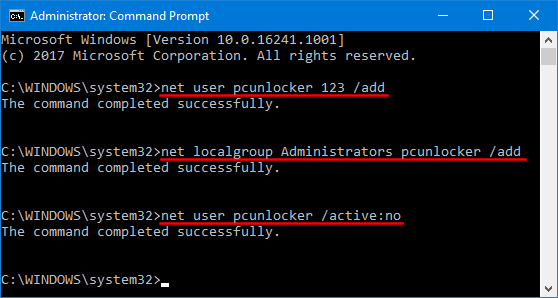
Step 3: Give this account administrative permissions, write this command and hit Enter.
- net user administrator /active:yes
Step 4: Close the Command Prompt window.
Step 5: Reboot your computer.
Step 6: Once you have logged in with the new administrative account, try to install the program on your computer.
Step 7: After rebooting your computer, you will be able to install/ modify an application on your computer.
OR
Step 1: Press Win + R, type cmd, and press CTRL + Shift + Enter.
Step 2: Type the following command and press Enter:
- net user administrator /active:yes
Step 3: Sign out of your current account and log in to the Admin account.
OR
You can also enable it with the steps listed below. But make note that this method doesn’t work for the home edition of Windows.
Step 1: Press Win + R, type lusrmgr.msc, and press Enter.
Step 2: Double click on Users > Administrator.
Step 3: Uncheck the Account is Disabled option and press OK.
Step 4: Sign out of your current account and log in to the Admin account.