Is this the first time you’ve connected the microphone to Windows 10? If so, you can follow the steps below to install the mic; If not, you can click here to see how to test a microphone that has already been installed.
To install a new microphone:

- Right-click the speaker icon on the bottom left of your screen, then select Sounds.
- Click the Recording tab.
- Select the microphone you want to set up, and click the Configure button in the lower left.
- Click Set up microphone.
- Follow the steps of the Microphone Setup Wizard.
- When it’s complete, click Fininsh.
Related Searches: How to remove microsoft account from windows 10?
To test a microphone that has already been installed:

- Click on Start and go the Settings.
- Now, select System option, and click Sound from the options appearing on the left-side panel.
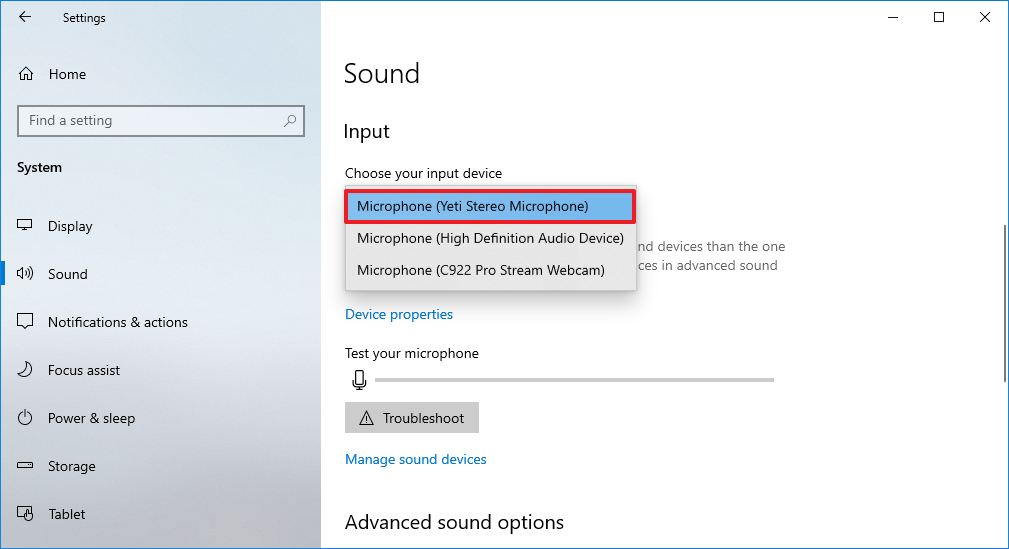
- In the Sound settings page, go to Input.
- Under the Input options, you will see the Test your microphone option.
- Here, look for the blue color bar that rises and falls as you speak into your microphone.
How to hear yourself on mic in windows 10?
- Open Sound settings. Right-click the volume icon on the bottom right of
- your taskbar and choose “Open Sound settings”.
- Under the “Input” heading, select your playback microphone from the drop down and then click “Device properties”.
- Click “Additional device properties”
- Press “OK” to save the changes. You’ll now hear your microphone through your headset or speaker.
Which apps can use your microphone?
From time to time, you might consider which apps actually have access to your microphone. You don’t want any unexpected apps listening into your day-to-day activities, especially if you keep your microphone plugged in, on your desk.
- Input privacy in your Start Menu search bar and select the Best Match.
- Select Microphone from the left-hand list.
- Scroll down and assess the apps with access to your microphone. If there’s anything you don’t want to grant access to, tap the toggle to switch it off.
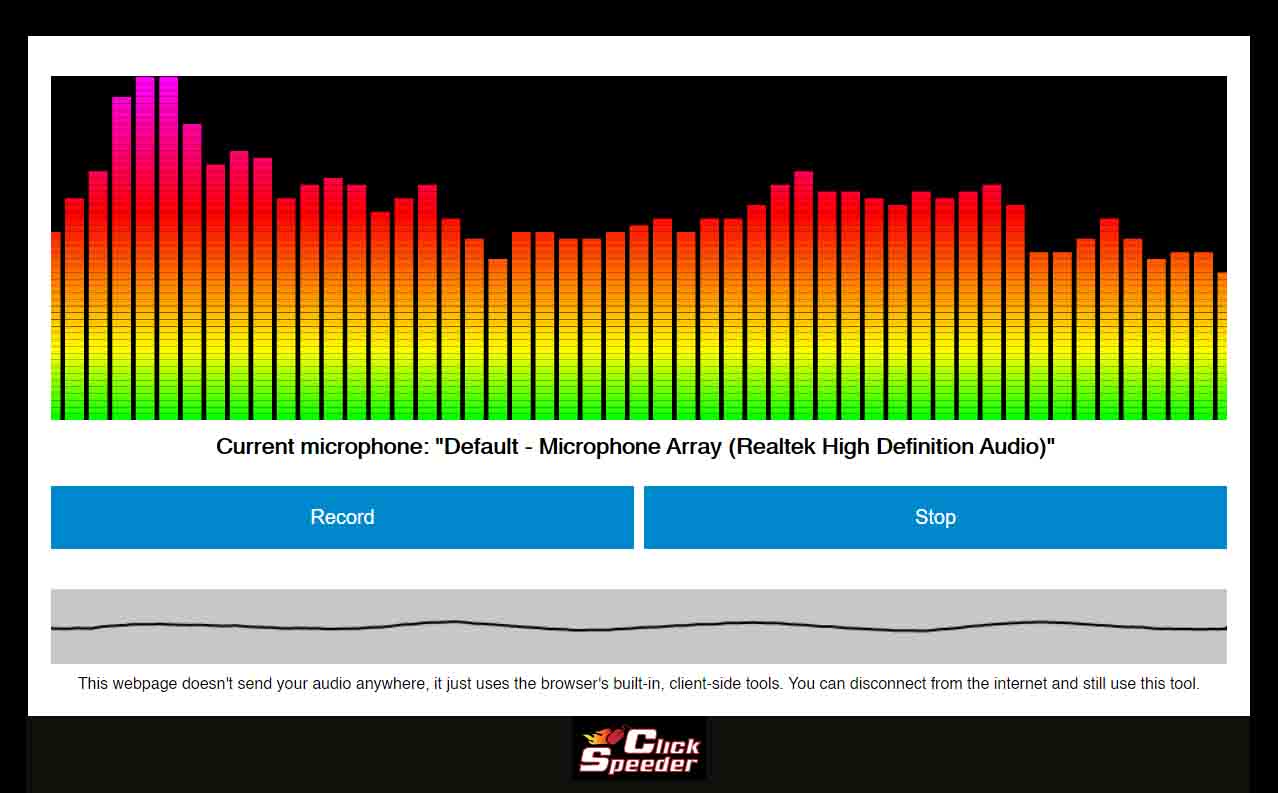
How to use our mic playback testing tool?

- Click on the start button.
- If this is your first visit, your browser will ask if you want to give this site access to your microphone. Just select the ‘Allow’ button.
- You should then see a line in the testing region.
- This line will move whenever your mic hears a sound.
Related Searches: How to connect a microphone to xbox one?
How can i enable and set default microphone in windows 10?

Use below steps to enable and set default Microphone (audio input device) in Windows 10.
- Type “manage audio devices” in Windows Cortana search box and click ‘Manage audio devices’ in search results to open “Sound Settings” window.
- Click on “Recording” tab in Sound Settings window to see all of your connected audio input devices.
- Right click on Sound Settings dialog and select “Show Disabled Devices” option to see disabled Microphone (audio input) devices.
- Right click on Microphone device that you want to Enable and click “Enable” to enable the Microphone.
- Select Microphone device and click on “Set Default” button to set selected Microphone as default Microphone on your computer.
