Using a wireless mouse with a laptop is an easy and convenient way to avoid using the laptop’s built-in mouse. Even if we use an external mouse, carrying a wireless mouse is much easier than the wired version. In this article, you’ll learn how to connect a wireless mouse to your laptop in simple and easy steps.
Connect a Wireless USB Mouse Via USB Port
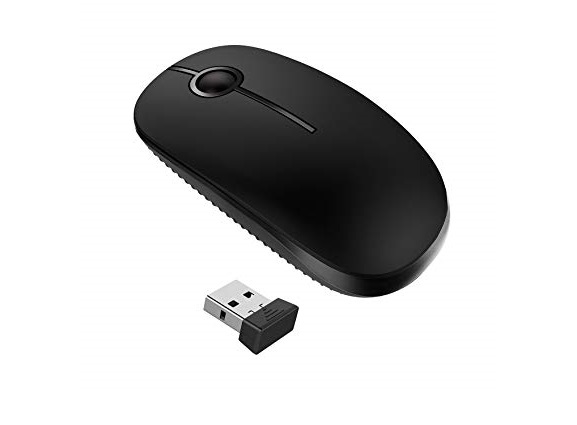
In this, a bluetooth mouse is equipped with a tiny receiver that connects to it. This receiver is connected to a laptop through a USB port, here are steps given :
- At the initial step, you need to check to see if your laptop is compatible with a wireless mouse or not. The majority of wireless mice use bluetooth technology.
- A bluetooth wireless mouse can be used with any laptop that has bluetooth connectivity. You just need to insert the receiver into the computer’s USB port.
- After the above step, windows or macOS will automatically search for and download the required drivers when you connect the bluetooth receiver to your laptop.
- Then check to see if the mouse has batteries or is fully charged.
- After that, check to see if the mouse is turned ON. A bottom-mounted on/off switch is common in various wireless devices. After this step, you’re done!
Connection Of Wireless Mouse On Windows
Check to see if your mouse is in pairing mode or not. If you want to activate the bluetooth pairing settings on to connect to your wireless mouse, then follow the simple steps given below :
- First of all, select ‘Devices’ from the Settings app or you can press ‘Win+I’ as a shortcut.
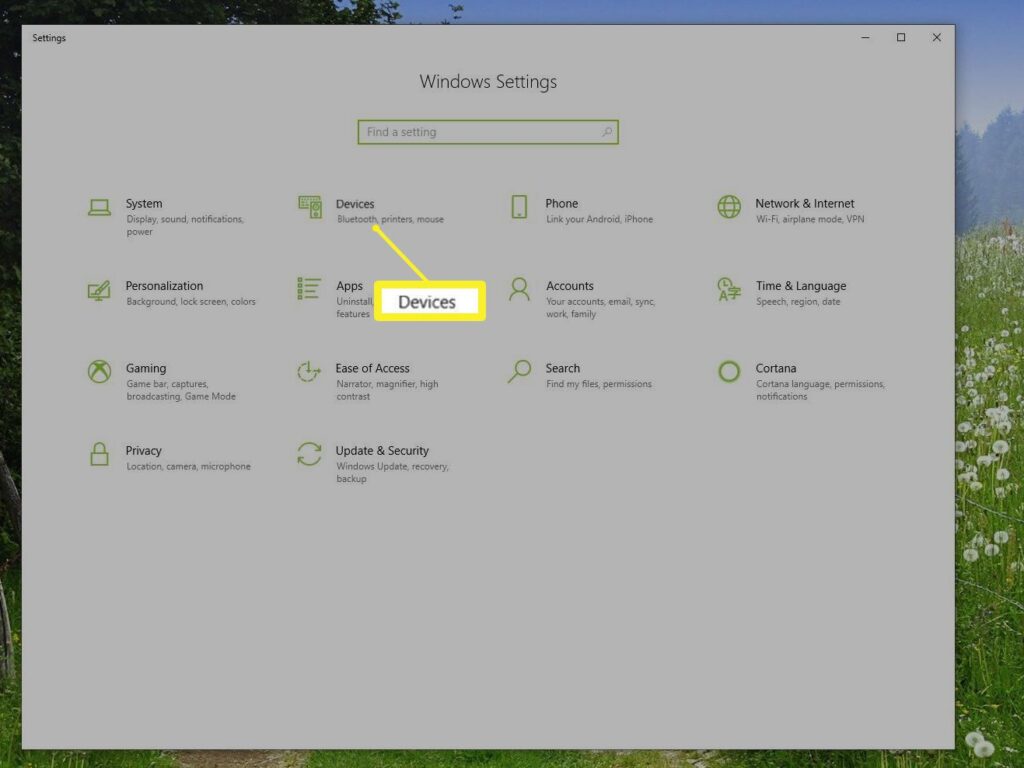
- Then click Bluetooth & other devices from the left sidebar.
- When asked, it will show on the screen, select ‘Bluetooth’ as the type of device you’re installing.
- After that follow the add device wizard’s instructions to set up the device. ‘Pairing Mode’ must be enabled on the wireless mouse. At the next step, Windows recognizes the mouse and installs the necessary drivers. And finally the connection will be established.
Connection Of Wireless Mouse On Mac
- First of all, turn the mouse ON, and make sure it’s within range of your Mac. Depending on the mouse type, you may need to press a button to put it into pairing mode.
- Then click the Apple icon as you’ll see, in the top left corner of the screen.
- Then select ‘System Preferences’.
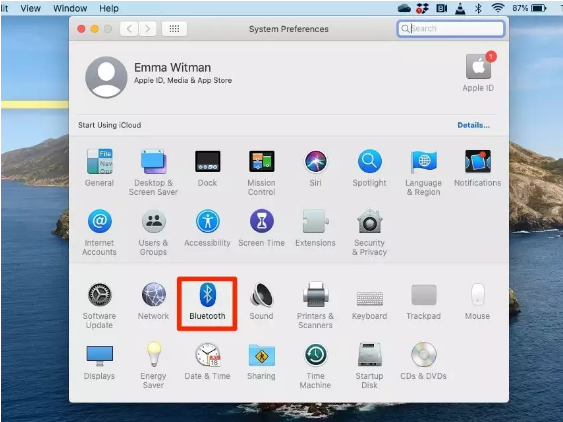
- In the next step, click the ‘Bluetooth’ icon.
- After that, you need to wait for your mouse to appear on the list. Next, click on its icon or the ‘Connect’ option to finish the pairing process.
- If it’s not already on, select ‘Turn Bluetooth ON’. Then it’ll start pairing and as soon as it happen, your mouse is ready to use after that.